Turning Images Into Action: The Magic of CogVideoX AI (by ThinkDiffusion)

New to creating videos with AI? You're in the right place! This guide will introduce you to CogVideoX, the perfect tool for beginners looking to turn any still image into stunning videos. CogVideoX, an Image2Video and Text2Video model, integrates seamlessly with ComfyUI—a powerful interface that makes working with it both easy and enjoyable. Let's dive in!
What is CogVideoX AI?
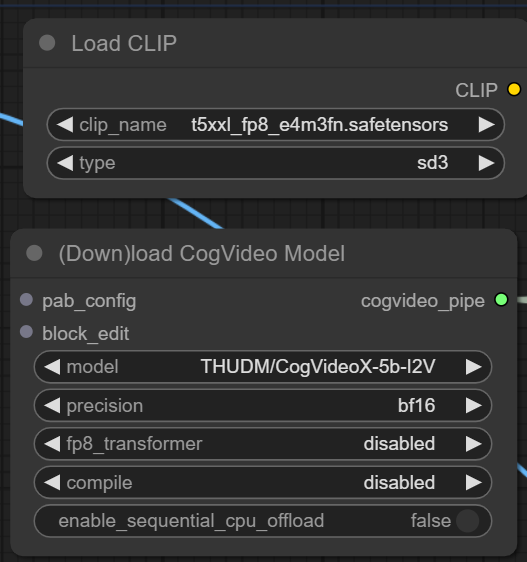
CogVideoX AI is a custom model and node that has the ability to generate videos based on input using text or images. This makes it perfect for beginners who want to make videos without learning complex video editing software. There are several models for CogVideoX that can be used. But in this guide, we're going to use CogVideoX-5B-I2V, an open-source model created by THUDM which is the recommended model for image to video generation. The I2V stands for Image2Video.
ComfyUI simplifies the process by providing ready made workflows that you can drag & drop. You can focus on being creative without worrying about building complicated workflows, making the whole experience of using ComfyUI and CogVideoX much more accessible and fun.
How to Use CogVideoX in ComfyUI
One-Time Setup
💡
Download the workflow and drag & drop it into your ComfyUI window, whether locally or on ThinkDiffusion. If you're using ThinkDiffusion, it's necessary to use at minimum the Turbo 24gb machine, but we do recommend the Ultra 48gb machine.
Custom NodesIf there are red nodes in the workflow, it means that the workflow lacks the certain required nodes. Install the custom nodes in order for the workflow to work.
Go to ComfyUI Manager > Click Install Missing Custom Nodes
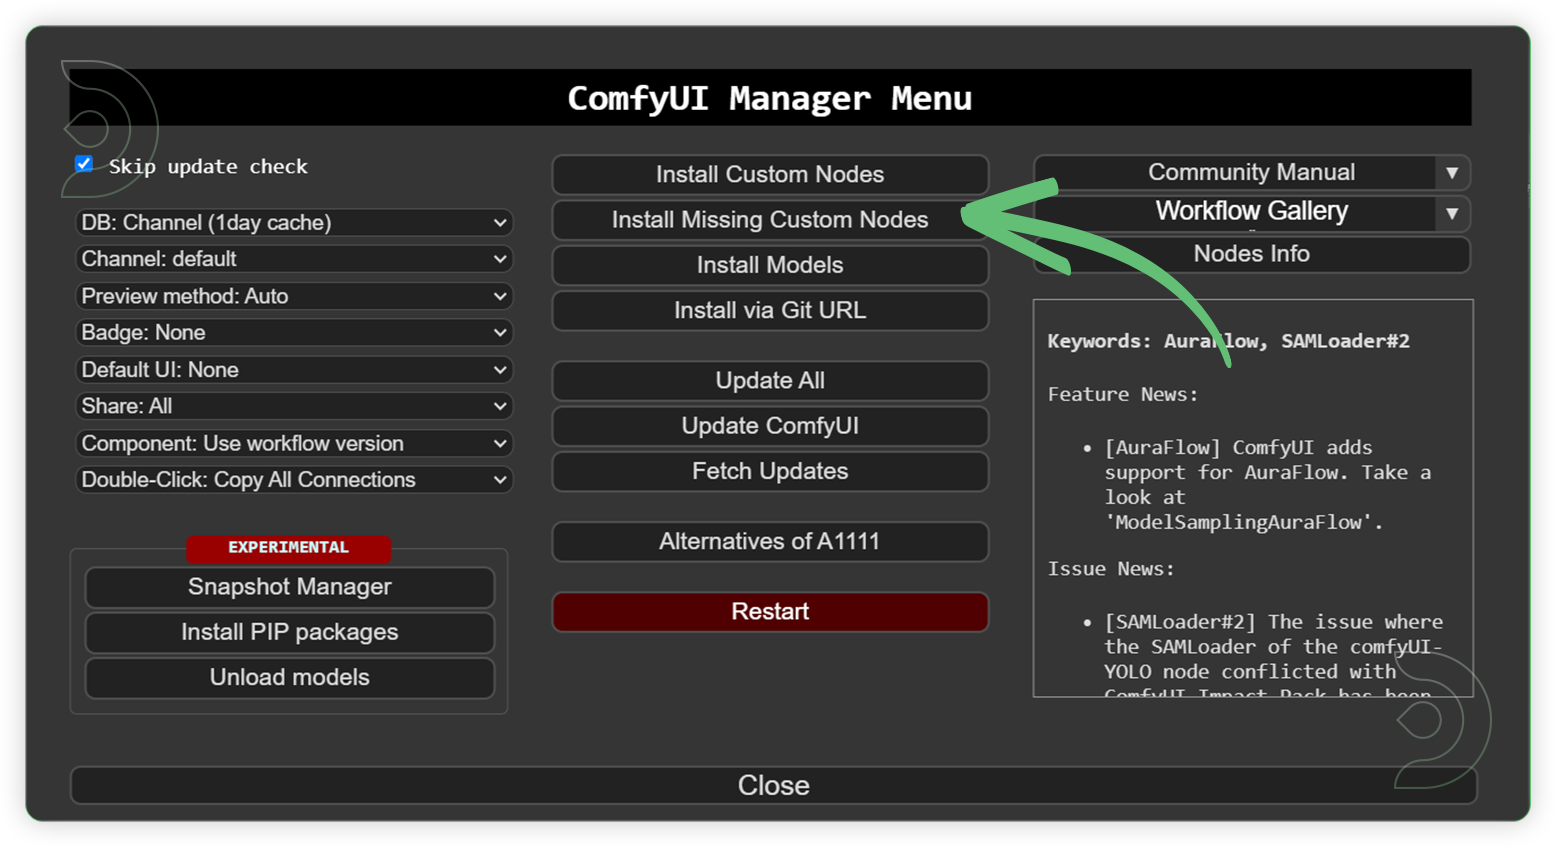
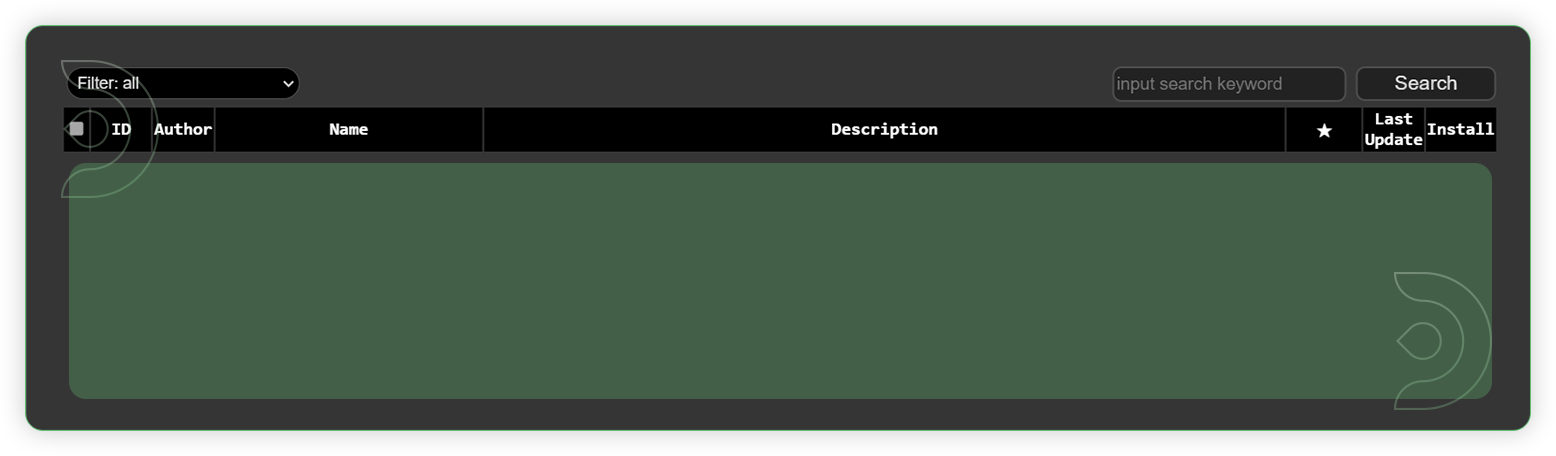
Check the list below if there's a list of custom nodes that needs to be installed and click the install.
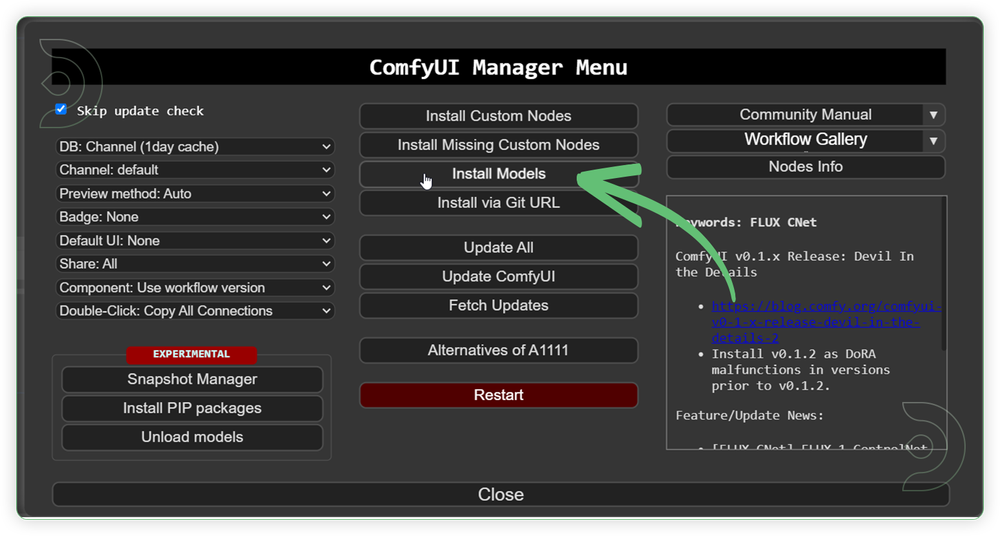
Download the recommended models (see list below) using the ComfyUI manager and go to Install models. Refresh or restart the machine after the files have downloaded.
Go to ComfyUI Manager > Click Install Models
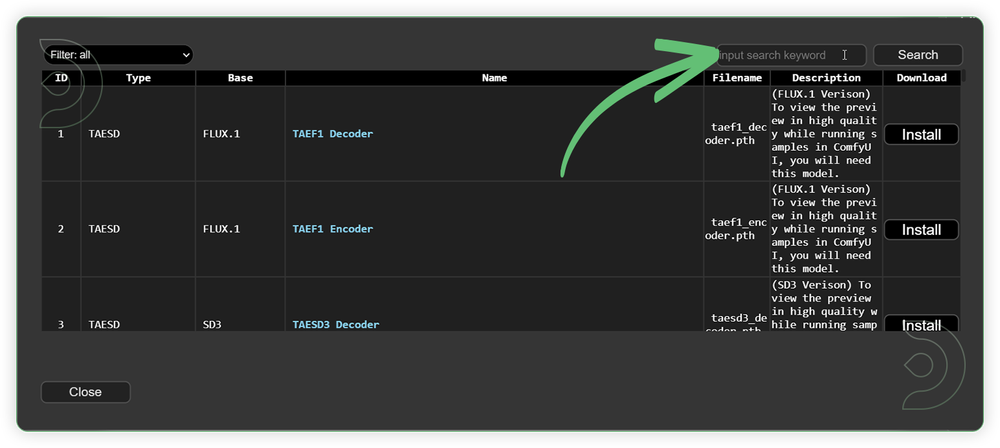
When you find the exact model that you're looking for, click install and make sure to press refresh when you are finished.
Use the model path source if you prefer to install the models using model's link address and paste into ThinkDiffusion MyFiles using upload URL.
Model NameModel Link Addresst5xxl_fp8_e4m3fn.safetensors
📋 Copy Path
clip_l.safetensorsPre-loaded
Guide Table for UploadRecommended Models
Node’s Value Name
Node
ThinkDiffusion Upload File Directory
t5xxl_fp8_e4m3fn.safetensors
clip_name
Load Clip
…/comfyui/models/clip/
Reminder💡
Refresh or restart the machine after uploading the files in ThinkDiffusion My Files.
💡
You can upload models by copying the link address of download button/icon from Civitai or Huggingface and paste into the Upload section of ThinkDiffusion My Files using the copied URL.
Procedures
Now that the hard work is out of the way, let's get creative. You need to follow the steps from top to bottom. The workflow is a one-click process after everything has been set up.
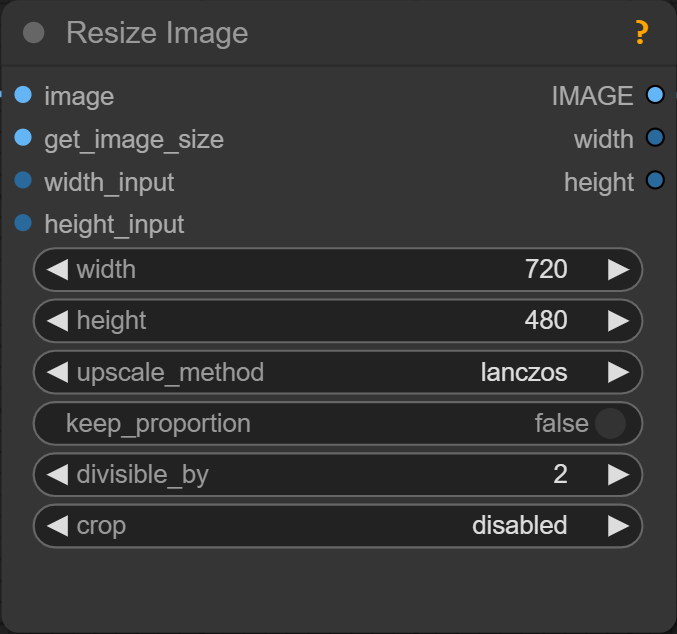
StepsDefault NodesLoad an Image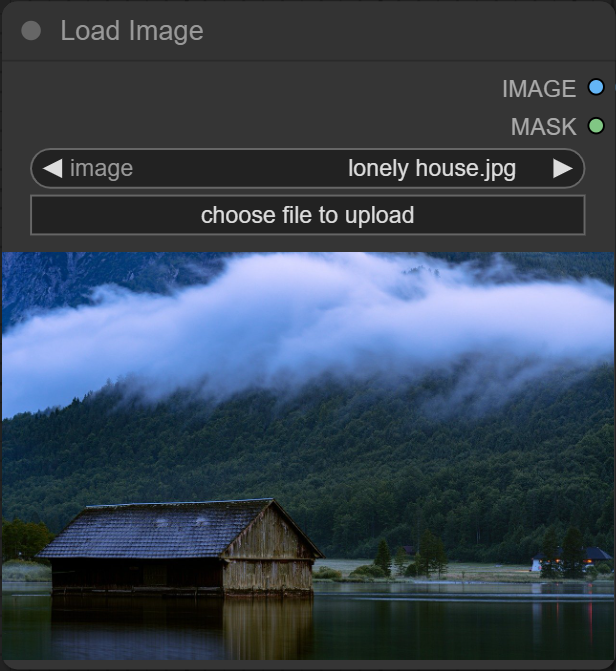 Set the Image Size (720x480)
 Set the Model
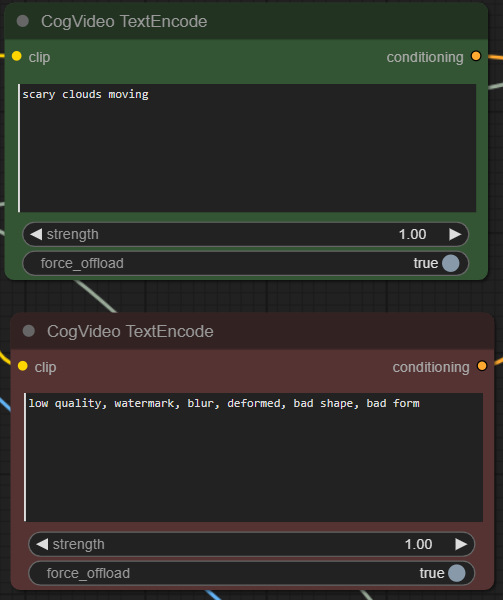
 Write a Prompt
 Set the Settings as seen on the Image. Run the Prompt
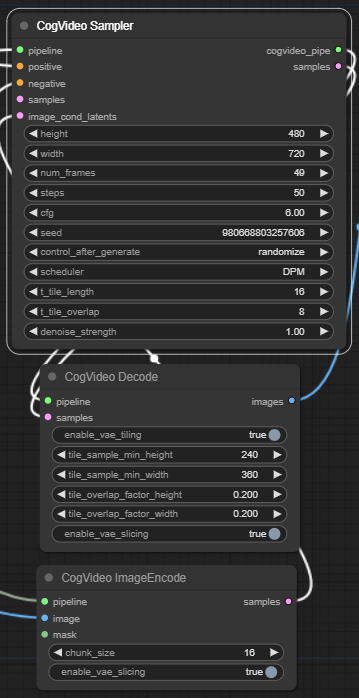 Check the Video Output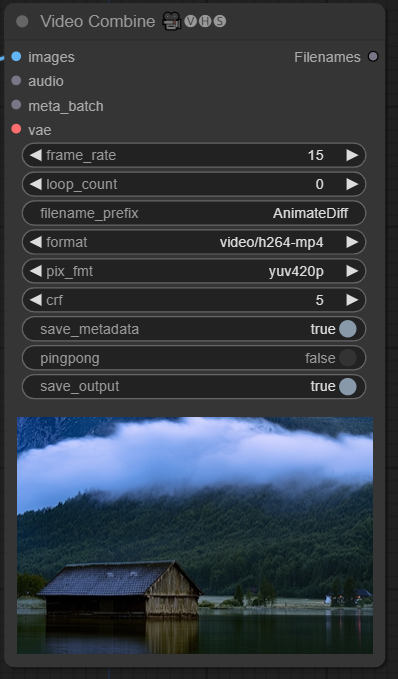
💡
fp8 degrades the quality a bit so if you have the resources the official full 16 bit version is recommended.
💡
Load an image with 720x480 resolution and set the resize image to 720x480 dimension when using CogVideoX-I2V.
💡
If you have less than 32GB of System RAM, use the t5xxl_fp8_e4m3fn text encoder instead of the t5xxl_fp16 version.
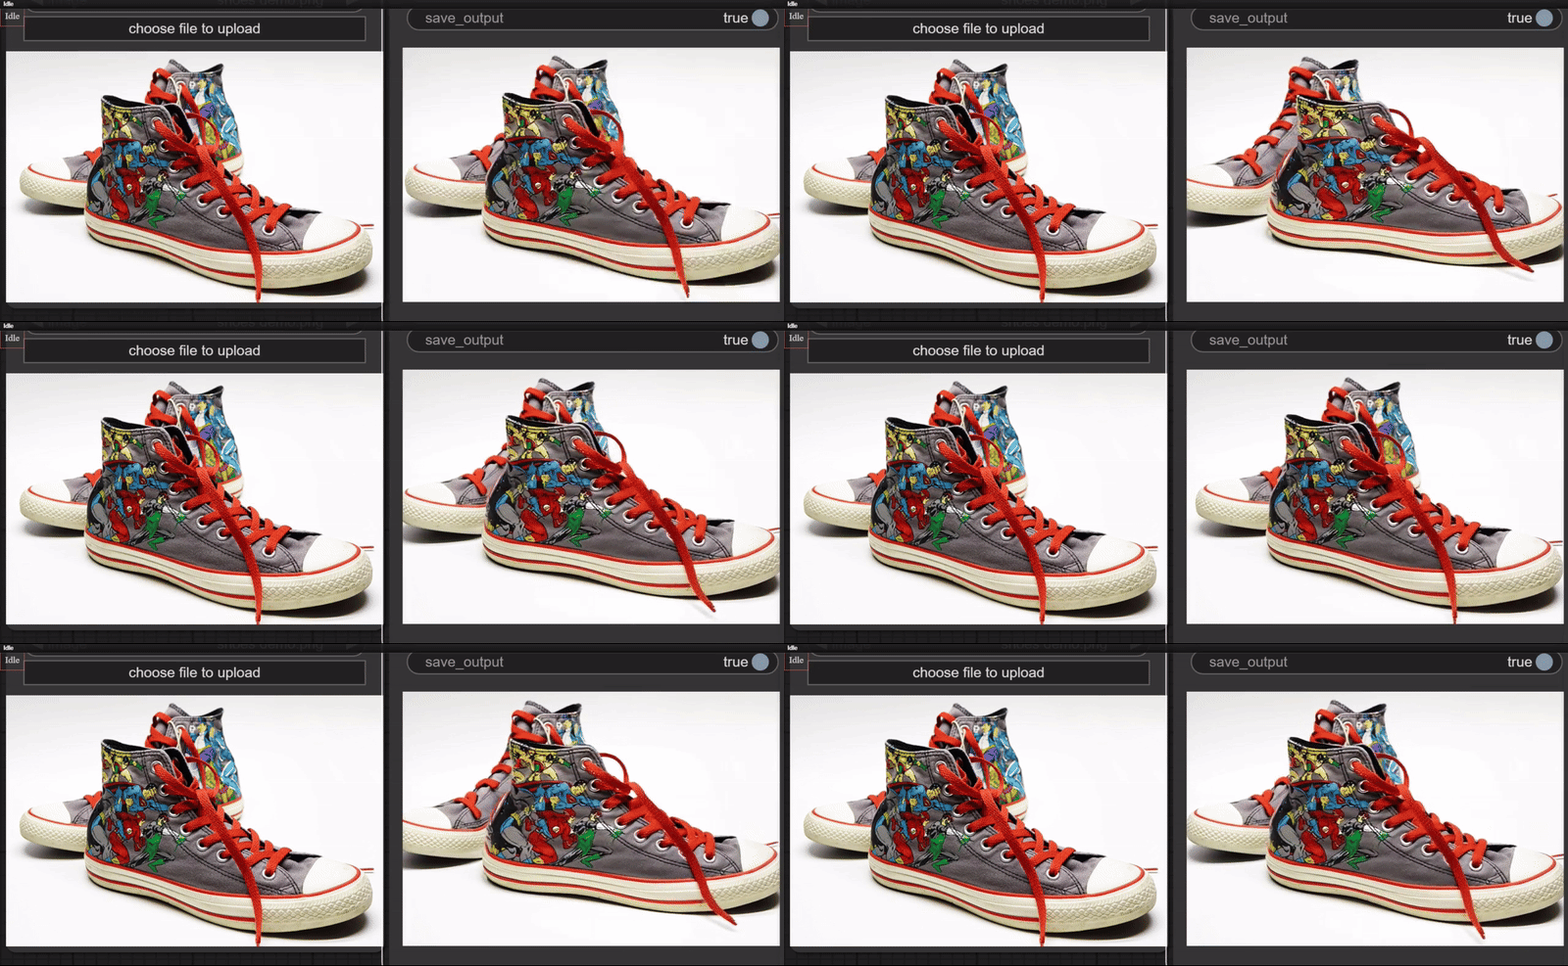
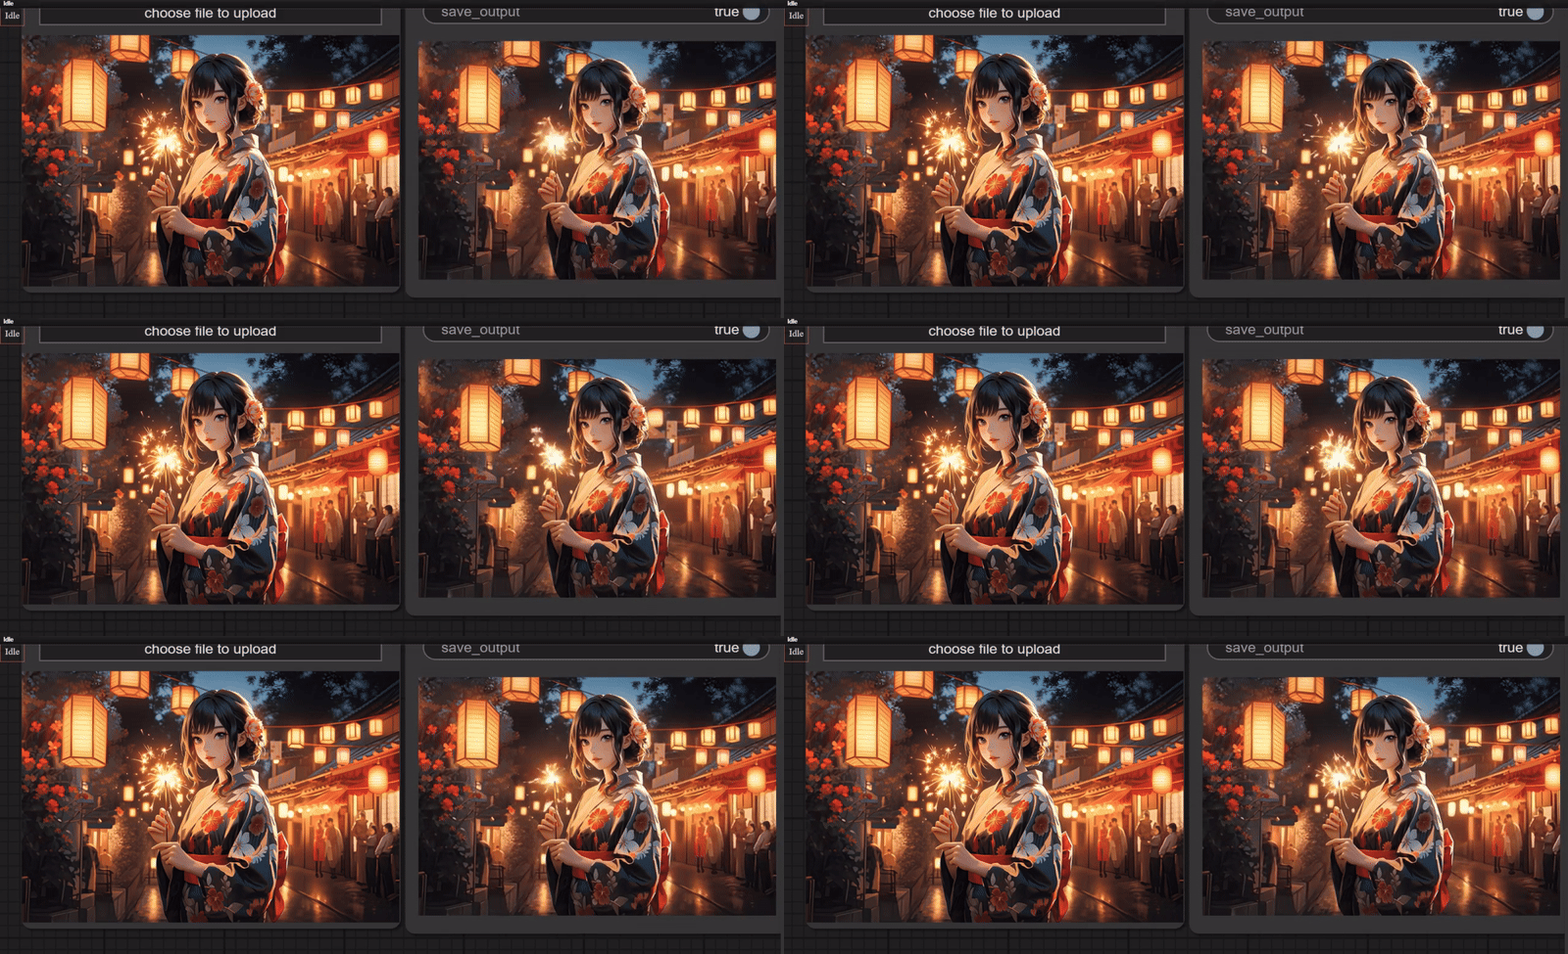
CogVideoX Examples
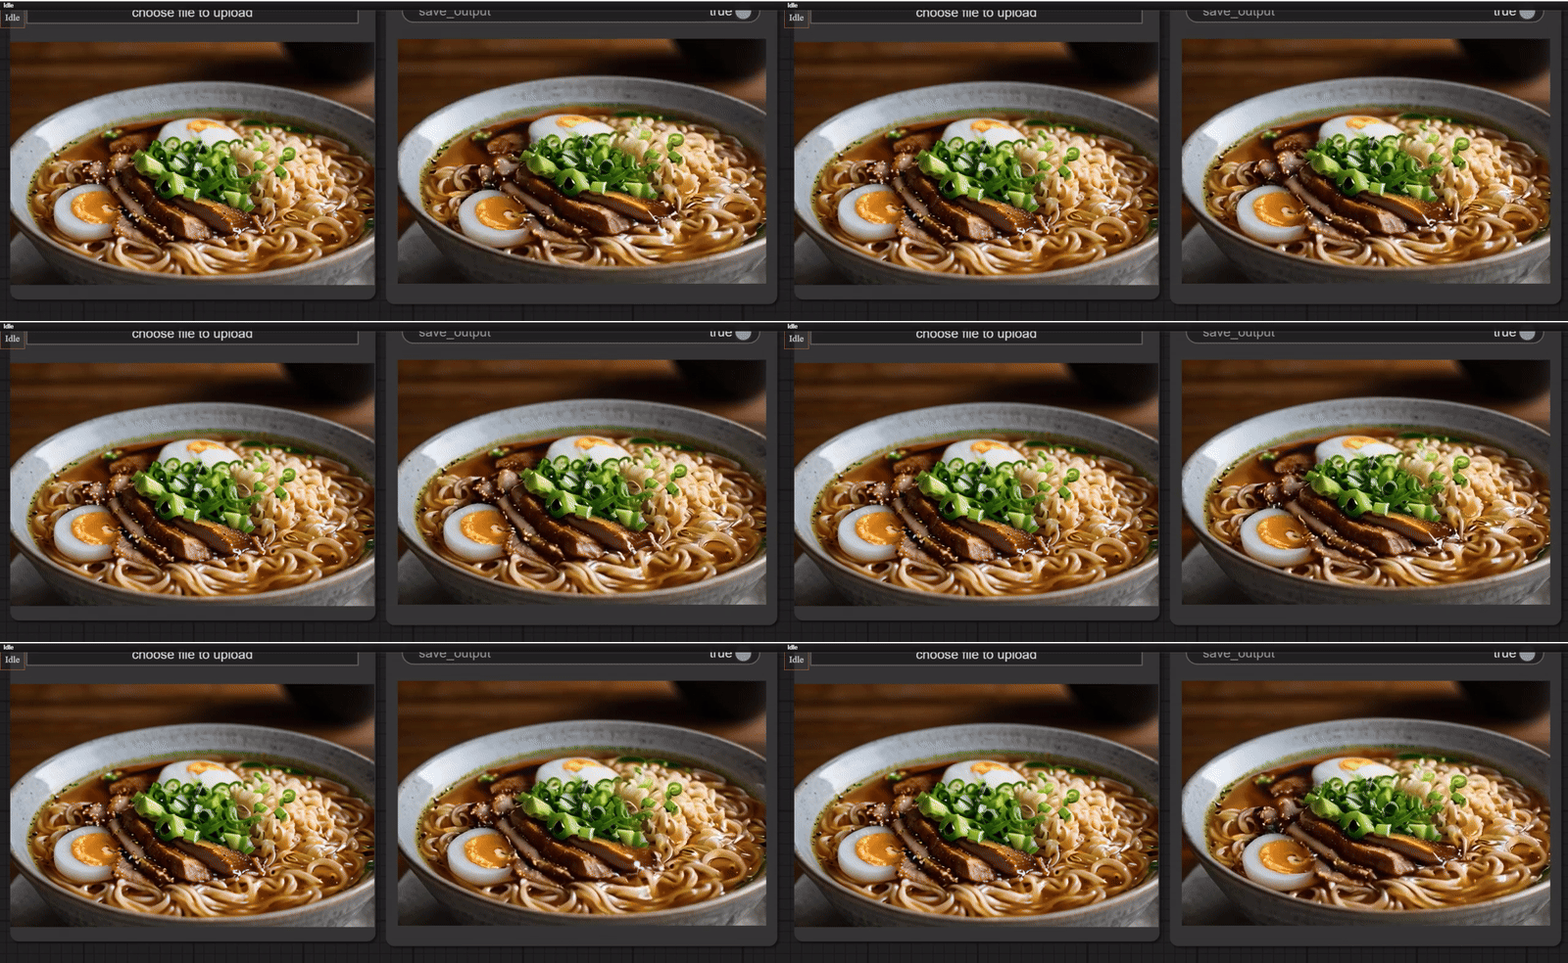
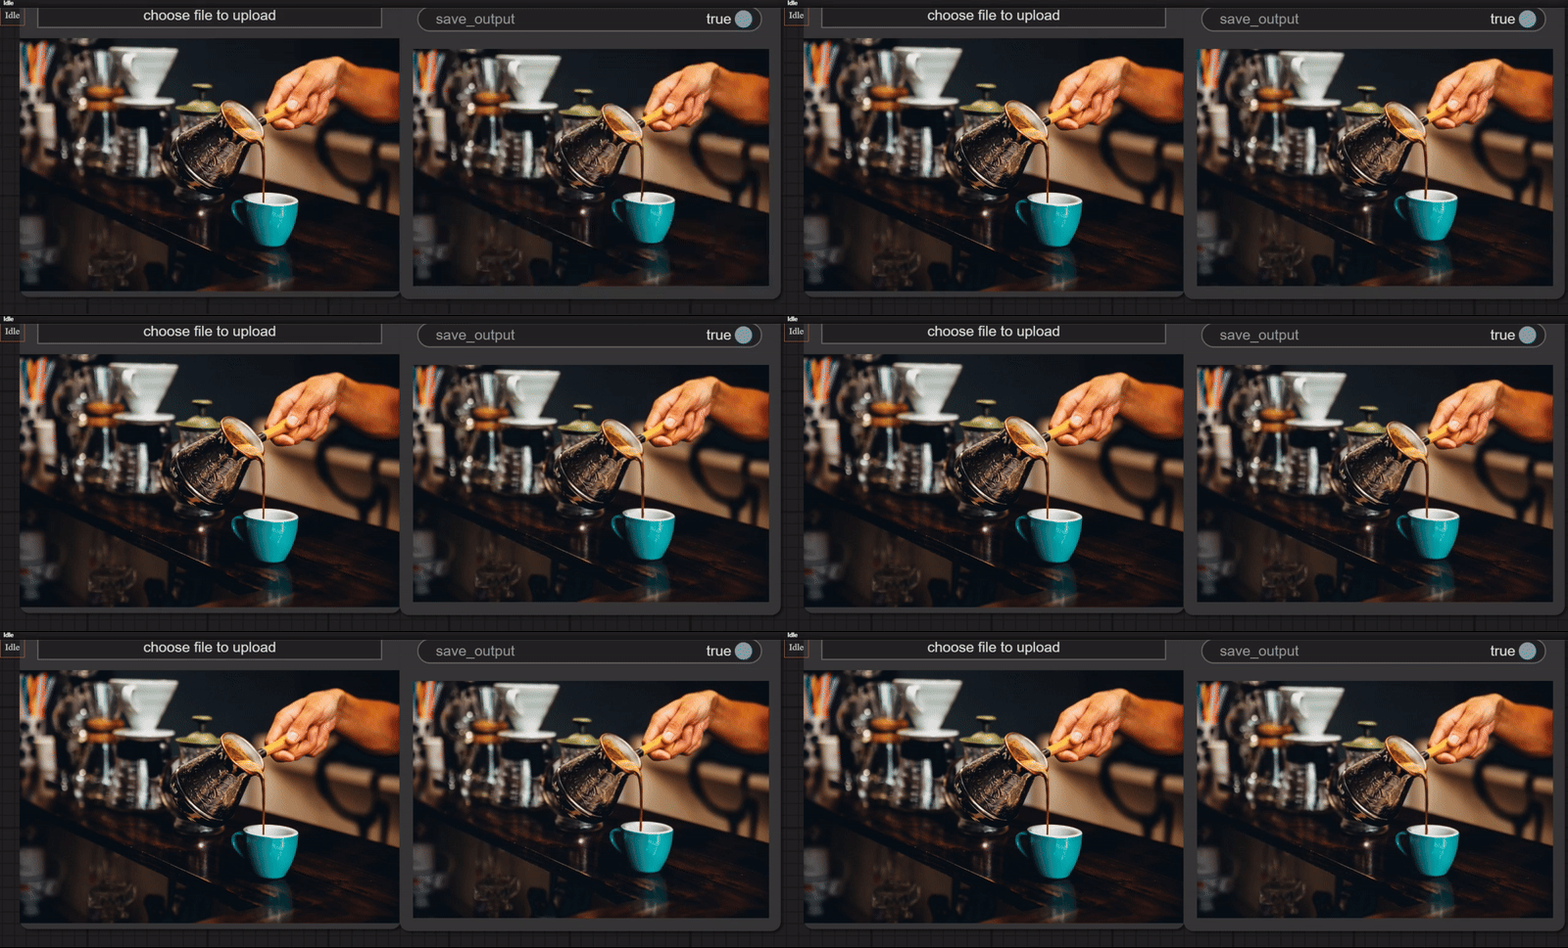
Original article can be found here: https://learn.thinkdiffusion.com/turning-images-into-action-the-magic-of-cogvideox-ai/