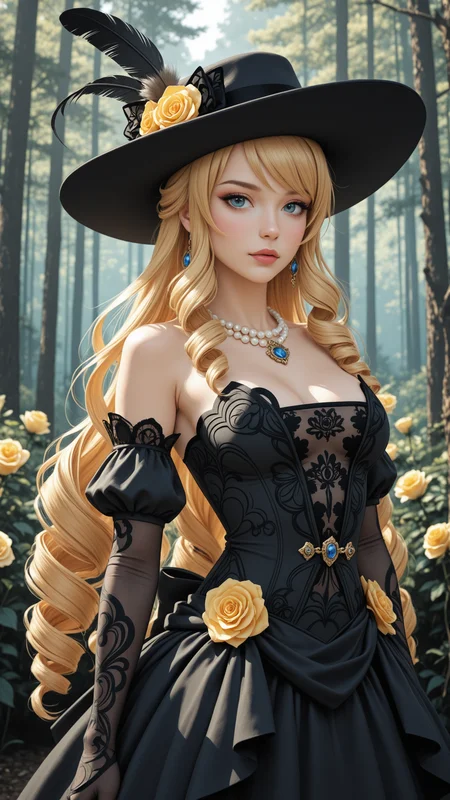
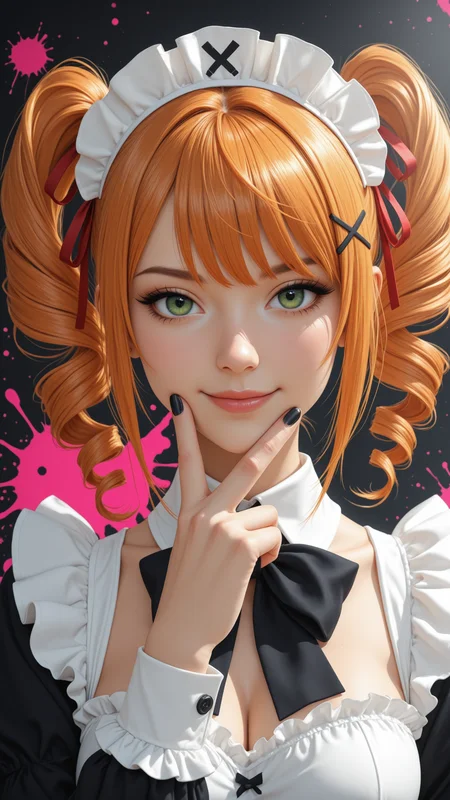
Hey there!
Here is my first attempt for a Illustrious Checkpoint merge.
V6 Showcase made with 40 Steps + Hi-Res without Adetailer
recommended:
Positive prompt : masterpiece, detailed_eyes, high_quality, best_quality, highres, absurdres, 8k
Negative prompt : poorly_detailed, jpeg_artifacts, worst_quality, bad_quality
I hope you like it and im tense about the results !
If you like what i do consider leaving me a like or a comment , much appreciated and helps me to continue 🖤
You can also follow me or buy me a coffee ☕ at: https://ko-fi.com/jedas
Have a great day ! :)
Description
FAQ
Comments (10)
finally Illustrious 🔥🔥
When I first started making the (almost complete) switch from Pony/SDXL to Illustrious, I found, and quickly fell in love with, one of your earlier checkpoints (V2). I'm excited to try this new release. Thank you very, very much for the time and care you put into your checkpoints!💖
Thanks for the Kind words, im Happy you Like it and yeah some Versions might not really feel Like illustrious in my opinion most of my Checkpoints have this cold XL feeling but with V6 i finally feel Like im on the right path, gonna try to bring more colors to the Future and more quality aswell. Im looking forward to your creations ! :) best regards and Happy creating :)
V6 + General statement:
While with most Pony and Illustrius based checkpoints, to me personaly, 24 steps to "finalize" an image seem to be most often enough, while using 32 steps for the top-notch images of my favorite taste.
After some experiments, I've come to agreement that 40 steps definitly does make a noteable (and thus quite worthwhile) difference!
This said, here's my general workflow (its just too tedious to add to every single image):
1. Forge, 3-6 batches of 2 @ 12 steps, with CFG 5.5-6 // 21:9 = 1529 x 640, with Euler-Simple (just "downgraded" from previous 1720x720, also Euler seems to be a nice compromise between the "creativity" of EulerA and the "sharpness" of DPM2**-Karras, while beeing quite fast, on my computer, this means around 30 secs for 1 batch of 2 - at this stage)
2. Select best images (send to img2img), AFTER apply "corrections" (example: rough MS paint fixing) where required, for next step
3. img2img (1 batch of 2) with main denoise of 0.25, with ADetailer face (and rareley hand) fix, detection 0.25-0.55, denoise 0.3, upscale factor 1.5, using 24-40 steps
4. Save best image
5. Batch upscale: Extras-Batch-from-Directory, upscale factor 1.5 (resulting in 3440x1440 final image, my native screen res), using: 4xNMKDSuperscale (somewhere on github)
Hope this helps, enjoy
Thank you for that inspiration! I post a grid comparing different Samplers and Render Steps, I did not know that Euler 12 Steps could work that well - I usually only use 24 DPM++SDE with Adetailer - I posted a Grid (I do not spot THAT much of a difference between the pictures, but I do not have that much of an artistic eye anyways....
@maybellesun keep in mind, i use 12 steps only as a "preview" for which image to use.
To finalize, i still use 24-32 steps, usualy, or even 40 as with this checkpoint.
At least with: render, realistic, etc this still has great impact on the quality, when "preserving" anime (drawn) style, 12-16 can/could be enough though.
Just 11 steps for high quality pics! ;)
Love it! ♥♫
GREAT model! ♥♫
Thanks for the feedback im glad you have a use of it :)
One of the best models out there for the 2.5D space
i hope that you can still improve this, also improve the camera angle or prompts for angles or shots like this
https://ibb.co/Swf3cksk
or this
https://ibb.co/ZzmGCGz1
or this
https://ibb.co/XxnBXMgs
this checkpoint is good, just that controlling the angle using the words in the links seems very hard to achieve and it is not consistent, even the full body it doesn't do properly, somewhat it is only specialize for close up shot half body or half of half body,
Details
Files
Available On (2 platforms)
Same model published on other platforms. May have additional downloads or version variants.