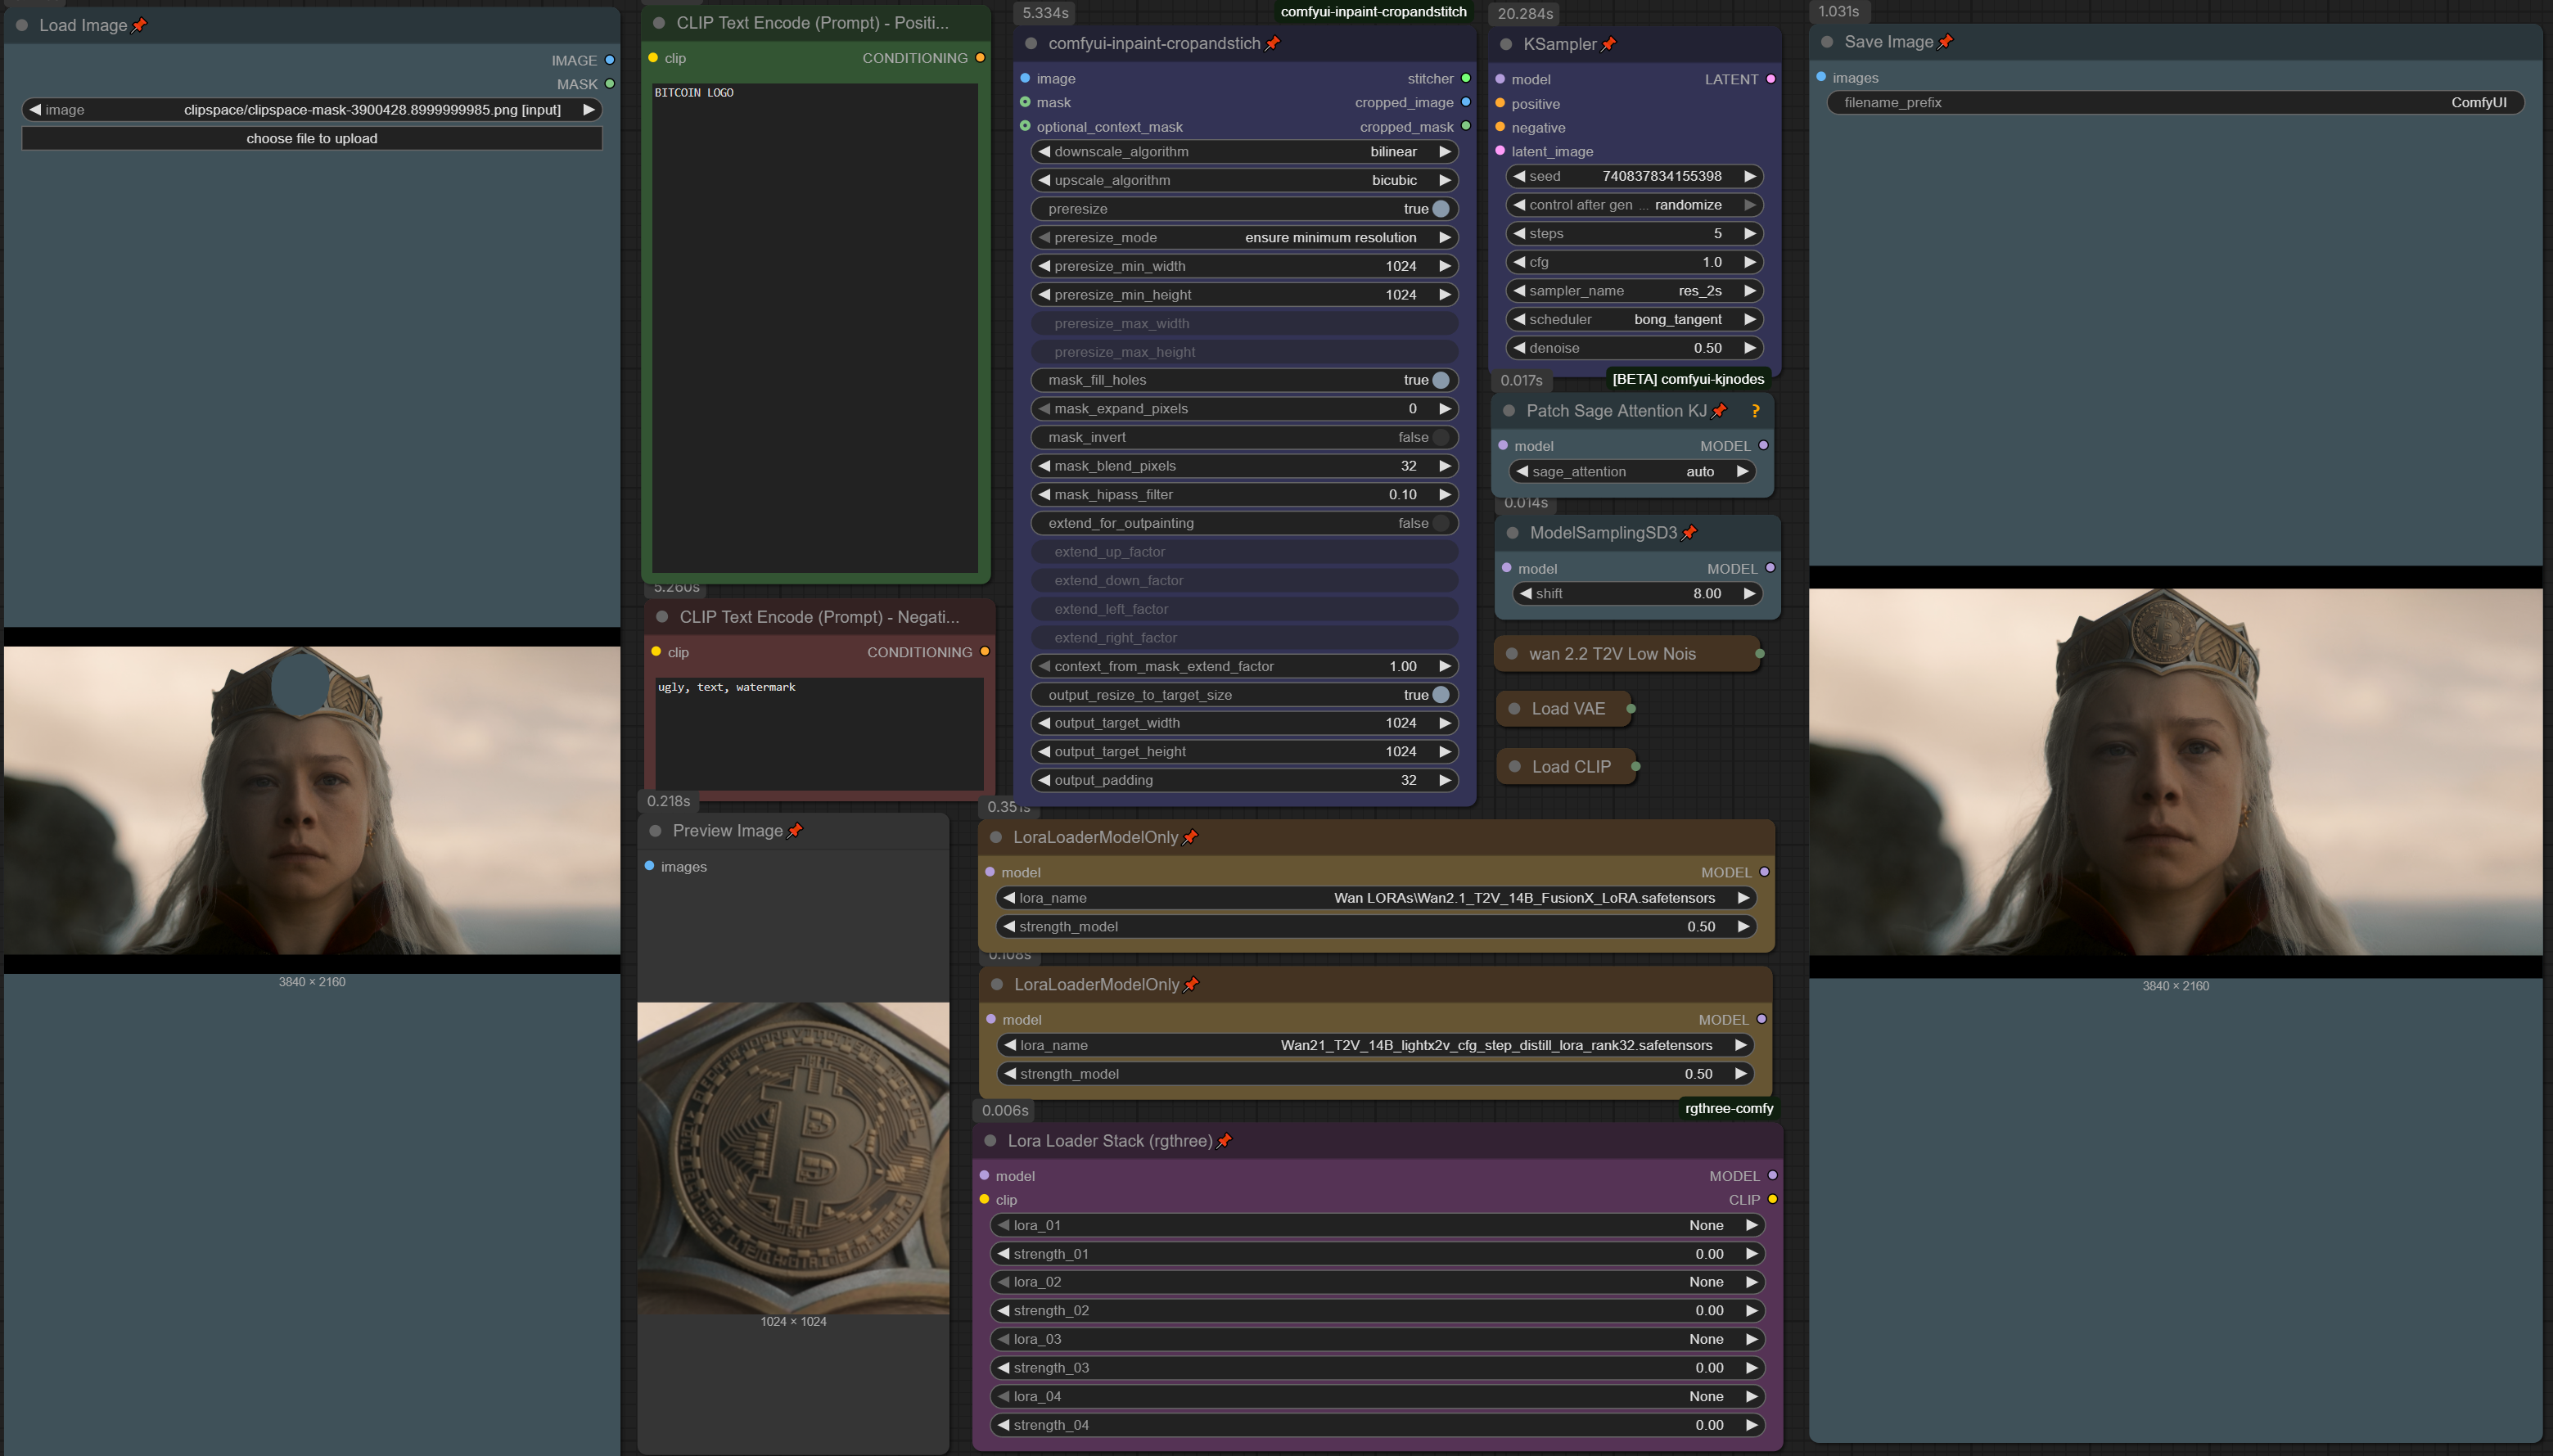
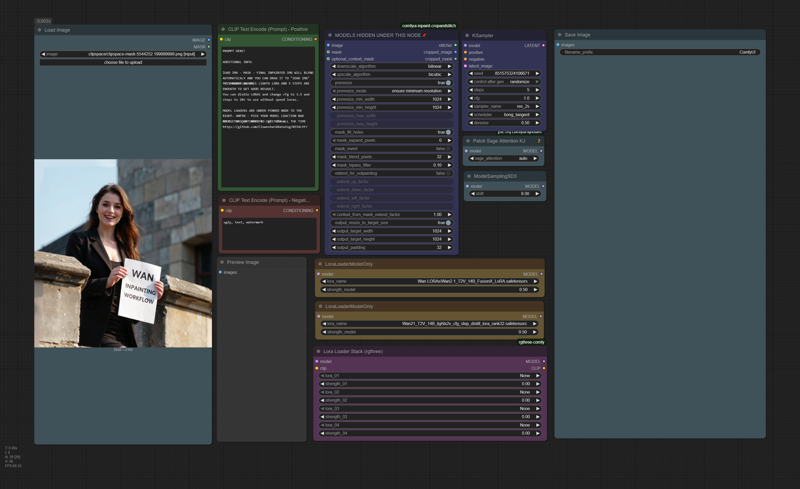
Wan 2.2 Inpainting Workflow with Full Res (A1111 only masked inpainting analog) with Auto Stitching
Description
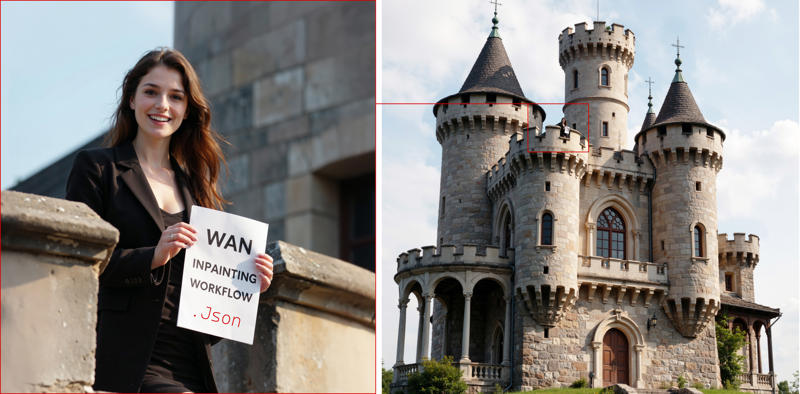
Load IMG - right click and MASK with mask editor - type prompt - generate. THE FINAL INPAINTED IMG WILL BLEND AUTOMATICALLY, AND YOU CAN DRAG IT TO "LOAD IMG" TO INPAINT AGAIN. THIS WORKFLOW USES LIGHTX LORA AND 5 STEPS ARE ENOUGH TO GET GOOD RESULTS. You can disable LORAS and change cfg to 3.5 and steps to 20+ to use without speed loras. Nodes you need to install.
https://github.com/ClownsharkBatwing/RES4LYF/
https://github.com/lquesada/ComfyUI-Inpaint-CropAndStitch
https://github.com/kijai/ComfyUI-KJNodes
https://github.com/Comfy-Org/ComfyUI-Manager https://github.com/rgthree/rgthree-comfy
FAQ
Comments (8)
I was looking for that kind of stuff
Thanks for the workflow <3
You god!
This is just what I needed to fix the slop that Flux Fill refuses to fix. This is great to fix images but gotta stay small or it looses detail, and if that happens use the result to fix it further. Kudos
This is incredible!
Yes you have to know how to expand/collapse nodes to select the correct models and how to download and place models in correct folders. As well as how to use the mask editor.
But is it your fault that some people who literally searched for an inpainting workflow didn't know how to use an inpainting workflow? Of course not.
This workflow was absolutely perfect for my use case! Thank you very very much! I never would have been able to create a Wan image inpainting workflow myself and get it working so well.
This is indeed very good but I wish there was also a version with both high and low noise passes.
Great workflow man. I was able to get it running and inpainting in minutes. Well done and thank you.
Its not working for me, do i need fusionX
does it fix fucking fingers?