CivArchive
    Three-View Drawing - v1.0
    Preview 97354860Preview 97354861Preview 97354863

    The three-view drawing is a core method in engineering drafting for representing the structure of an object, based on the principle of orthographic projection. It presents the object from three fixed perspectives:


    1. Front view: Projected from the front of the object, showing its length and height.

    2. Top view: Projected from directly above the object, showing its length and width.

    3. Left view: Projected from the left side of the object, showing its width and height.
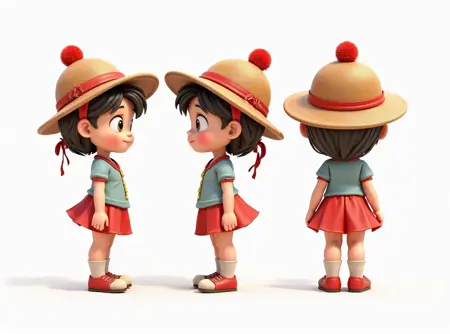

    The three views follow the principles of "aligned length, level height, and equal width," jointly constructing the three-dimensional shape of the object. It serves as a standard communication language in fields such as design and manufacturing.

    Description

    LORA
    Flux.1 D

    Details

    Downloads
    137
    Platform
    CivitAI
    Platform Status
    Available
    Created
    8/30/2025
    Updated
    9/30/2025
    Deleted
    -

    Files

    flux-lora-000010.safetensors

    Mirrors

    Huggingface (1 mirrors)
    CivitAI (1 mirrors)