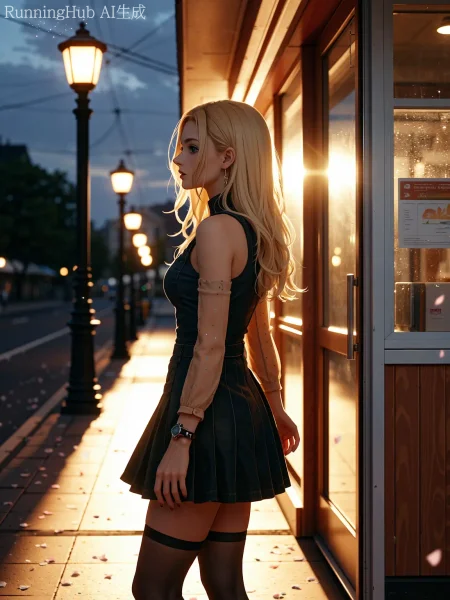
This workflow is built around Magic Wan 2.0, a realism-oriented model that handles detail refinement, texture consistency, and lighting reconstruction particularly well when working from an input image. The structure here takes an uploaded image, resizes it to a clean working resolution, encodes it into latent space through the Wan VAE, and then lets the model re-interpret that content under the guidance of your prompt. Everything is arranged so that you can drop in an image, add the direction you want, and immediately generate a refined or re-styled result without having to manage the more technical components of the pipeline.
When using it, a few practical points help the output stay stable and high-quality. Keeping moderate to slightly higher steps maintains good fidelity without drifting away from the original input. Denoise levels are especially important in image-to-image: lower values help preserve structure, while higher ones push stronger changes—so treating denoise as the “strength slider” gives you more control. If you’re planning to upscale afterwards, the same low-denoise approach keeps consistency across details. And as with the text-to-image workflow, acceleration LoRAs aren’t recommended since they noticeably weaken realism. Overall, it’s a straightforward process: adjust denoise based on how much transformation you want, set your prompt direction, and the workflow handles the rest for a balanced, high-quality reconstruction.
🎥 YouTube Video Tutorial
Want to know what this workflow actually does and how to start fast?
This video explains what the tool is, how to launch the workflow instantly, and shares my core design logic — no local setup, no complicated environment. Everything starts directly on RunningHub, so you can experience it in action first.
👉 YouTube Tutorial:
https://youtu.be/Eek663BSp3g
Before you begin, I recommend watching the video thoroughly — getting the full context helps you understand the tool faster and avoid common detours.
⚙️ RunningHub Workflow
Try the workflow online right now — no installation required.
👉 Workflow:
https://www.runninghub.ai/post/1991113183234732033/?inviteCode=rh-v1111
If the results meet your expectations, you can later deploy it locally for customization.
🎁 Fan Benefits:
Register to get 1000 points + daily login 100 points — enjoy 4090 performance and 48 GB super power!
📺 Bilibili Updates (Mainland China & Asia-Pacific)
If you’re in the Asia-Pacific region, you can watch the video below to see the workflow demonstration and creative breakdown.
📺 Bilibili Video:
https://www.bilibili.com/video/BV1kiyJBvE3r/
☕ Support Me on Ko-fi
If you find my content helpful and want to support future creations, you can buy me a coffee ☕.
Every bit of support helps me keep creating — just like a spark that can ignite a blazing flame.
👉 Ko-fi:
https://ko-fi.com/aiksk
💼 Business Contact
For collaboration or inquiries, please contact aiksk95 on WeChat.
🎥 YouTube 视频教程
想了解这个工作流到底是怎样的工具,以及如何快速启动?
视频主要介绍 工具定位、快速启动方法 和 我的构筑思路。
我们会直接在 RunningHub 上进行演示,让你第一时间看到实际效果。
👉 YouTube 教程:
https://youtu.be/Eek663BSp3g
开始前建议尽量完整地观看视频 —— 把握整体思路会更快上手,也能少走常见弯路。
⚙️ 在线体验工作流
现在就可以在线体验,无需安装。
👉 工作流:
https://www.runninghub.ai/post/1991113183234732033/?inviteCode=rh-v1111
打开上方链接即可直接运行该工作流,实时查看生成效果。
如果觉得效果理想,你也可以在本地进行自定义部署。
🎁 粉丝福利:
注册即送 1000 积分,每日登录 100 积分,畅玩 4090 体验 48 G 超级性能!
📺 Bilibili 更新(中国大陆及南亚太地区)
如果你在中国大陆或南亚太地区,可以通过下方视频查看该工作流的实测效果与构思讲解。
📺 B站视频:
https://www.bilibili.com/video/BV1kiyJBvE3r/
我会在 夸克网盘 持续更新模型资源:
👉 https://pan.quark.cn/s/20c6f6f8d87b
这些资源主要面向本地用户,方便进行创作与学习。
