


Sexiam — ZIT Styles
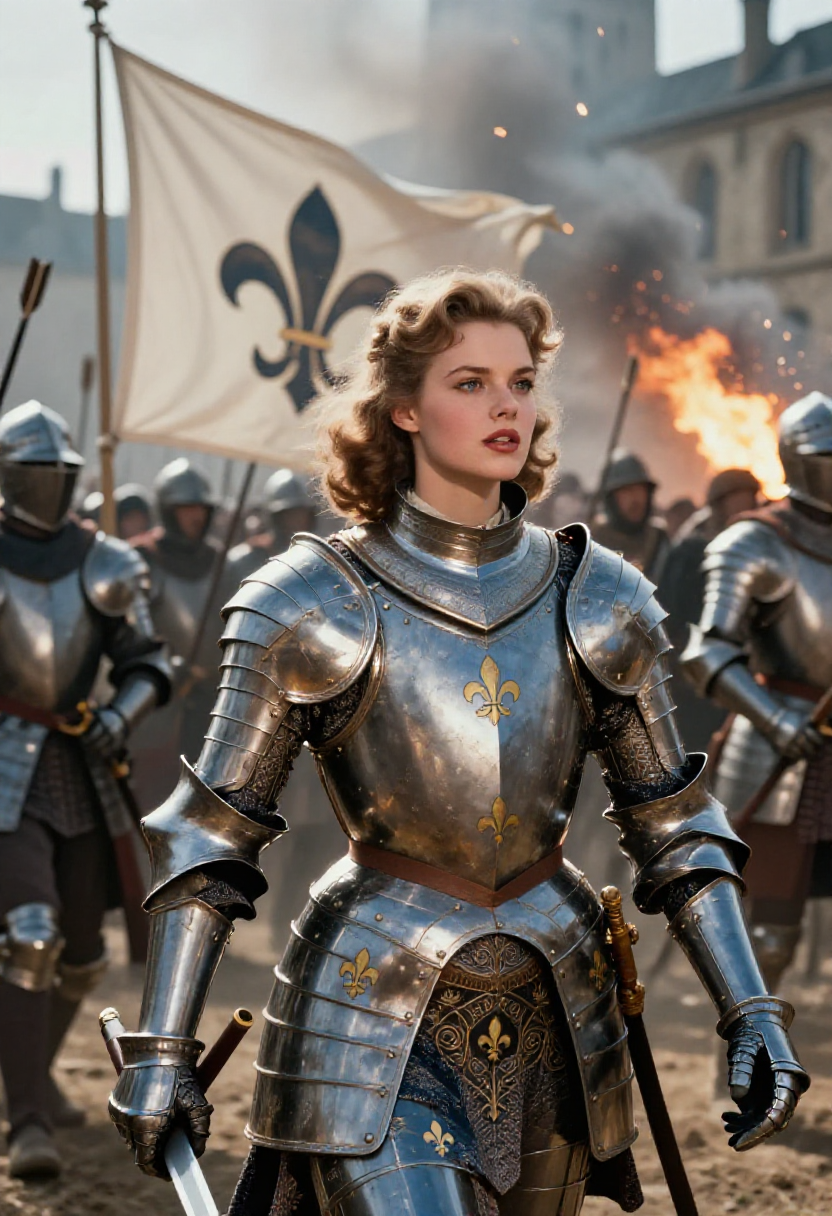
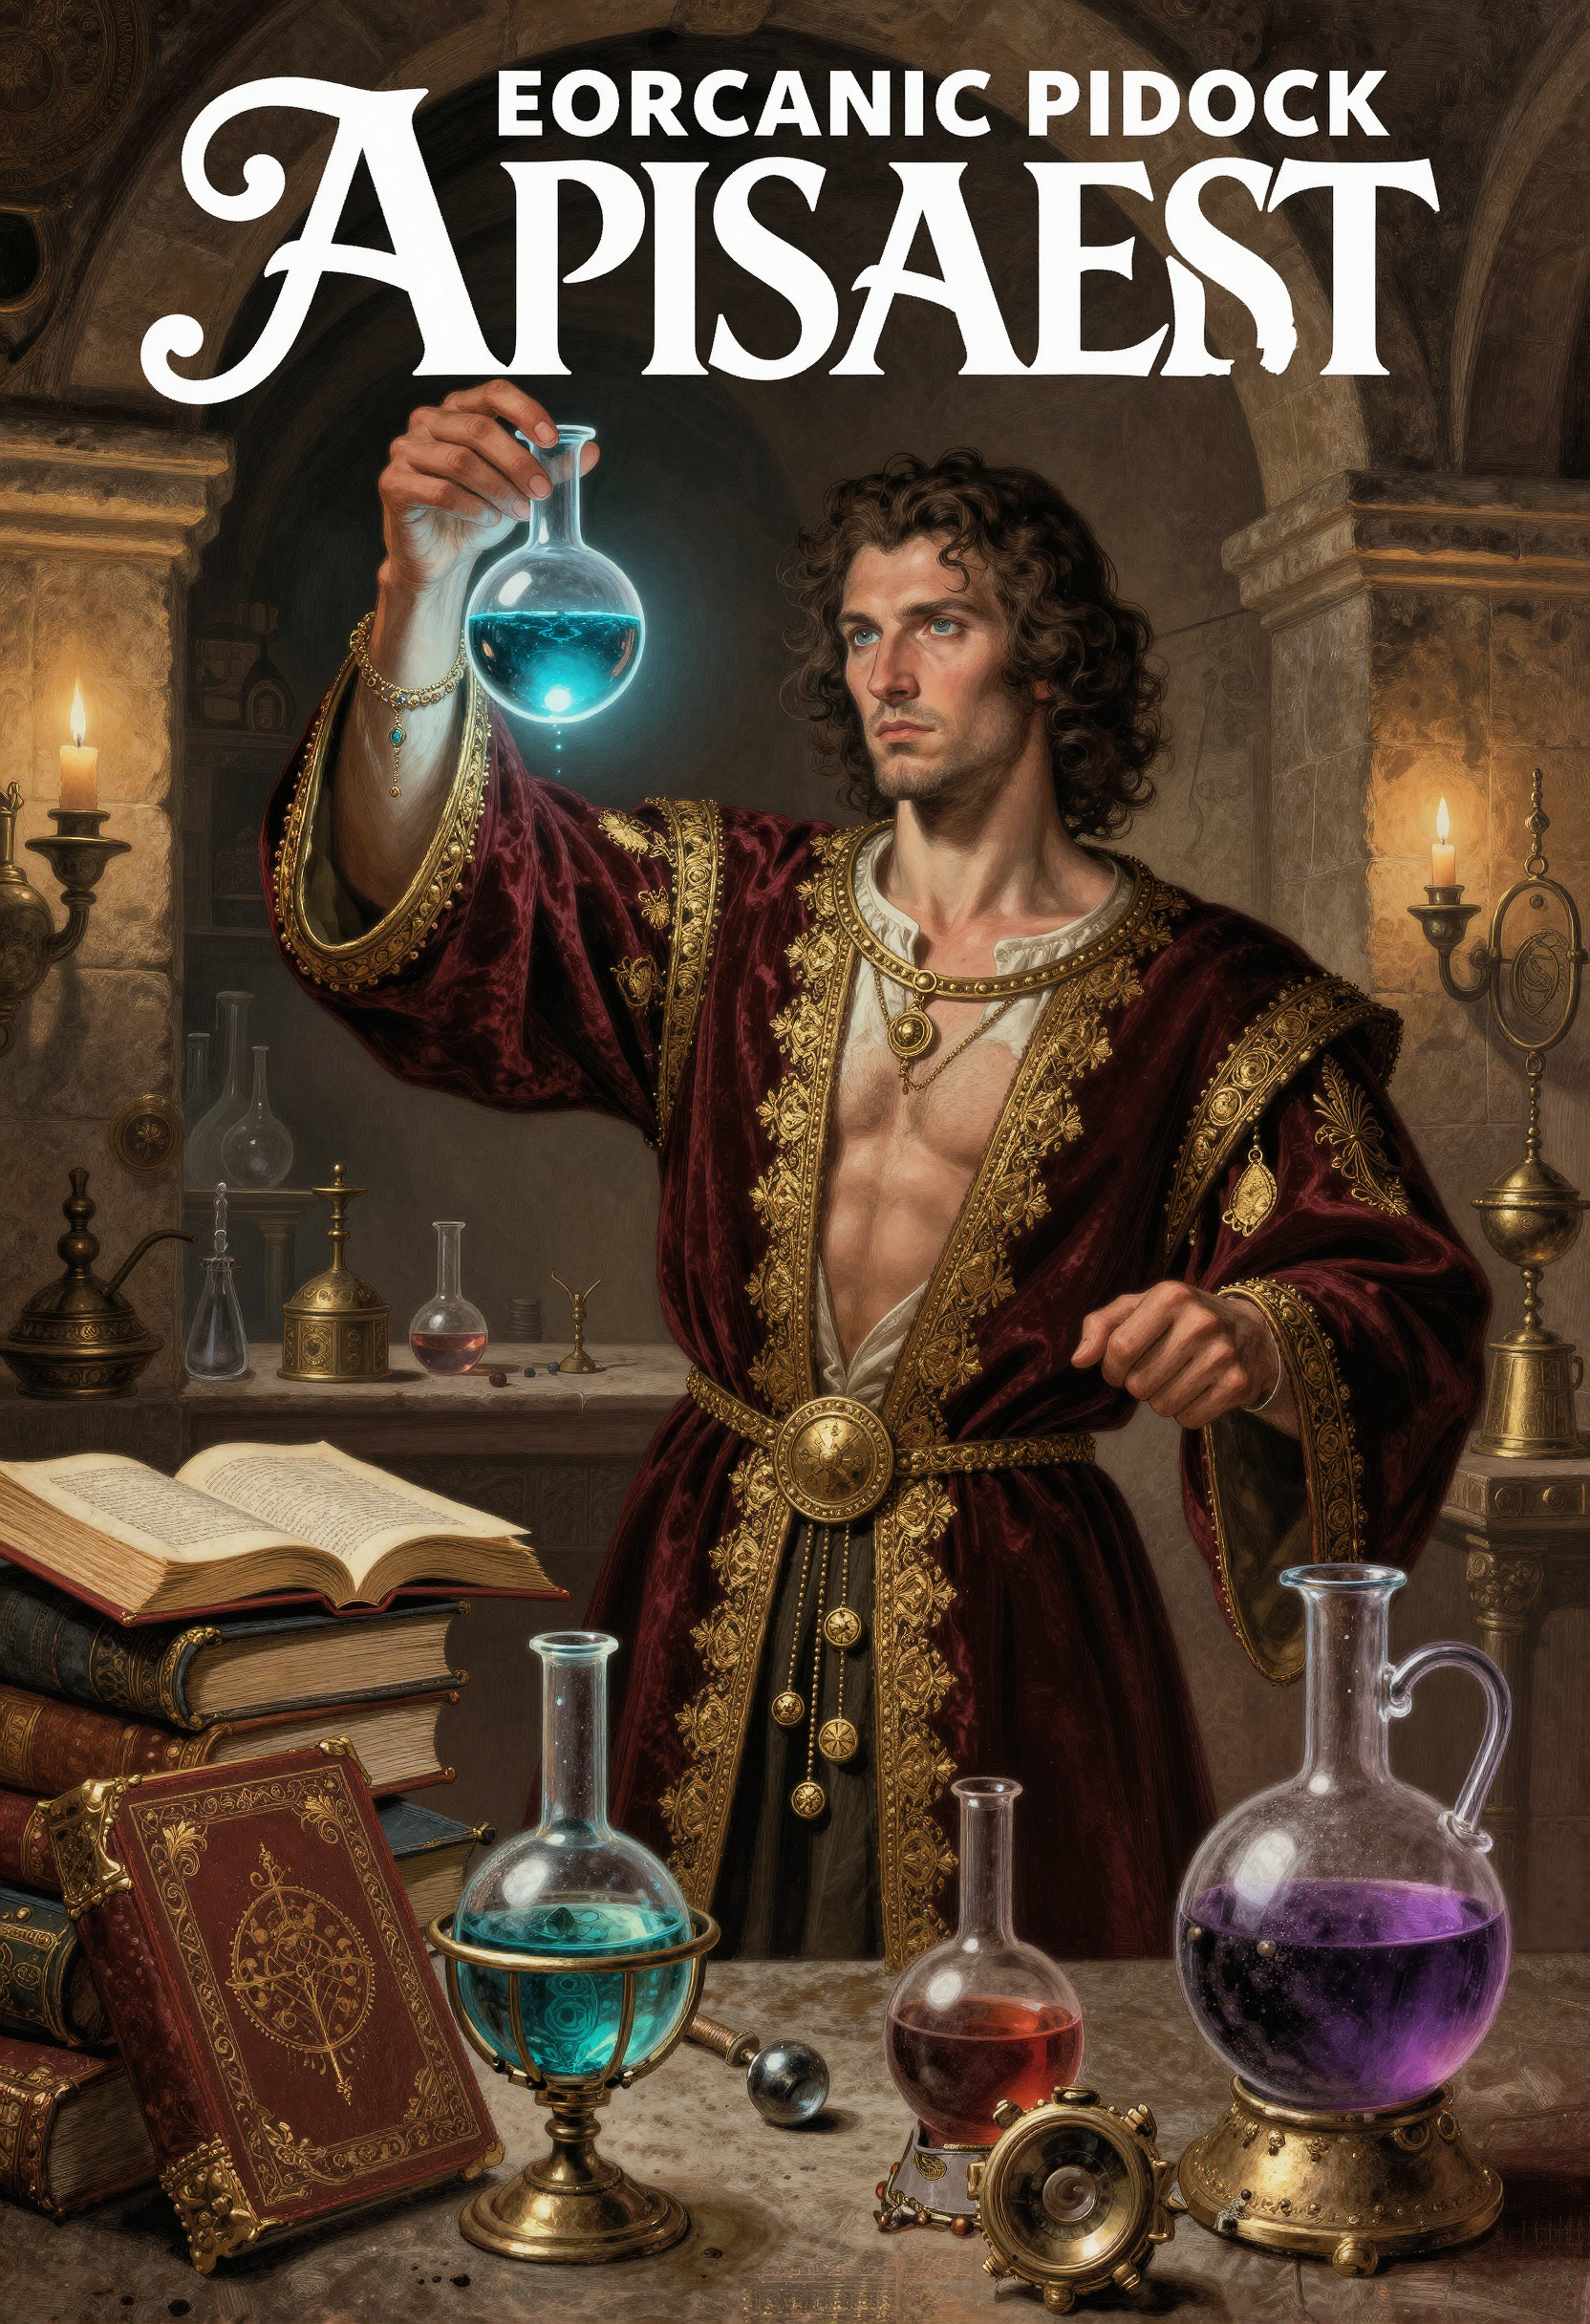
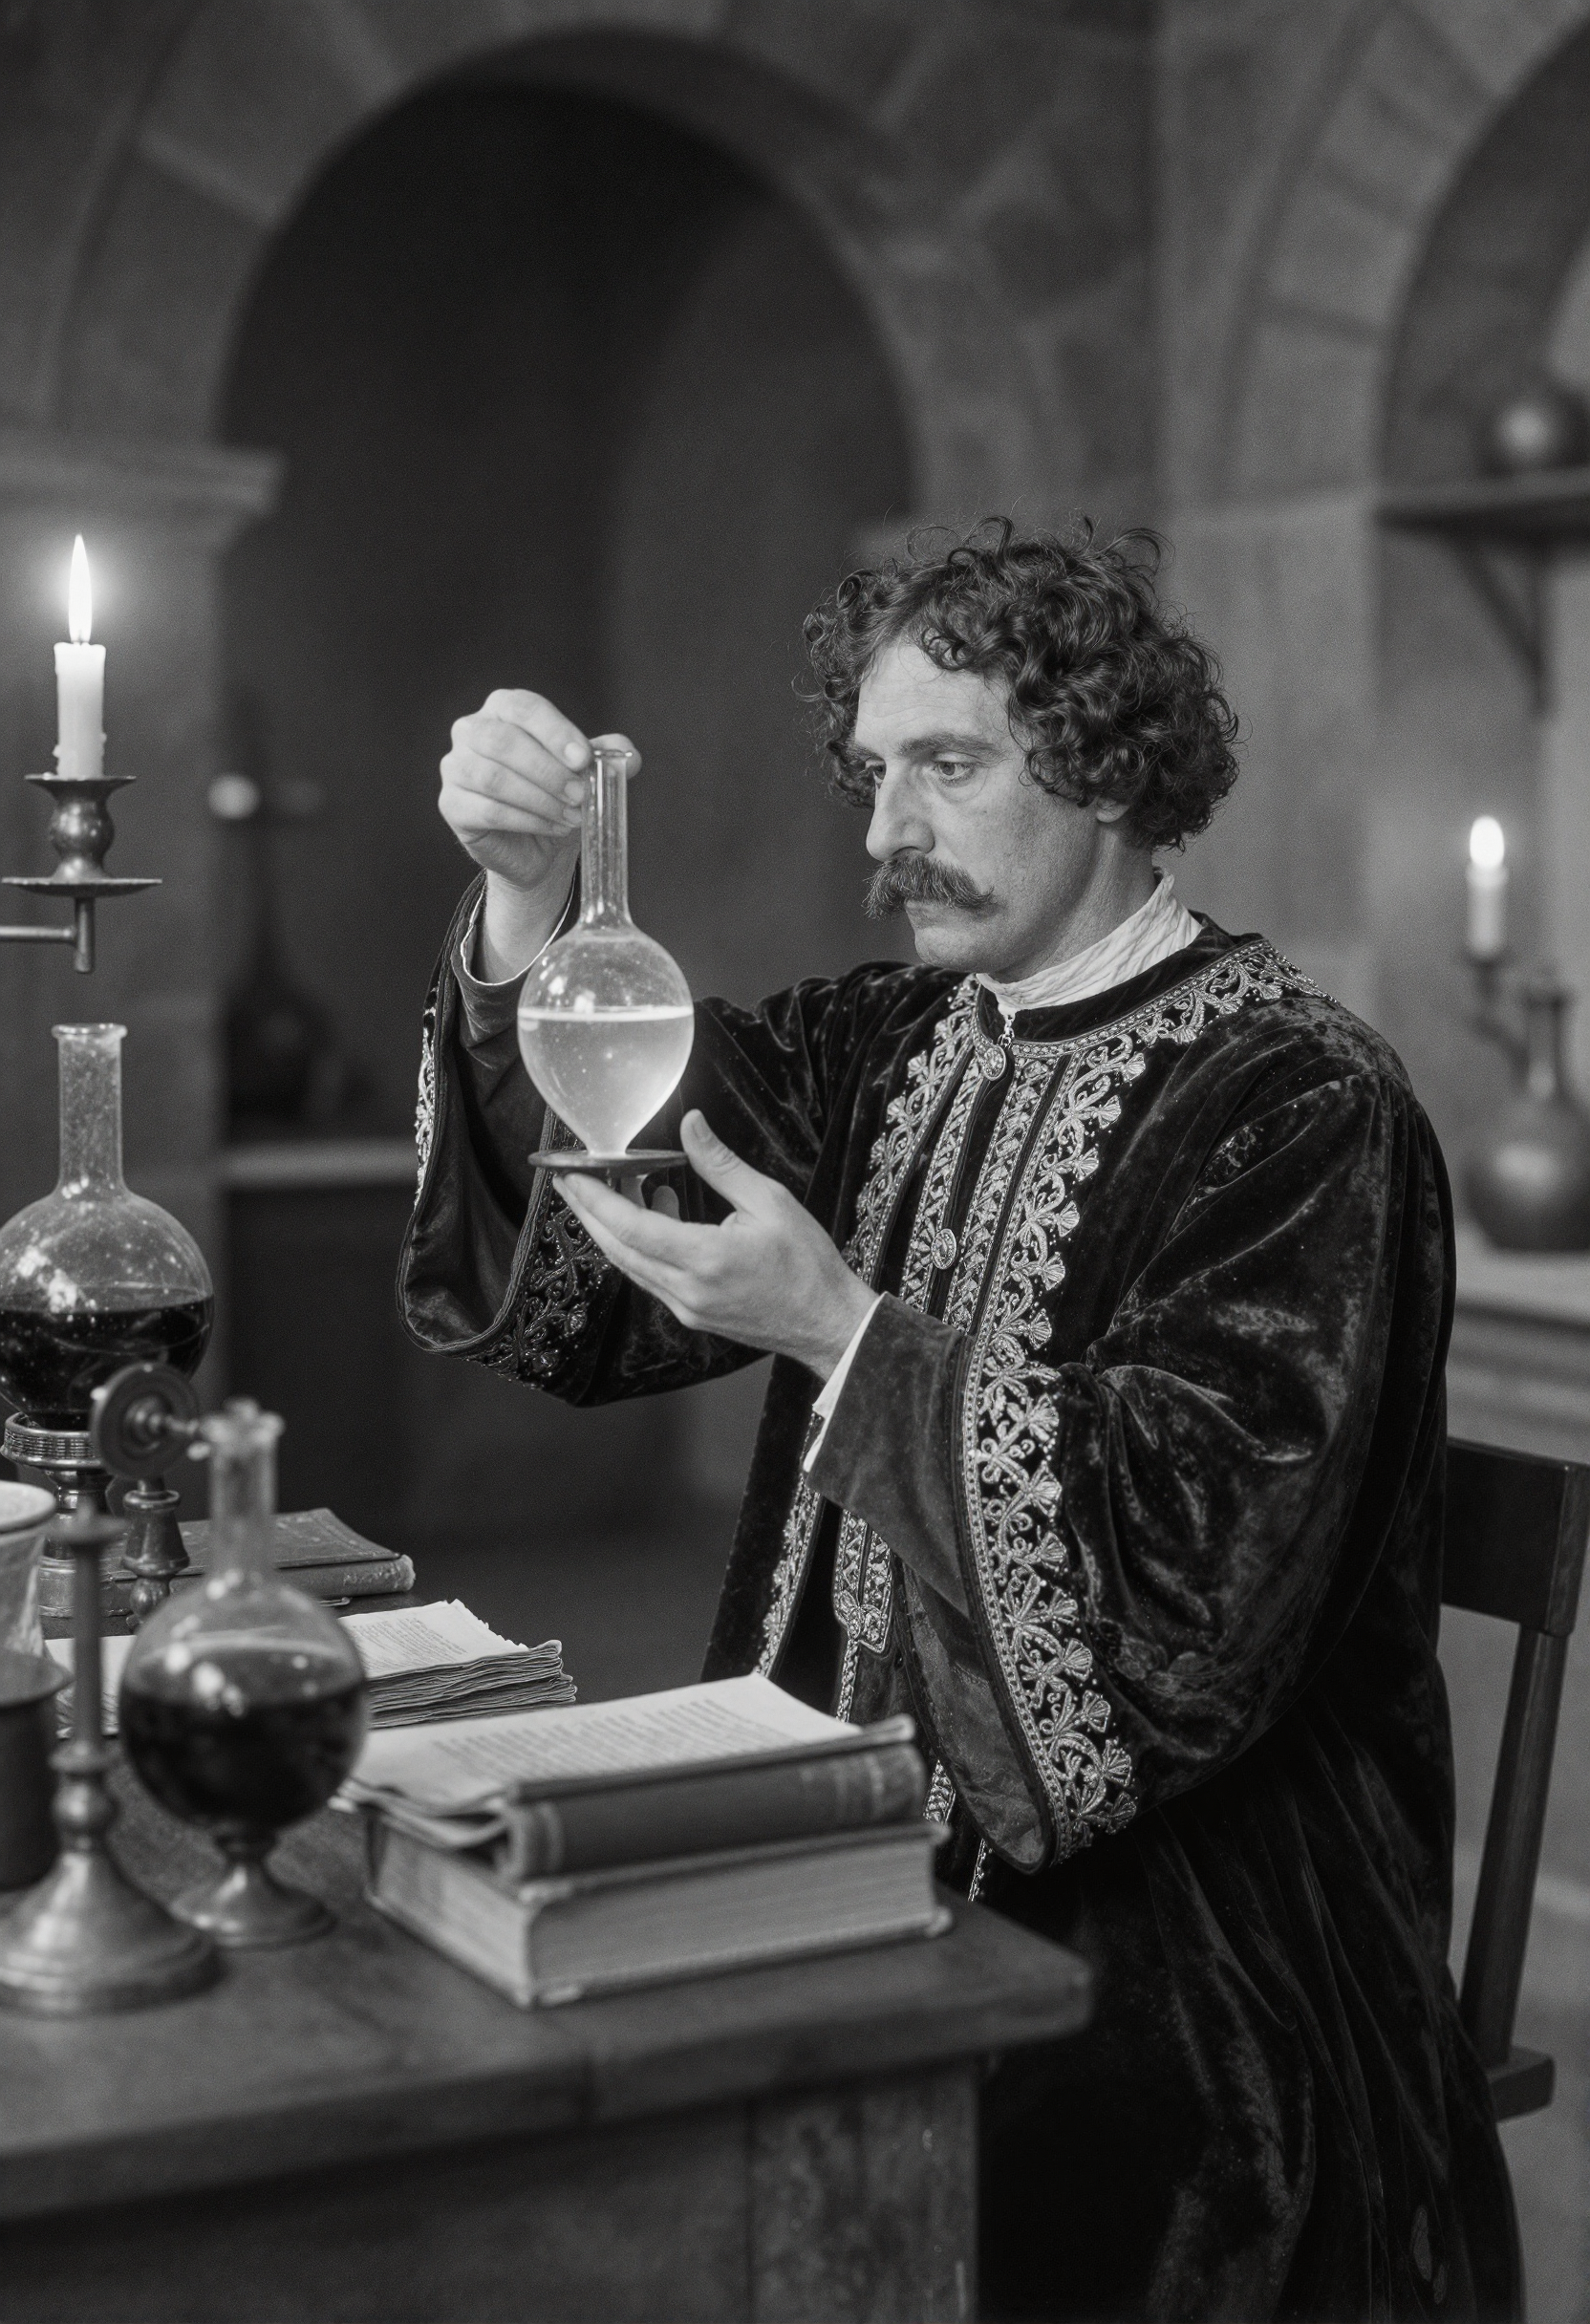
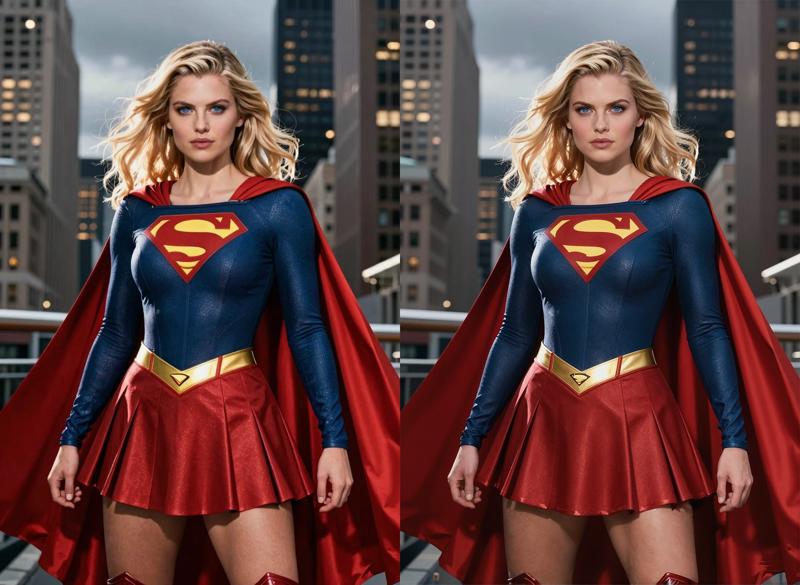 Here is an example of using the two-step High-res Fix workflow for adding details to a ZIT image.

The original idea came from @Photographer Amazing Z-Image Workflow
So credit goes to them for the modular toggle for the prompts.
(Z-Image Turbo Style Selector Workflow)
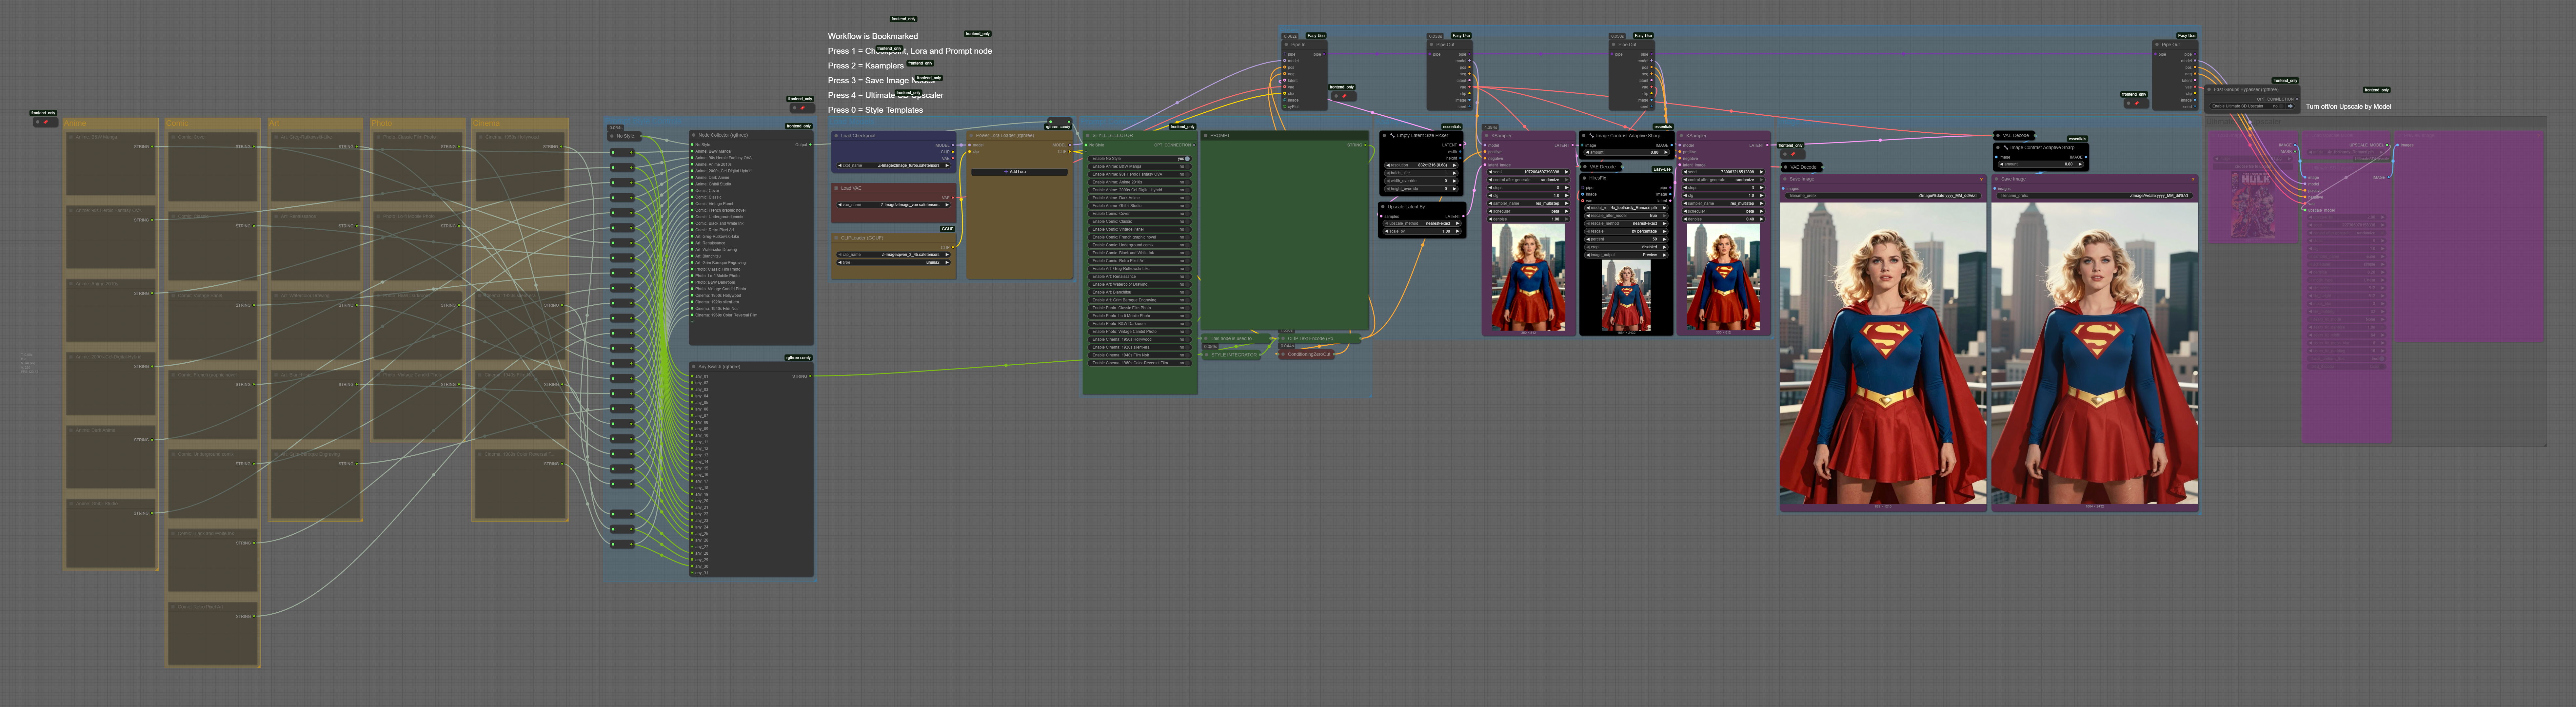
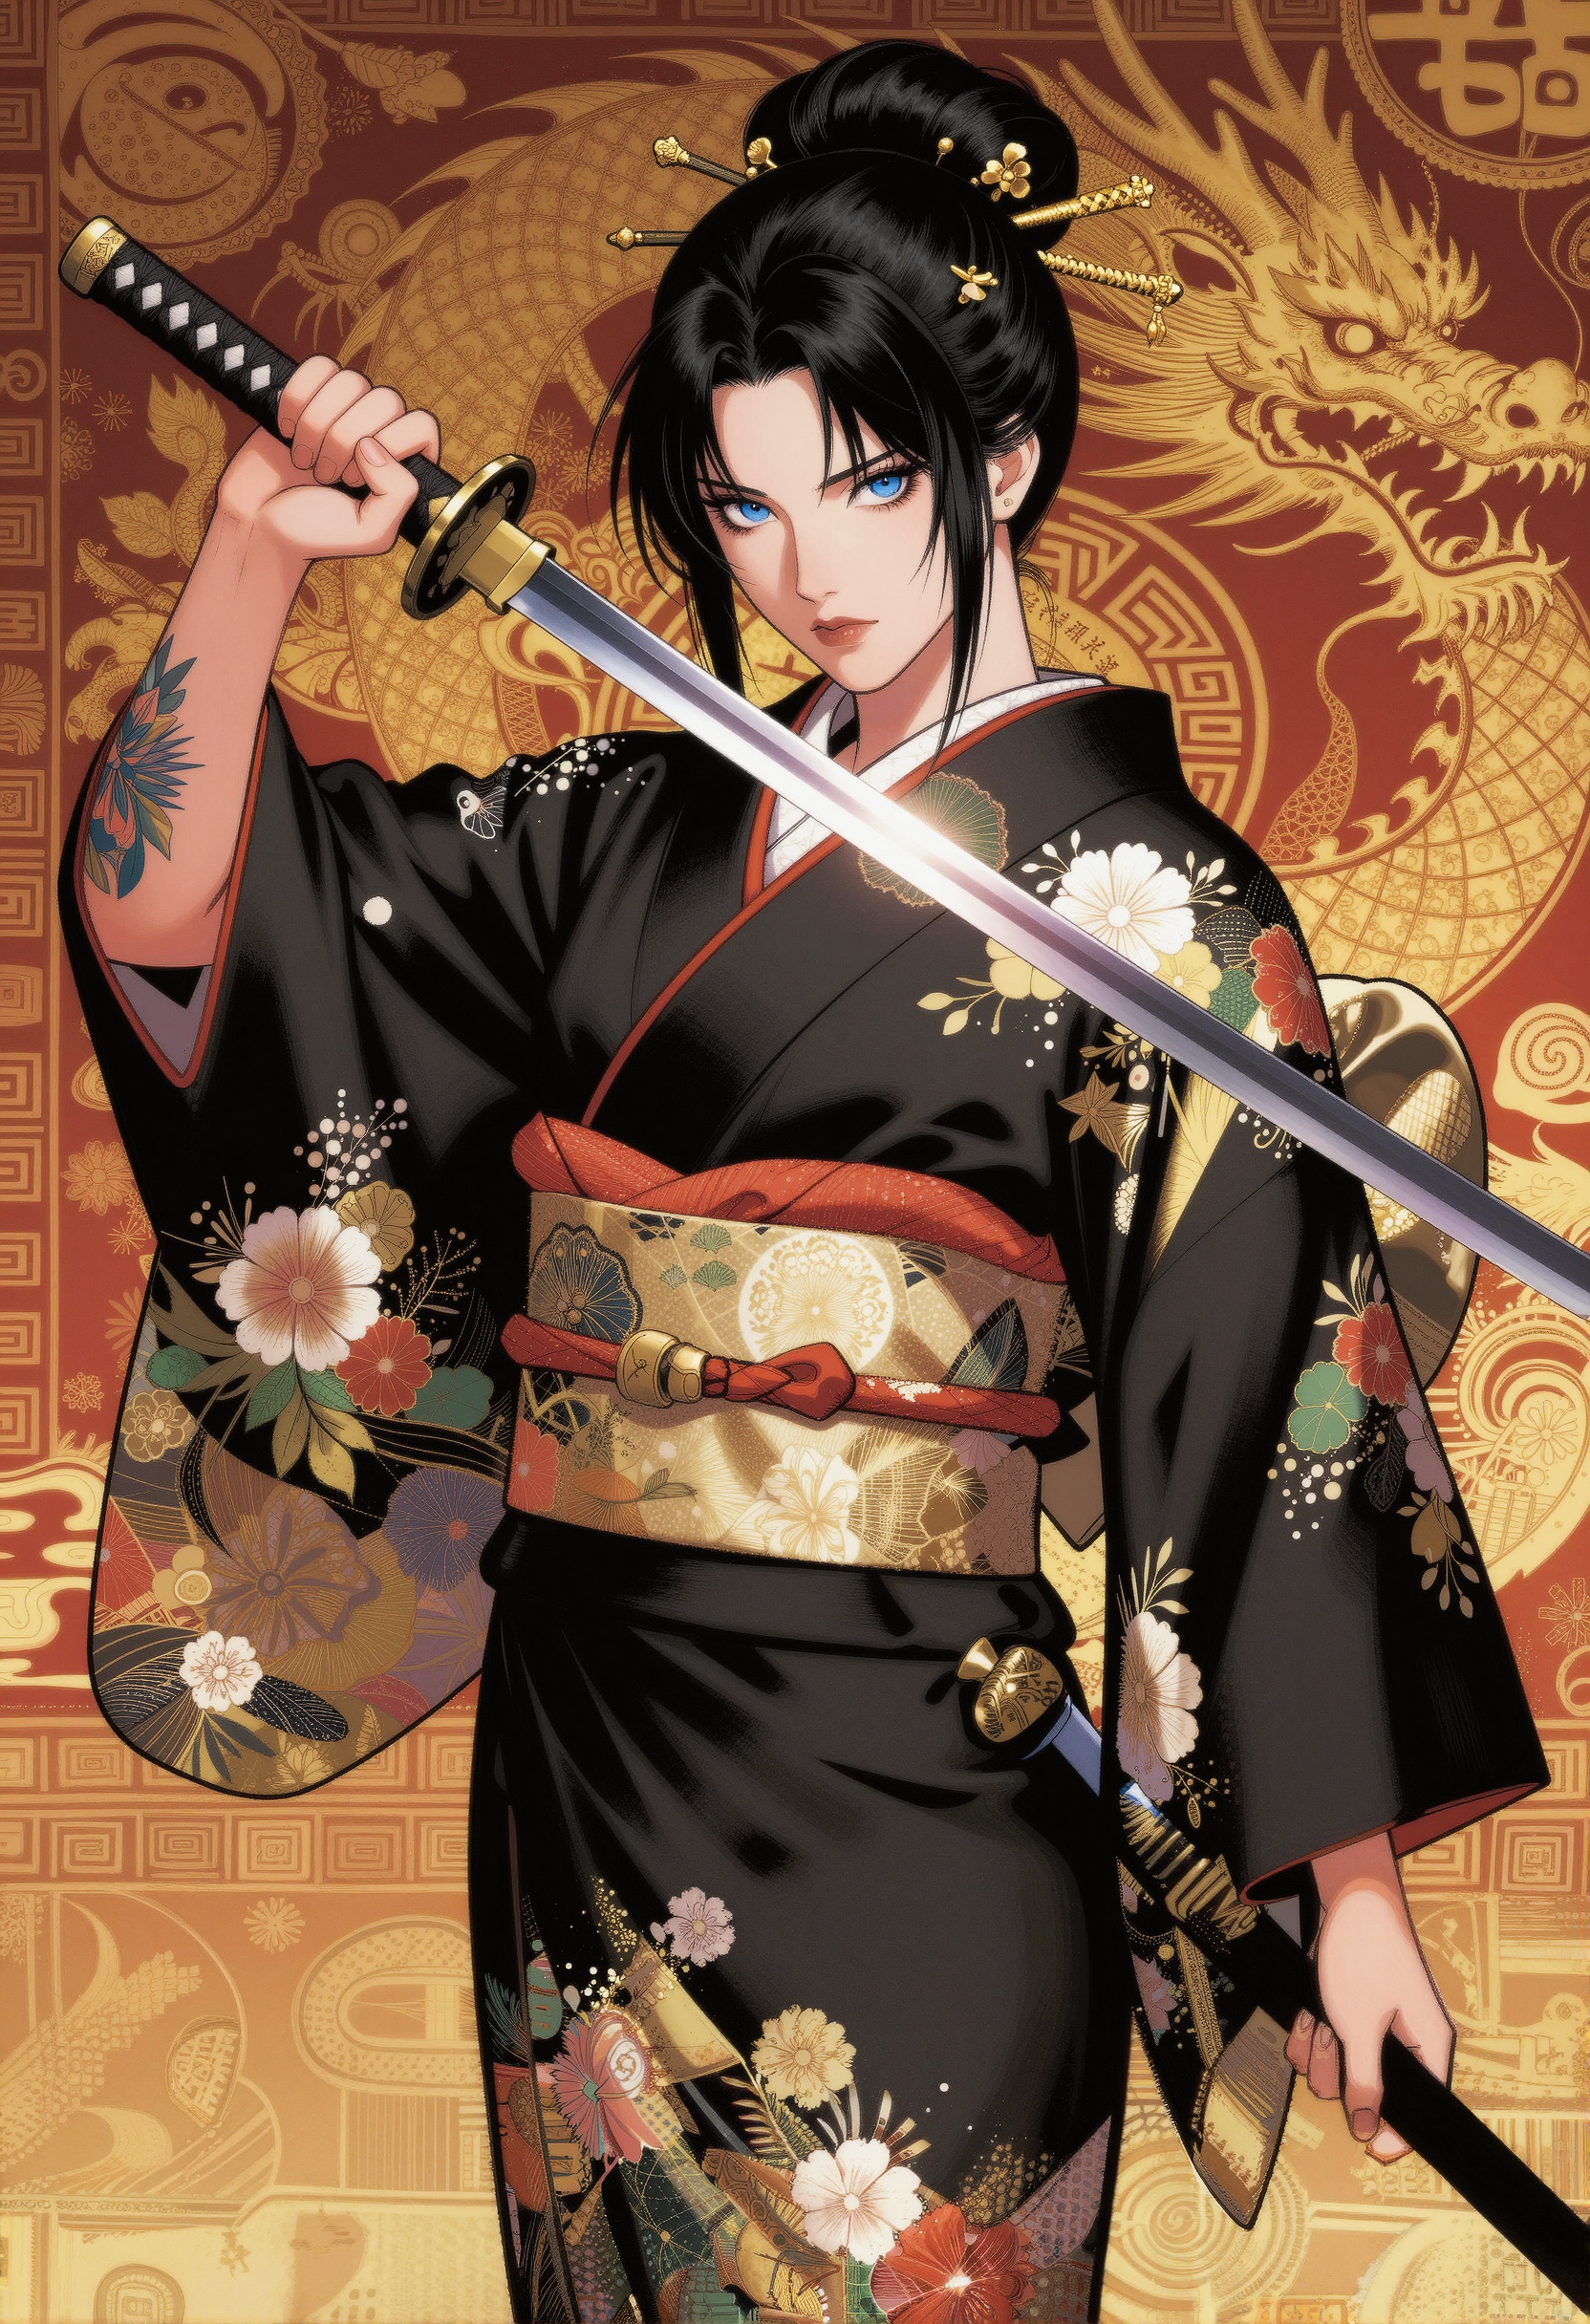
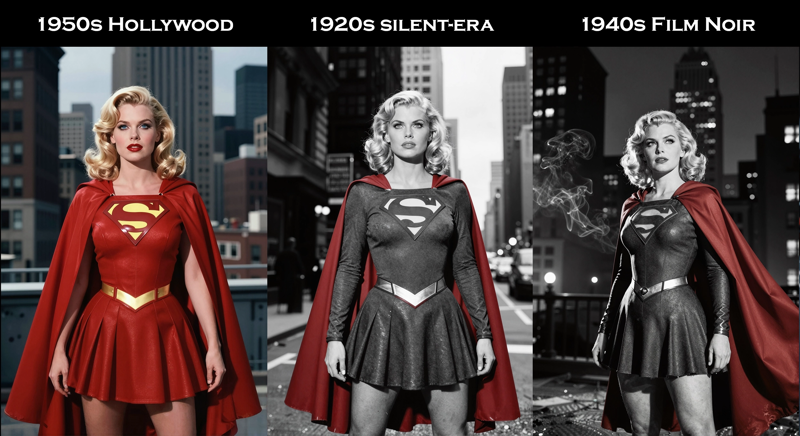
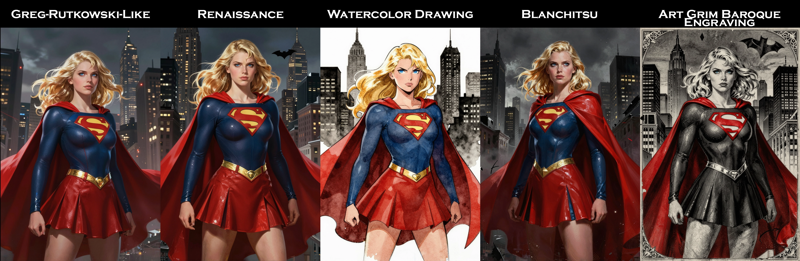
ZIT Styles is a modular style-selection workflow built for Z-Image Turbo, a fast and flexible Qwen-based distilled image model. It’s designed to let you explore a wide range of curated aesthetics — from sleek modern comics to gritty film noir — without rewriting your prompts each time.
Just pick a preset from the style categories, and the system automatically injects that visual language into your prompt template using the placeholder {$@}. Your main subject stays the same — the style is what transforms.
This workflow includes:
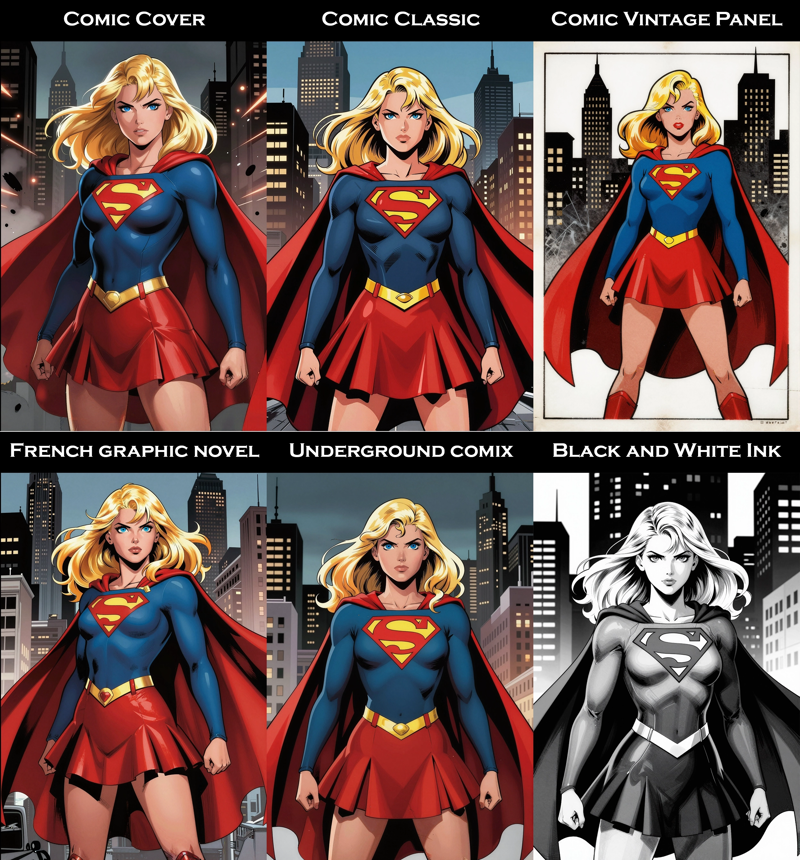
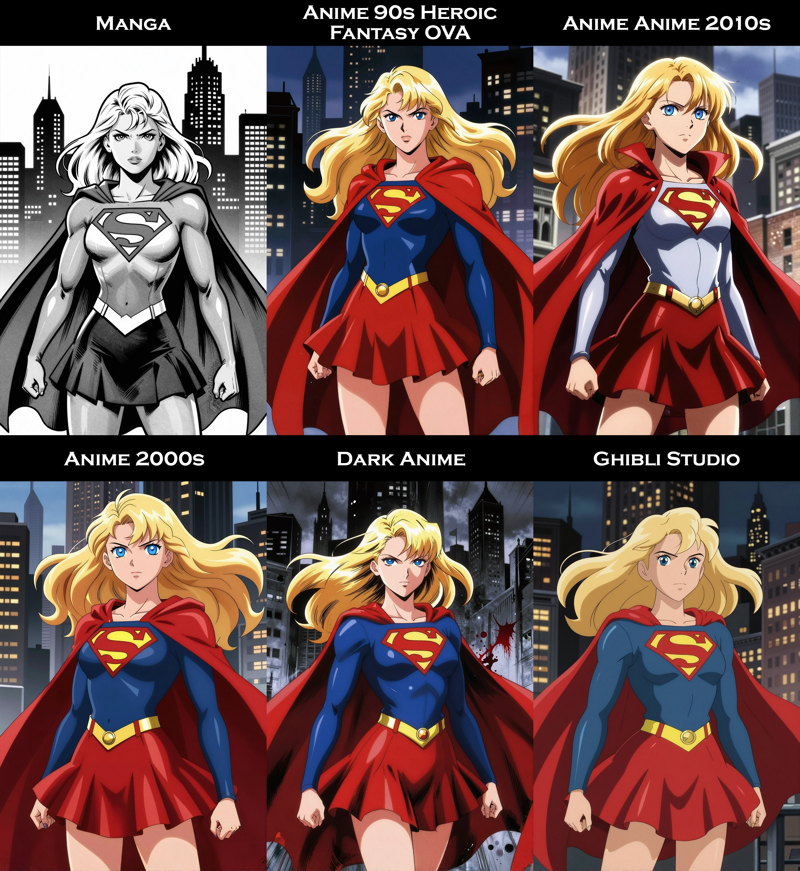
Preset style groups spanning Anime, Comics, Fine Art, Photography, and Cinema
Seamless style swapping via the Style Integrator node
Built-in support for LoRAs, upscaling paths, and refinement nodes when needed
A clean layout for fast iteration and consistent rerolling
Whether you’re prototyping characters, developing a signature aesthetic, or testing multiple looks for the same scene — Sexiam – ZIT Styles makes it fun, fast, and painless.
If you need the files they can be found here:
z_image_turbo-Q5_K_S.gguf (5.19 GB)
place files here:ComfyUI/models/diffusion_models/Qwen3-4B.i1-Q5_K_S.gguf (2.82 GB)
place files here:ComfyUI/models/text_encoders/ae.safetensors (335 MB)
place files here:ComfyUI/models/vae/
Step 1 — Load the Models
This workflow starts just like any other Stable Diffusion setup. Load the main Z-Image Turbo checkpoint along with its paired VAE and CLIP. From here, you can optionally plug in LoRAs through the Power LoRA Loader if you want to give your images extra personality or character consistency.
Checkpoint → Z-Image Turbo
VAE → Z-Image Turbo VAE
CLIP → Qwen 3 (GGUF format)
(Optional) LoRAs via Power LoRA Loader
Once these are connected, you’re ready to move into the style system.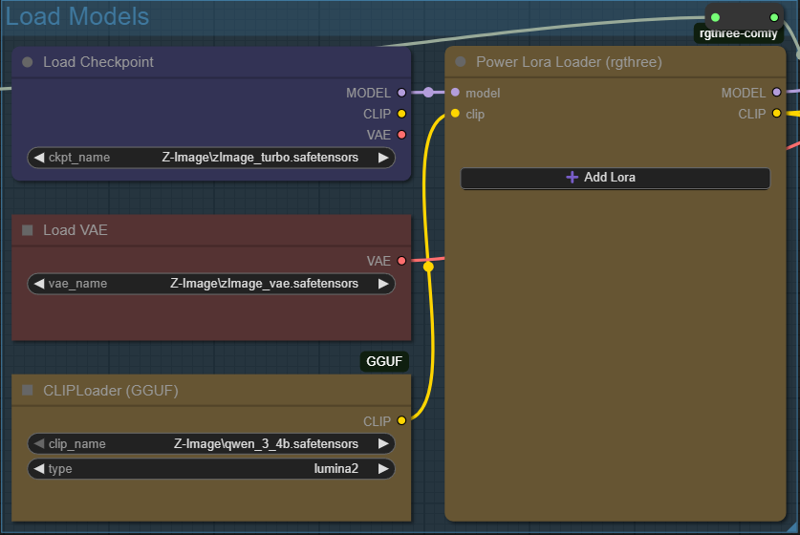
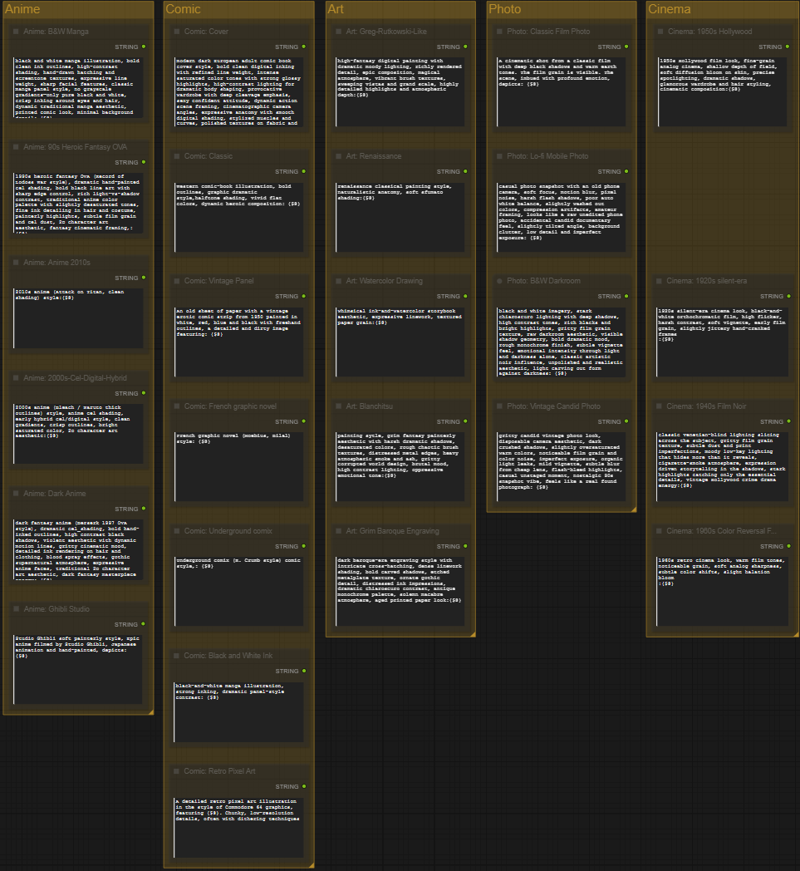
Step 2 — Style Selector Controls
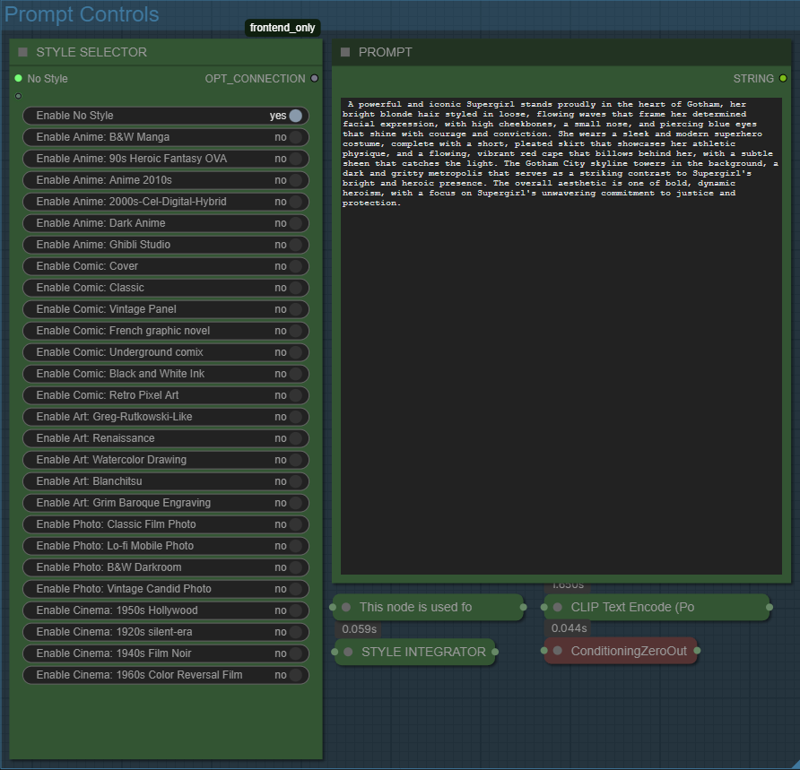
On the left is the Style Selector, where you can toggle a single preset style at a time. These presets are grouped into categories such as Anime, Comic, Art, Photo, and Cinema. When a style is enabled, its aesthetic prompt is automatically combined with whatever you type into the Prompt panel on the right using the {$@} placeholder.
To use a style:
Toggle one style to “yes”
Type your subject or scene in the right-side prompt
Generate
If you want full control over the prompt without any preset style influence:
Toggle No Style
Only your own prompt text will be used
All preset style prompts are visible and editable within the workflow. You can select any of the labeled style nodes to modify their text, or press the 0 key to jump directly to the bookmarked style prompt section.
This allows you to adjust existing styles or create completely new ones as needed.
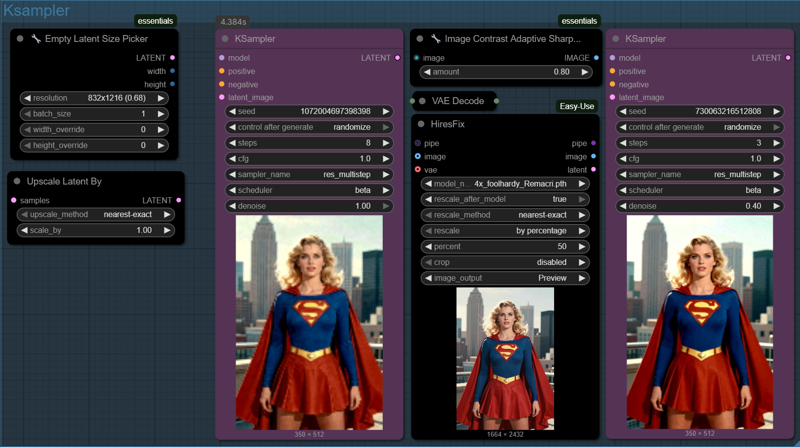
 Step 3 — KSampler / Image Generation & Refinement
This section handles the image creation workflow from base composition to high-resolution cleanup.
1️⃣ Empty Latent Size Picker
Set your aspect ratio or target resolution here. This defines the size of the initial latent canvas.
2️⃣ First KSampler — Base Composition Pass
This generates the overall layout: pose, silhouette, anatomy, lighting direction, etc.
A low step count is usually enough since refinements happen later.
3️⃣ Hires Fix / Upscale Stage
After the base is established, the image is upscaled to increase detail resolution.
This stage may cause slight distortions, aliasing, or texture artifacts.
4️⃣ Second KSampler — Refinement Pass
A low-denoise corrective pass that sharpens details and fixes upscale artifacts while preserving the original structure.
Recommended Sampler & Scheduler
For Z-Image Turbo in this two-stage upscale workflow,
the sampler res_multistep with beta scheduling consistently provides the strongest results:
Maintains composition from the first pass
Enhances sharpness in the refinement pass
Handles edge details and fabric textures well
This setup prevents the second pass from “redrawing” the image while still cleaning it up.
Optional: Upscale Latent Before Hires Fix
The Upscale Latent By node can increase the starting canvas size before the first decode.
This can capture more native detail — but keep in mind:
Hires Fix will still increase resolution afterward
Very large latents may exceed GPU limits or degrade generation precision
The safest path remains:
Moderate base size → Hires upscaling → Refinement KSampler
 Step 4 — Optional Post-Upscale Enhancement
This step is totally optional
— use it when you want:
• Bigger final images
• Sharper small details (eyes, hair, fabrics)
• Better results on lower-VRAM GPUs
• More control than the main KSampler provides
How to use it:
1️⃣ Drop your finished image into the Load Image node
(You can use an image from this workflow or an external file)
2️⃣ Choose an upscale model
Example: 4x_foolhardy_Remacri.pth works great for general detail
3️⃣ Set your upscale amount
• “2.0” = twice the width + height
• Higher = only if your VRAM can handle it
4️⃣ Keep denoise low
• Around 0.20 keeps the original look while cleaning edges
5️⃣ Let the Ultimate SD Upscale rebuild clean detail
Tile options help prevent VRAM overload for big images
6️⃣ Preview → Save ✔️
When this upscaler is worth using 😎
• You want poster-sized final output
• You notice fuzzy edges or soft details after Step 3
• You don’t want to push your GPU by generating huge latents
• You’re mixing photo + stylized elements that need clarity
Quick Tips 🛠️
• Seeing seams? → increase padding or mask blur
• Seeing too many changes? → drop denoise lower
• Running out of VRAM? → smaller tiles or 1.0x→2.0x instead of 2.0x→4.0x