


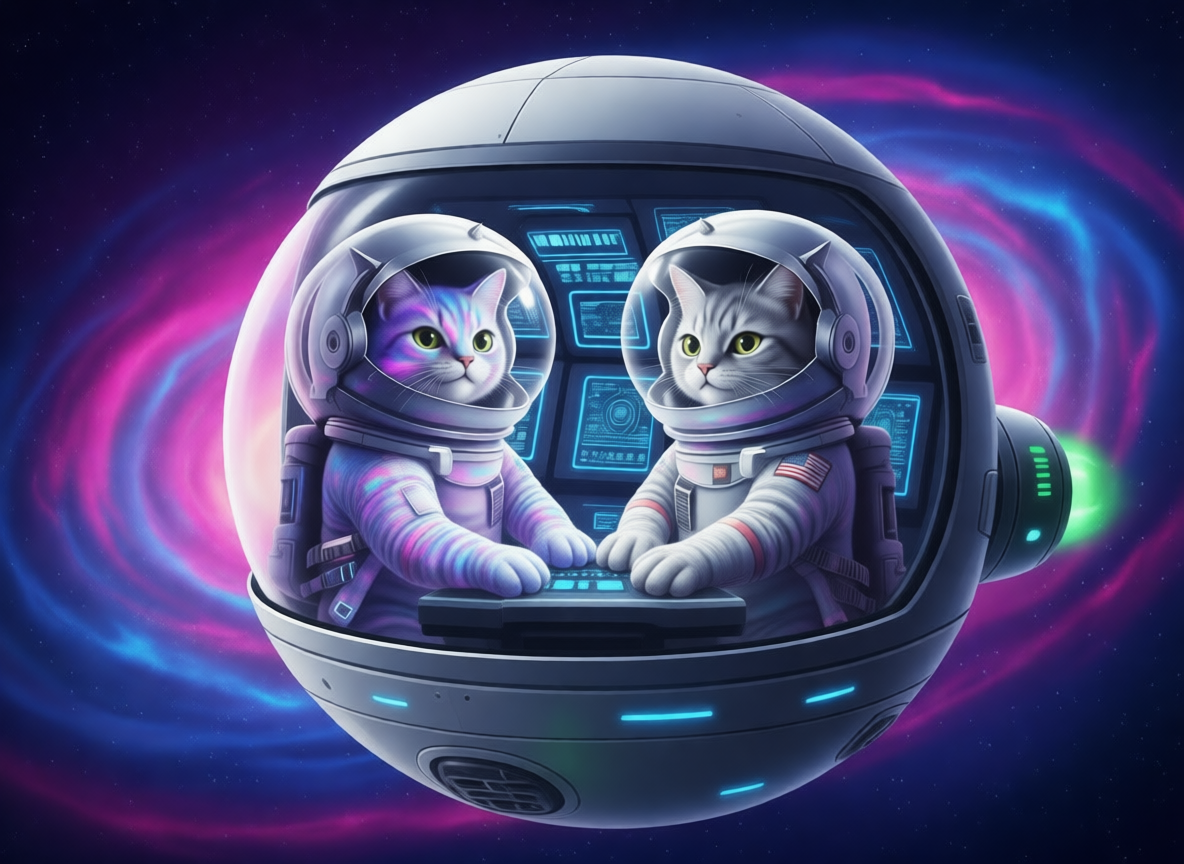

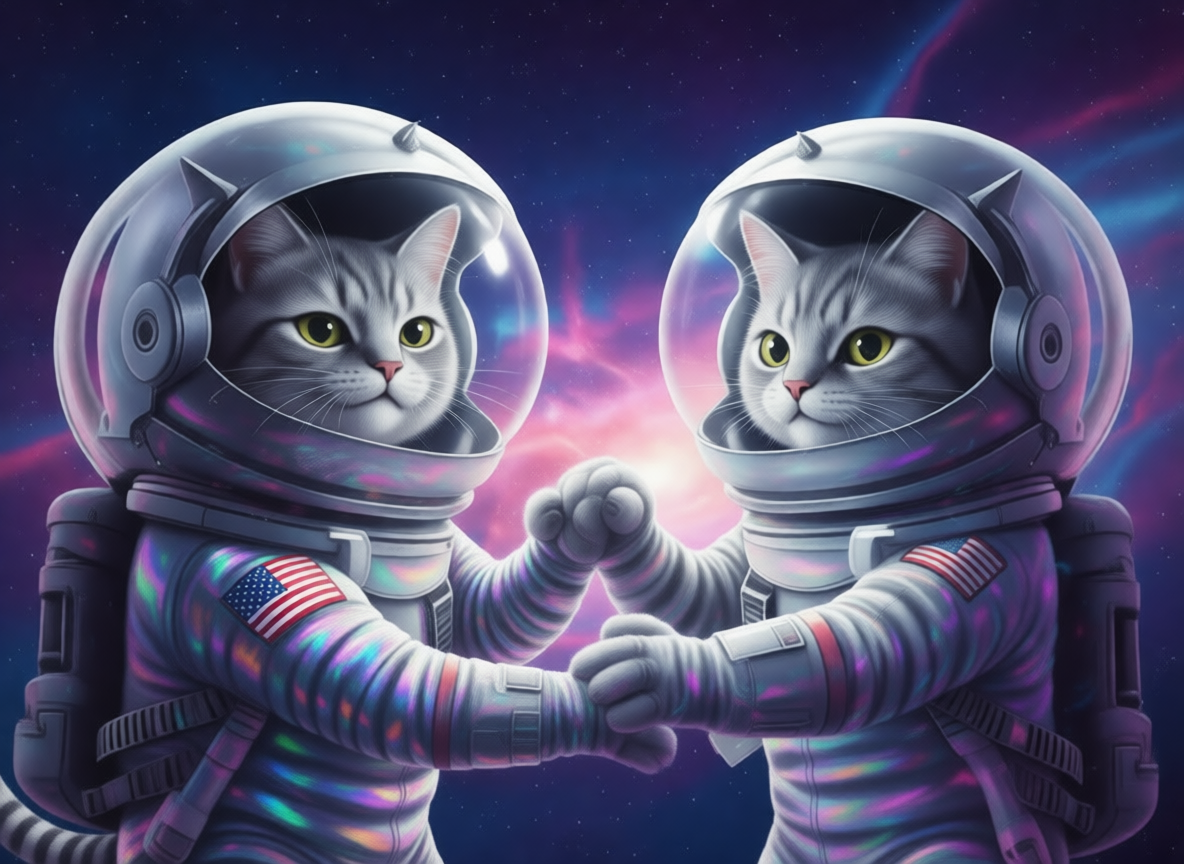
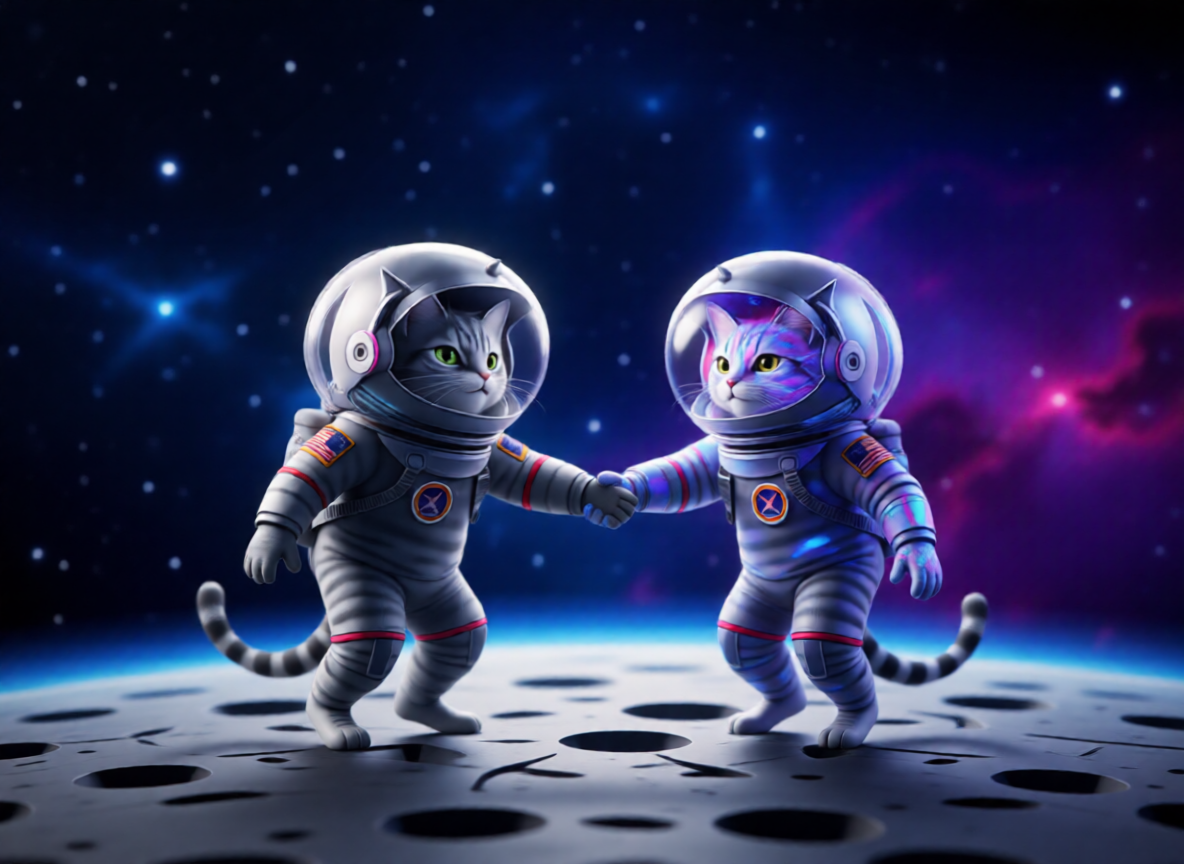


🎨 Complete Guide: Next Scene Generation from Images in ComfyUI
This workflow enables the creation of sequential scenes (next scene generation) based on an input image while preserving composition, style, and atmosphere. Perfect for creating comics, storyboards, book illustrations, and visual storytelling. Developed on the Qwen Image Edit foundation using specialized LoRA adapters for ultra-fast generation in just 4 steps!
📦 Required Components Before Starting
1. Required Models (mandatory!)
Download and place in the specified folders:
📂 ComfyUI/
└── 📂 models/
├── 📂 diffusion_models/
│ └── qwen_image_edit_2509_fp8_e4m3fn.safetensors
├── 📂 loras/
│ ├── Qwen-Image-Lightning-4steps-V1.0.safetensors
│ └── next-scene_lora_v1-3000.safetensors
├── 📂 vae/
│ └── qwen_image_vae.safetensors
└── 📂 text_encoders/
└── qwen_2.5_vl_7b_fp8_scaled.safetensors
Download Links:
2. Hardware Requirements
Minimum: GPU with 8 GB VRAM
Recommended: GPU with 12+ GB VRAM (RTX 3080/4080 or better)
Disk space: ~3.5 GB for all models
RAM: 16+ GB
🛠️ Step-by-Step Setup and Usage Instructions
Step 1: Import workflow into ComfyUI
Save the JSON code to a file named
next_scene_generation.jsonOpen ComfyUI in your browser
Right-click on empty space → Load → select the saved file
The workflow will automatically load with correct settings
Step 2: Upload Source Image
Find the group "Step 2 - Upload image for editing" (left side of interface)
Click on the
LoadImagenode (pink block)Press the
📁 Choose an image to uploadbuttonSelect an image from your computer
Supported formats: PNG, JPG, JPEG, WEBP
Recommended sizes: from 512×512 to 1280×720 pixels
Tip: The higher the quality of the source image, the better the result
Step 3: Load Models
Verify all models are correctly installed in ComfyUI folders
In the "Step1 - Load models" group, ensure:
In the
UNETLoadernode, modelqwen_image_edit_2509_fp8_e4m3fn.safetensorsis selectedIn the
CLIPLoadernode, select:Model:
qwen_2.5_vl_7b_fp8_scaled.safetensorsClip Type:
qwen_image
In the
VAELoadernode, modelqwen_image_vae.safetensorsis selected
If any models aren't loaded, restart ComfyUI after installation
Step 4: Configure LoRA Adapters (critically important!)
In the first
LoraLoaderModelOnlynode:Select
Qwen-Image-Lightning-4steps-V1.0.safetensorsStrength Model:
1.0(maximum influence)
In the second
LoraLoaderModelOnlynode:Select
next-scene_lora_v1-3000.safetensorsStrength Model:
0.8(recommended value for balance)
Important: Do not change the order of LoRA adapter application! First Lightning, then next-scene.
Step 5: Craft Your Prompt (key step!)
Find the
TextEncodeQwenImageEditPlusnode (blue block)In the prompt input field, enter text starting with "Next Scene:"
Example of a correct prompt:Next Scene: The camera holds a tight close-up on the man's face as he lies in bed, eyes open. His head rests near the lower right corner of the frame, with the pillow sketched in soft, curved lines. The rest of the canvas is empty, emphasizing the quiet of morning.
Rules for effective prompts:Always start with "Next Scene:" (mandatory requirement for LoRA)
Specify camera direction: "close-up", "wide shot", "medium shot", "low angle"
Describe lighting: "morning light", "dramatic shadows", "soft golden hour glow"
Indicate atmospheric changes: "light morning mist", "gentle breeze moving the curtains"
Maintain continuity: mention elements from the source image
Use specific details: character poses, object placement, emotions
For negative prompt (in the
CLIPTextEncodenode):Leave empty for basic version
Or add:
deformed, blurry, low quality, distorted perspective, extra limbsRecommended CFG value:
1.0(very low due to LoRA specifics)
Step 6: Verify Image Dimensions
The
GetImageSizenode will automatically determine dimensions of your source imageThe
EmptySD3LatentImagenode creates latent space of the same sizeImportant: If you want to change aspect ratio, manually replace width/height values in the
EmptySD3LatentImagenode, disconnecting the input links
Step 7: Configure Generation Parameters
Find the
KSamplernode (orange block)Check key parameters:
Steps:
4(do not change, this is optimal value for LoRA)CFG:
1.0(very low, but critical for quality)Sampler:
eulerScheduler:
simpleNoise Seed:
randomize(or specify a number for reproducibility)
Warning from workflow: Do not arbitrarily increase Steps and CFG values! This will disrupt LoRA adapter functionality.
Step 8: Start Generation
Click the QUEUE PROMPT button (top right corner of interface)
Monitor progress in the ComfyUI console:
First models load (~10-15 seconds)
Then generation runs (typically 5-15 seconds on RTX 3090/4090)
Finished image appears in the
SaveImagenode on the right sideResult is automatically saved to folder
ComfyUI/output/ComfyUI/
🎯 Tips for Achieving Best Quality
1. Prompting Rules for Next Scenes
For maximum continuity between frames:
Start with camera description:
"Next Scene: The camera slowly pulls back to reveal...""Next Scene: Switching to a low angle shot, we see..."Preserve key elements:
"Next Scene: Maintaining the same warm sunset lighting, the character now stands near a window..."Specify character movement:
"Next Scene: The woman has turned her head slightly to the left, her expression now showing concern..."Avoid radical changes: don't completely change setting, lighting style, or angle unnecessarily
2. Hardware Optimization
For weak GPUs (8 GB VRAM):
Reduce source image resolution to 768×512
Disable preview in the
SaveImagenode
For powerful GPUs (24+ GB VRAM):
Can increase resolution to 1280×720
Use batch size=2 for parallel generation of variants
3. Common Problems and Solutions
Problem: Blurry or fuzzy results
Solution: Ensure you're using correct VAE (qwen_image_vae.safetensors), check source image qualityProblem: No connection between source image and result
Solution: Strengthen description in prompt, adding specific details from source frameProblem: Artifacts or distortions
Solution: Reduce strength of second LoRA to 0.6-0.7Problem: "CUDA out of memory"
Solution: Reduce image resolution or restart ComfyUI to clear memory
4. Advanced Techniques
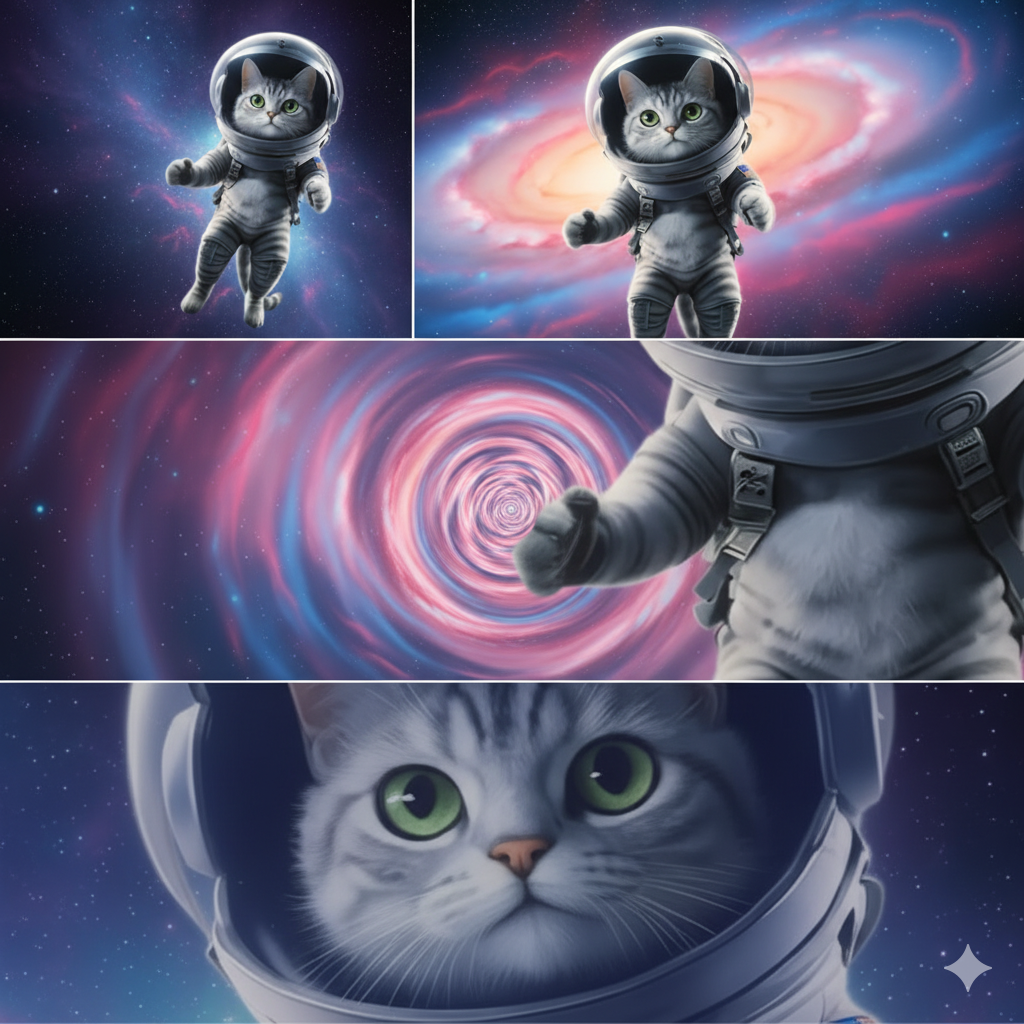
Creating mini-animations (3-5 frames):
Generate first next scene
Save result and upload as new source image
Modify prompt, adding movement description:
"Next Scene: Continuing the movement, the character now..."
Style blending:
Add to prompt style instructions:
in the style of impressionist painting,with cinematic bokehExperiment with second LoRA strength (0.5-1.0) to control style influence
Creating panoramic scenes:
Use prompt:
"Next Scene: The camera pans horizontally to reveal..."Post-process generated image through panorama stitching tools
🌟 Examples of Effective PromptsFor angle change:
Next Scene: The camera pulls back to a medium shot, revealing the character standing on a cliff edge overlooking a misty valley at dawn. The morning sun casts long shadows behind him, highlighting the texture of his coat. The composition maintains the same left-to-right balance as the previous scene.For continuing action:
Next Scene: Following the character's movement, we now see him stepping through an ancient stone archway into a sunlit garden. The camera angle remains consistent, but the lighting shifts to warm afternoon tones. Butterflies flutter around blooming flowers in the foreground, maintaining the soft dreamlike atmosphere of the previous frame.For time of day change:
Next Scene: The scene transitions to night time. The same character sits by a window, but now illuminated only by candlelight and moonbeams. Outside, stars are visible in the clear night sky. The camera maintains the same close-up framing, but the color palette shifts to deep blues and warm yellows, preserving the emotional tone of quiet contemplation.
🚀 Conclusion and Best Practices
This workflow represents a revolutionary approach to visual storytelling creation. Here are the key principles for success:
Source image quality is critical – use clear, well-lit photos
Prompting is an art – practice writing detailed, continuous descriptions
Respect technical limitations – 4 steps and CFG=1.0 aren't arbitrary, they're optimum for LoRA
Experiment with lighting and angles, not radical content changes
Save intermediate results for creating sequential stories
Pro tip: For creating full comics or storyboards:
Generate 3-5 sequential frames
Export them to software like Photoshop or Canva
Add speech bubbles, transitions, and color correction
Save as PDF or PNG sequence for animation
🎉 Congratulations! You now possess a powerful tool for generating visual stories. Start with simple scenes and gradually increase complexity. Remember: best results come from deep understanding of workflow capabilities and meticulous prompt crafting.
P.S. Don't forget to experiment! Try uploading screenshots from favorite movies and imagine what the next frame of this story would look like. Inspiration often comes during the creative process! ✨🎬
Description
FAQ
Comments (1)
The workflow provided is not correct. It's a simple video combine code workflow. Nothing related with next scene. Please verify.