🎨 Discover Amazing AI Workflows on RunningHub!
🎨 Discover Amazing AI Workflows on RunningHub!🔗 Click here to get this workflow: https://www.runninghub.ai/post/2015373674332823554/?inviteCode=rh-v1159
🔗 Click here to get this workflow: https://www.runninghub.ai/post/2015373674332823554/?inviteCode=rh-v1159
### Workflow Overview: HD Upscale 4K
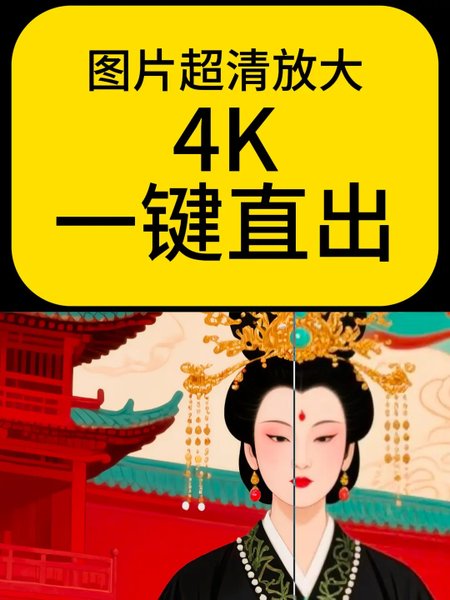
This workflow, designed for enhancing image quality, utilizes a series of nodes to upscale .jpg images to 4K resolution effectively.
1. **LoadImage**: Begin by importing your .jpg image into the workflow. This node prepares the image for processing.
2. **EmptyLatentImage**: Creates a placeholder for the latent representation of your image, essential for subsequent processing steps.
3. **VAELoader**: This node loads the Variational Autoencoder model, which helps in generating high-quality features from the input image.
4. **CLIPTextEncode**: Encodes text prompts (if any) to guide the upscaling process, ensuring the output aligns with specified themes or styles.
5. **DualCLIPLoader**: Loads dual CLIP models to enhance the image's semantic understanding, improving the quality of the upscale.
6. **UltimateSDUpscale**: This is the core upscaling node that increases the resolution to 4K while preserving image details. It utilizes advanced algorithms for optimal results.
7. **Image Comparer (rgthree)**: Compares the original and upscaled images, allowing for quality assessment and adjustments if necessary.
8. **SaveImage**: Finally, save your upscaled image in your desired format.
### Quick Usage Tips:
- Start with **LoadImage** to import your picture.
- Utilize **CLIPTextEncode** for specific enhancements based on text prompts.
- Always check the results using **Image Comparer (rgthree)** before saving.
- Save your work with **SaveImage** to preserve your 4K masterpiece.
By following these steps, you can efficiently upscale images while ensuring high quality and detail retention. Enjoy your enhanced visuals!
### Workflow Overview: HD Upscale 4K
This workflow, designed for enhancing image quality, utilizes a series of nodes to upscale .jpg images to 4K resolution effectively.
1. **LoadImage**: Begin by importing your .jpg image into the workflow. This node prepares the image for processing.
2. **EmptyLatentImage**: Creates a placeholder for the latent representation of your image, essential for subsequent processing steps.
3. **VAELoader**: This node loads the Variational Autoencoder model, which helps in generating high-quality features from the input image.
4. **CLIPTextEncode**: Encodes text prompts (if any) to guide the upscaling process, ensuring the output aligns with specified themes or styles.
5. **DualCLIPLoader**: Loads dual CLIP models to enhance the image's semantic understanding, improving the quality of the upscale.
6. **UltimateSDUpscale**: This is the core upscaling node that increases the resolution to 4K while preserving image details. It utilizes advanced algorithms for optimal results.
7. **Image Comparer (rgthree)**: Compares the original and upscaled images, allowing for quality assessment and adjustments if necessary.
8. **SaveImage**: Finally, save your upscaled image in your desired format.
### Quick Usage Tips:
- Start with **LoadImage** to import your picture.
- Utilize **CLIPTextEncode** for specific enhancements based on text prompts.
- Always check the results using **Image Comparer (rgthree)** before saving.
- Save your work with **SaveImage** to preserve your 4K masterpiece.
By following these steps, you can efficiently upscale images while ensuring high quality and detail retention. Enjoy your enhanced visuals!