So, you're wondering about how to create pseudo-3D parallax gifs. Luckily, it's very easy!
I'll be specifically going about using this on existing images, as you're probably not trying to animate every single thing your SD generates, although it would be possible with Option 2.
Although I'll be mainly talking about generated images, this exact process works with just about any picture.
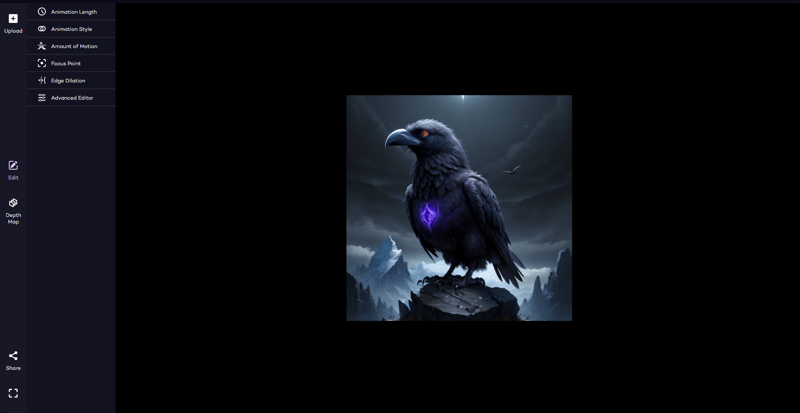
Attached are the two images I've showcased for you to play around with, I'd just ask for you not to re-upload them. Otherwise, generation data is available in the still (non-animated) images posted.
Option 1: LeiaPix
Great results in seconds, external tool
Option number 1 is using an external tool, the LeiaPix Converter. It can be found here.
You have to create an account on the site, but the tool is (currently) completely free to use. All you have to do is drop your image into the site after making an account and wait for the processing to complete. You can then play around with the options to the left, which are all completely self-explanatory.
Under the "Depth Map" tab to the far left you can override the automatically generated depth map, which is quite finicky.
Option 2: WebUI-Extension
Takes a few minutes to run and results are slightly less good, but runs locally
Note: this should work with Collab, but I have absolutely no experience with that so this guide focuses on local installations of SD using AUTOMATIC1111s WebUI.
If you're like me and don't want to rely on external tools which may or not stay free to use, you can use an extension for the WebUI called Depthmap Script.
In your WebUI, open the the extensions tab, head to Install from URL and paste the following into the first input field: https://github.com/thygate/stable-diffusion-webui-depthmap-script.git
Then just hit Install, wait for the process to complete (have an eye on the output of your Terminal window running the .bat-Script - if you're on Windows), then just head back to the Installed tab and hit Apply and restart UI.
After reloading, there is a new Tab in your WebUI, labeled Depth.
On the left side, select the Single Image tab and drop your picture into the box.
Choose a model to generate your depth map, I prefer
zoedepthin the indoor and outdoor variety.Uncheck
BOOSTif you don't have a lot of VRAM.BOOSTgives better results, but is very VRAM intensive and couldn't handle 512px² on my 8GB VRAM card. You can try; watch your terminal output for VRAM errors.If you you've unchecked
BOOST, set the resolution. If you're working with smaller pictures (eg. 512px²), selectMatch input size. If you're getting VRAM issues, uncheckMatch input sizeand set the resolution manually. Match the aspect ratio of your input.
Uncheck
Save DepthMap, checkGenerate 3D inpainted mesh(and optionallyGenerate 4 demo videos, although I found those not to be very helpful).Hit the
Generate-Button under the input image, not to the right.Monitor your terminal output. The script will download your chosen model, than do the depth-analysis. On my somewhat okay graphics card, this takes around 3-5 minutes for 512px² images.
After the process is complete, head to the
Generate videotab on the right. The input mesh should automatically fill, otherwise you'll have to point it to the path of the generated mesh. In my case (Windows, custom saving folders), this would for example beoutputs/extras-images\depthmap-0004.obj.Now you can start playing around with the settings! For noticeable-but-subtle effects, I use
300 frames, 24fps, circle trajectory, -0.004, 0.0, -0.005 translation, 0.03, 0.03, 0.05, 0.03 cropping, no dolly. For faster animations, you could lower the number of frames or raise the framerate; for more noticeable movements increase the translation amounts. I'd advise against large translation motions however, because the inpainted corner will become extremely obvious.Hit
Generate Video. It takes just a few seconds (depending on frame count), so trial-and-error parameters are feasible. The output is in yourextrasfolder.
Note:
After you've got a video you're happy with, you can safely clean up the depth map and mesh from your
extrasfolder.You can automatically create those meshes during render in txt2img and img2img using the
scriptsdropdown. However, this will create a depth map every time you render something, which really is just wasted time and electricity in my opinion as opposed to doing it once with the one image you actually want to animate.
Have fun bringing your GPUs creations to life!
Description
Initial