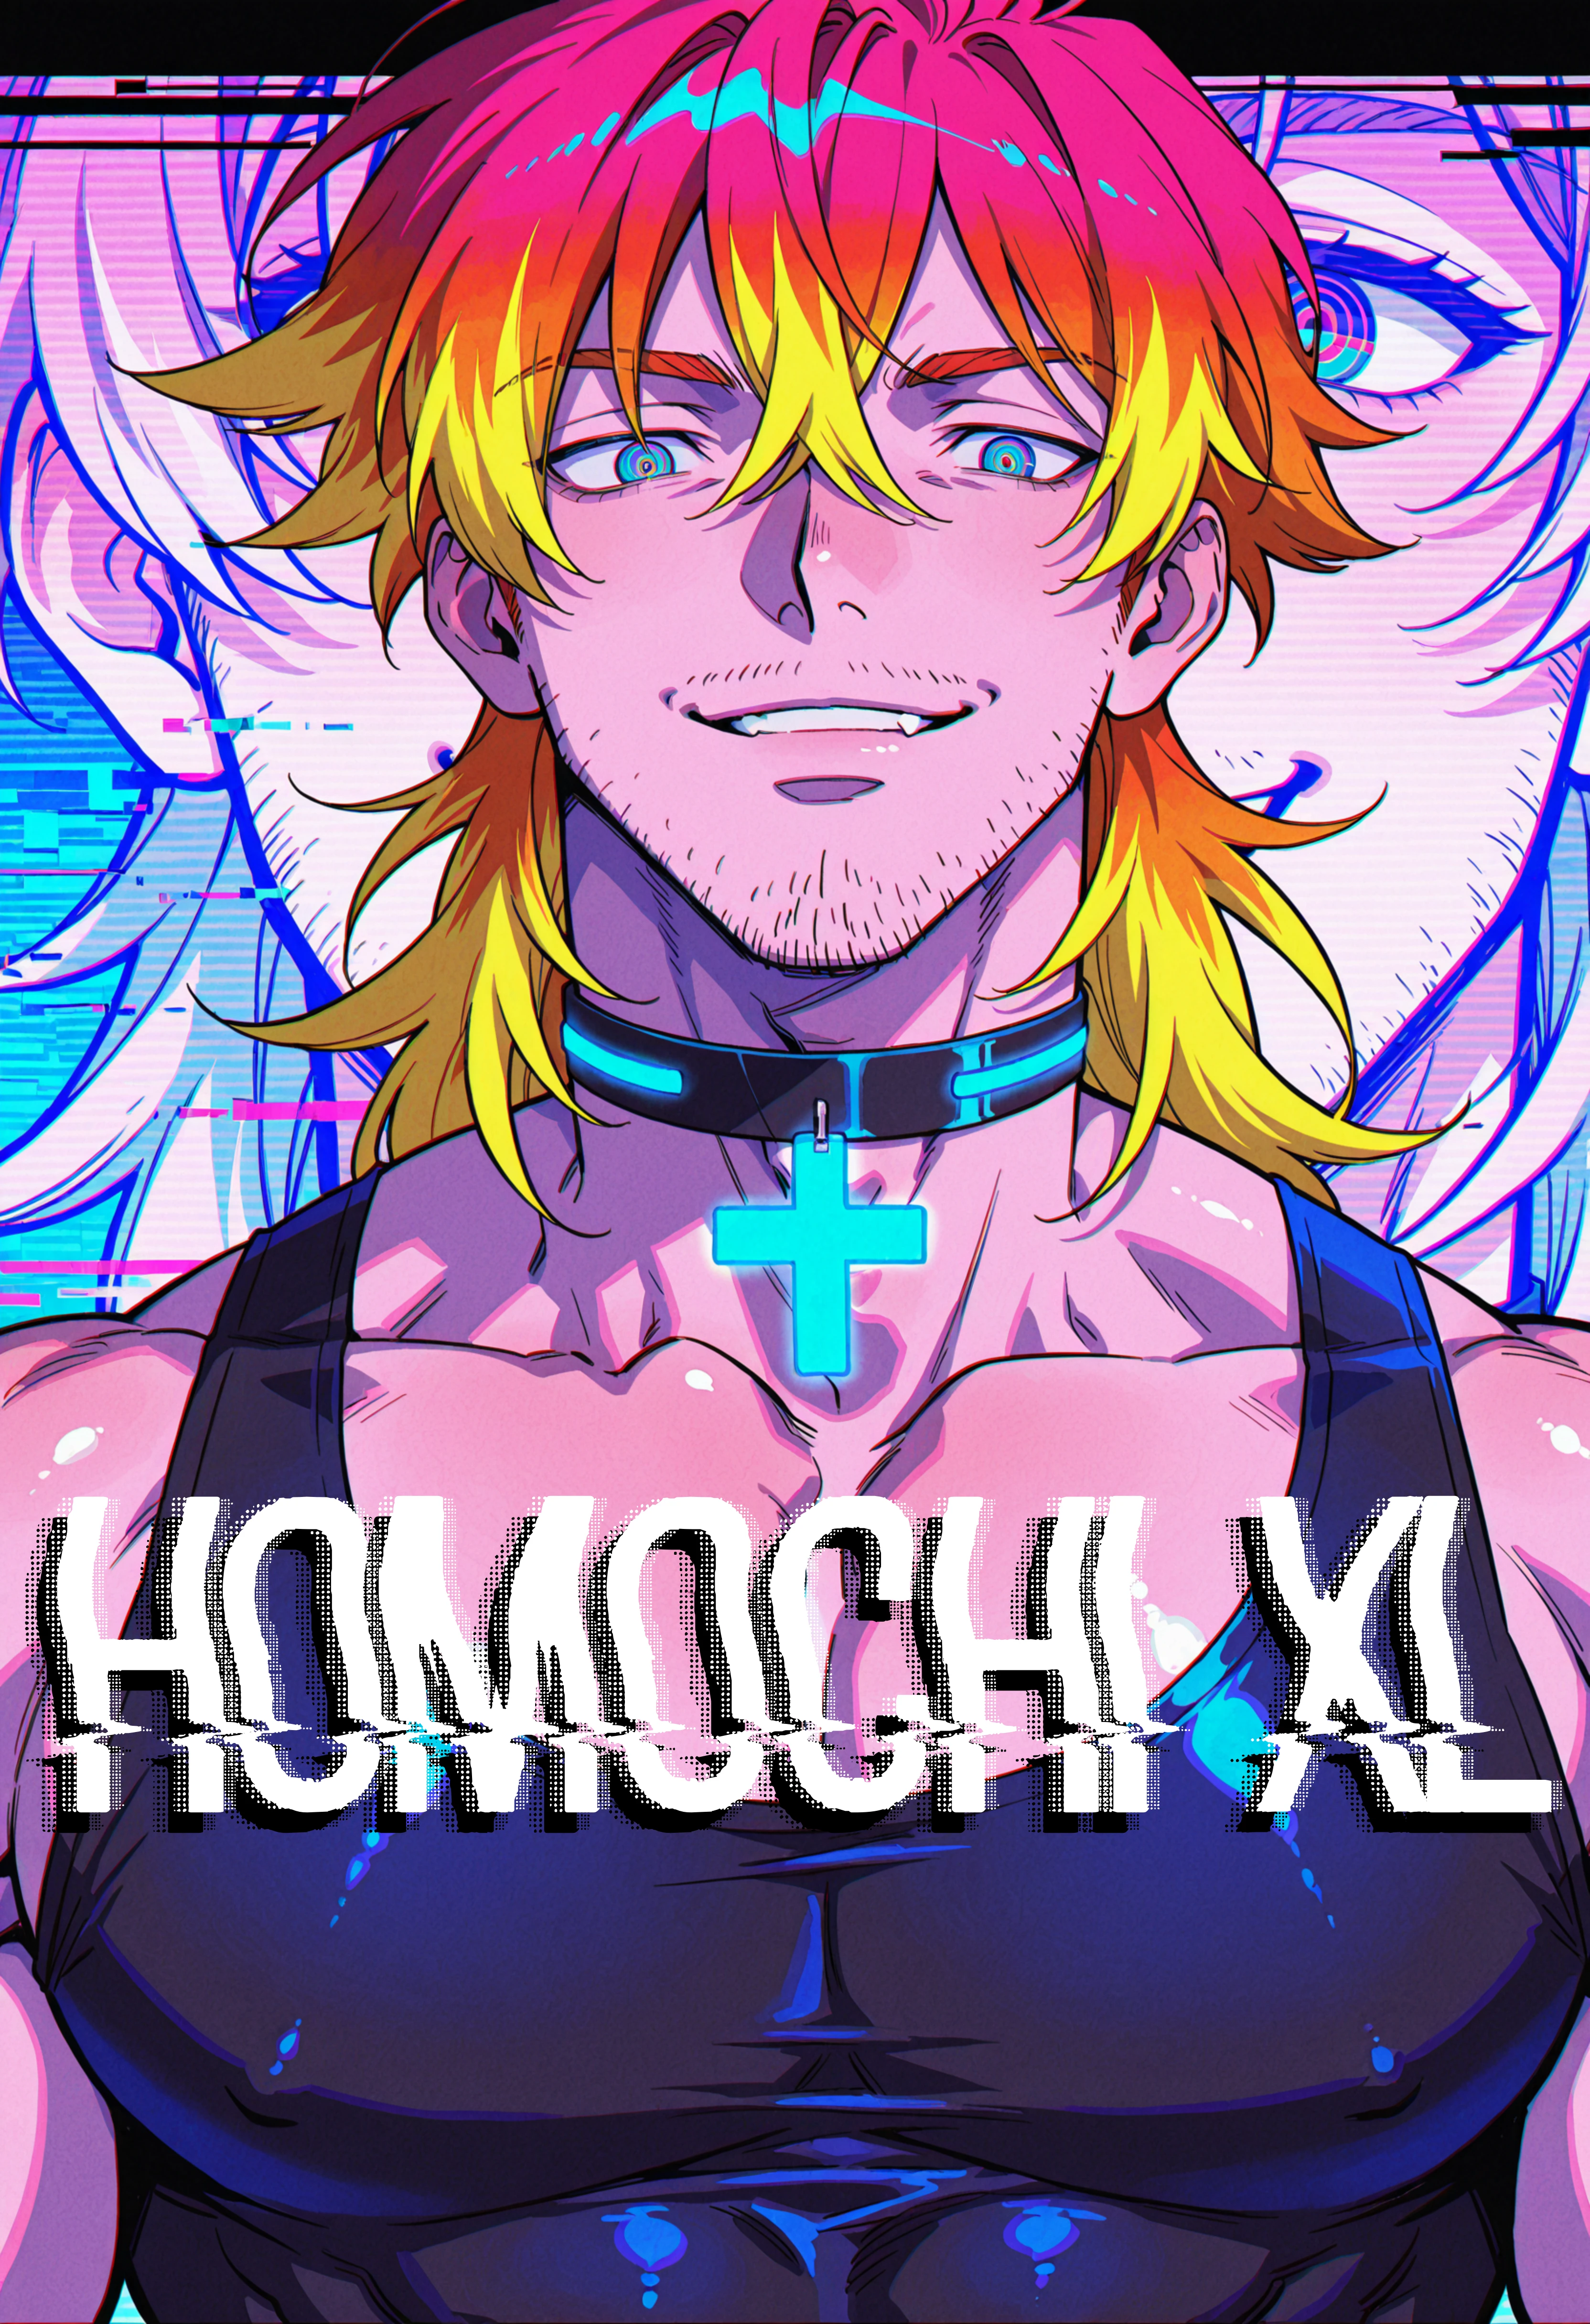
HOMOCHI XL
Formerly Adonis XL
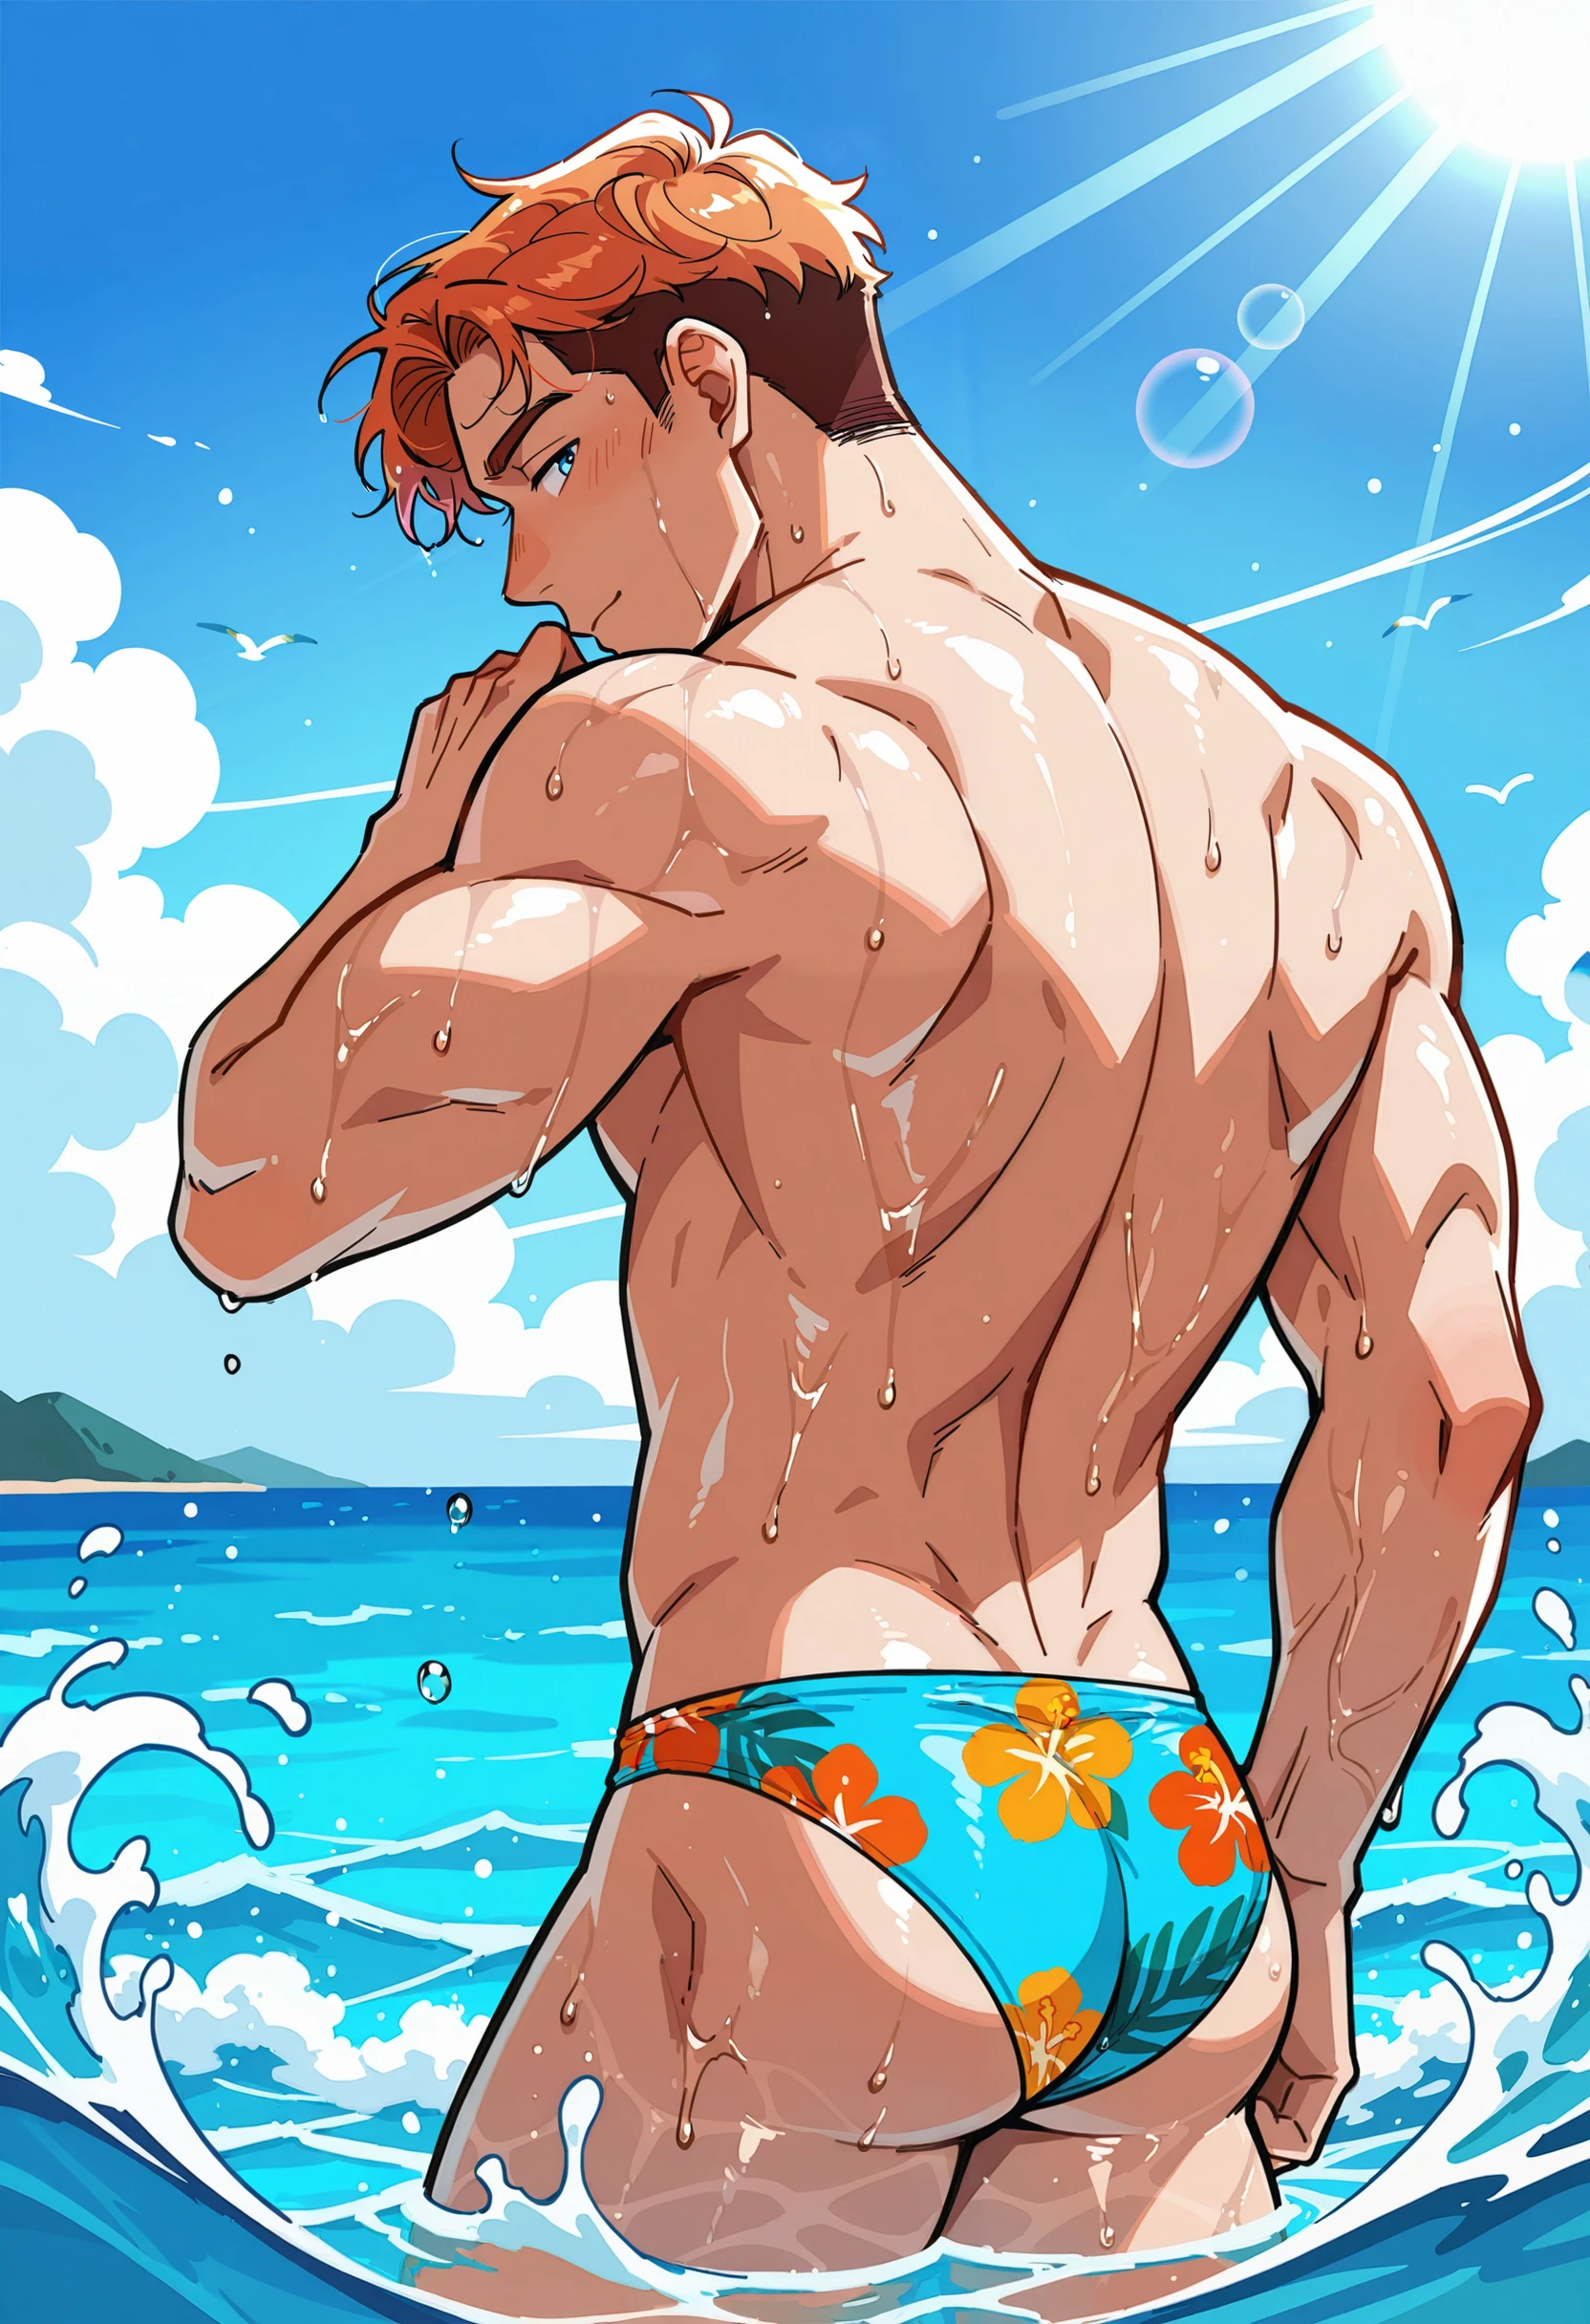
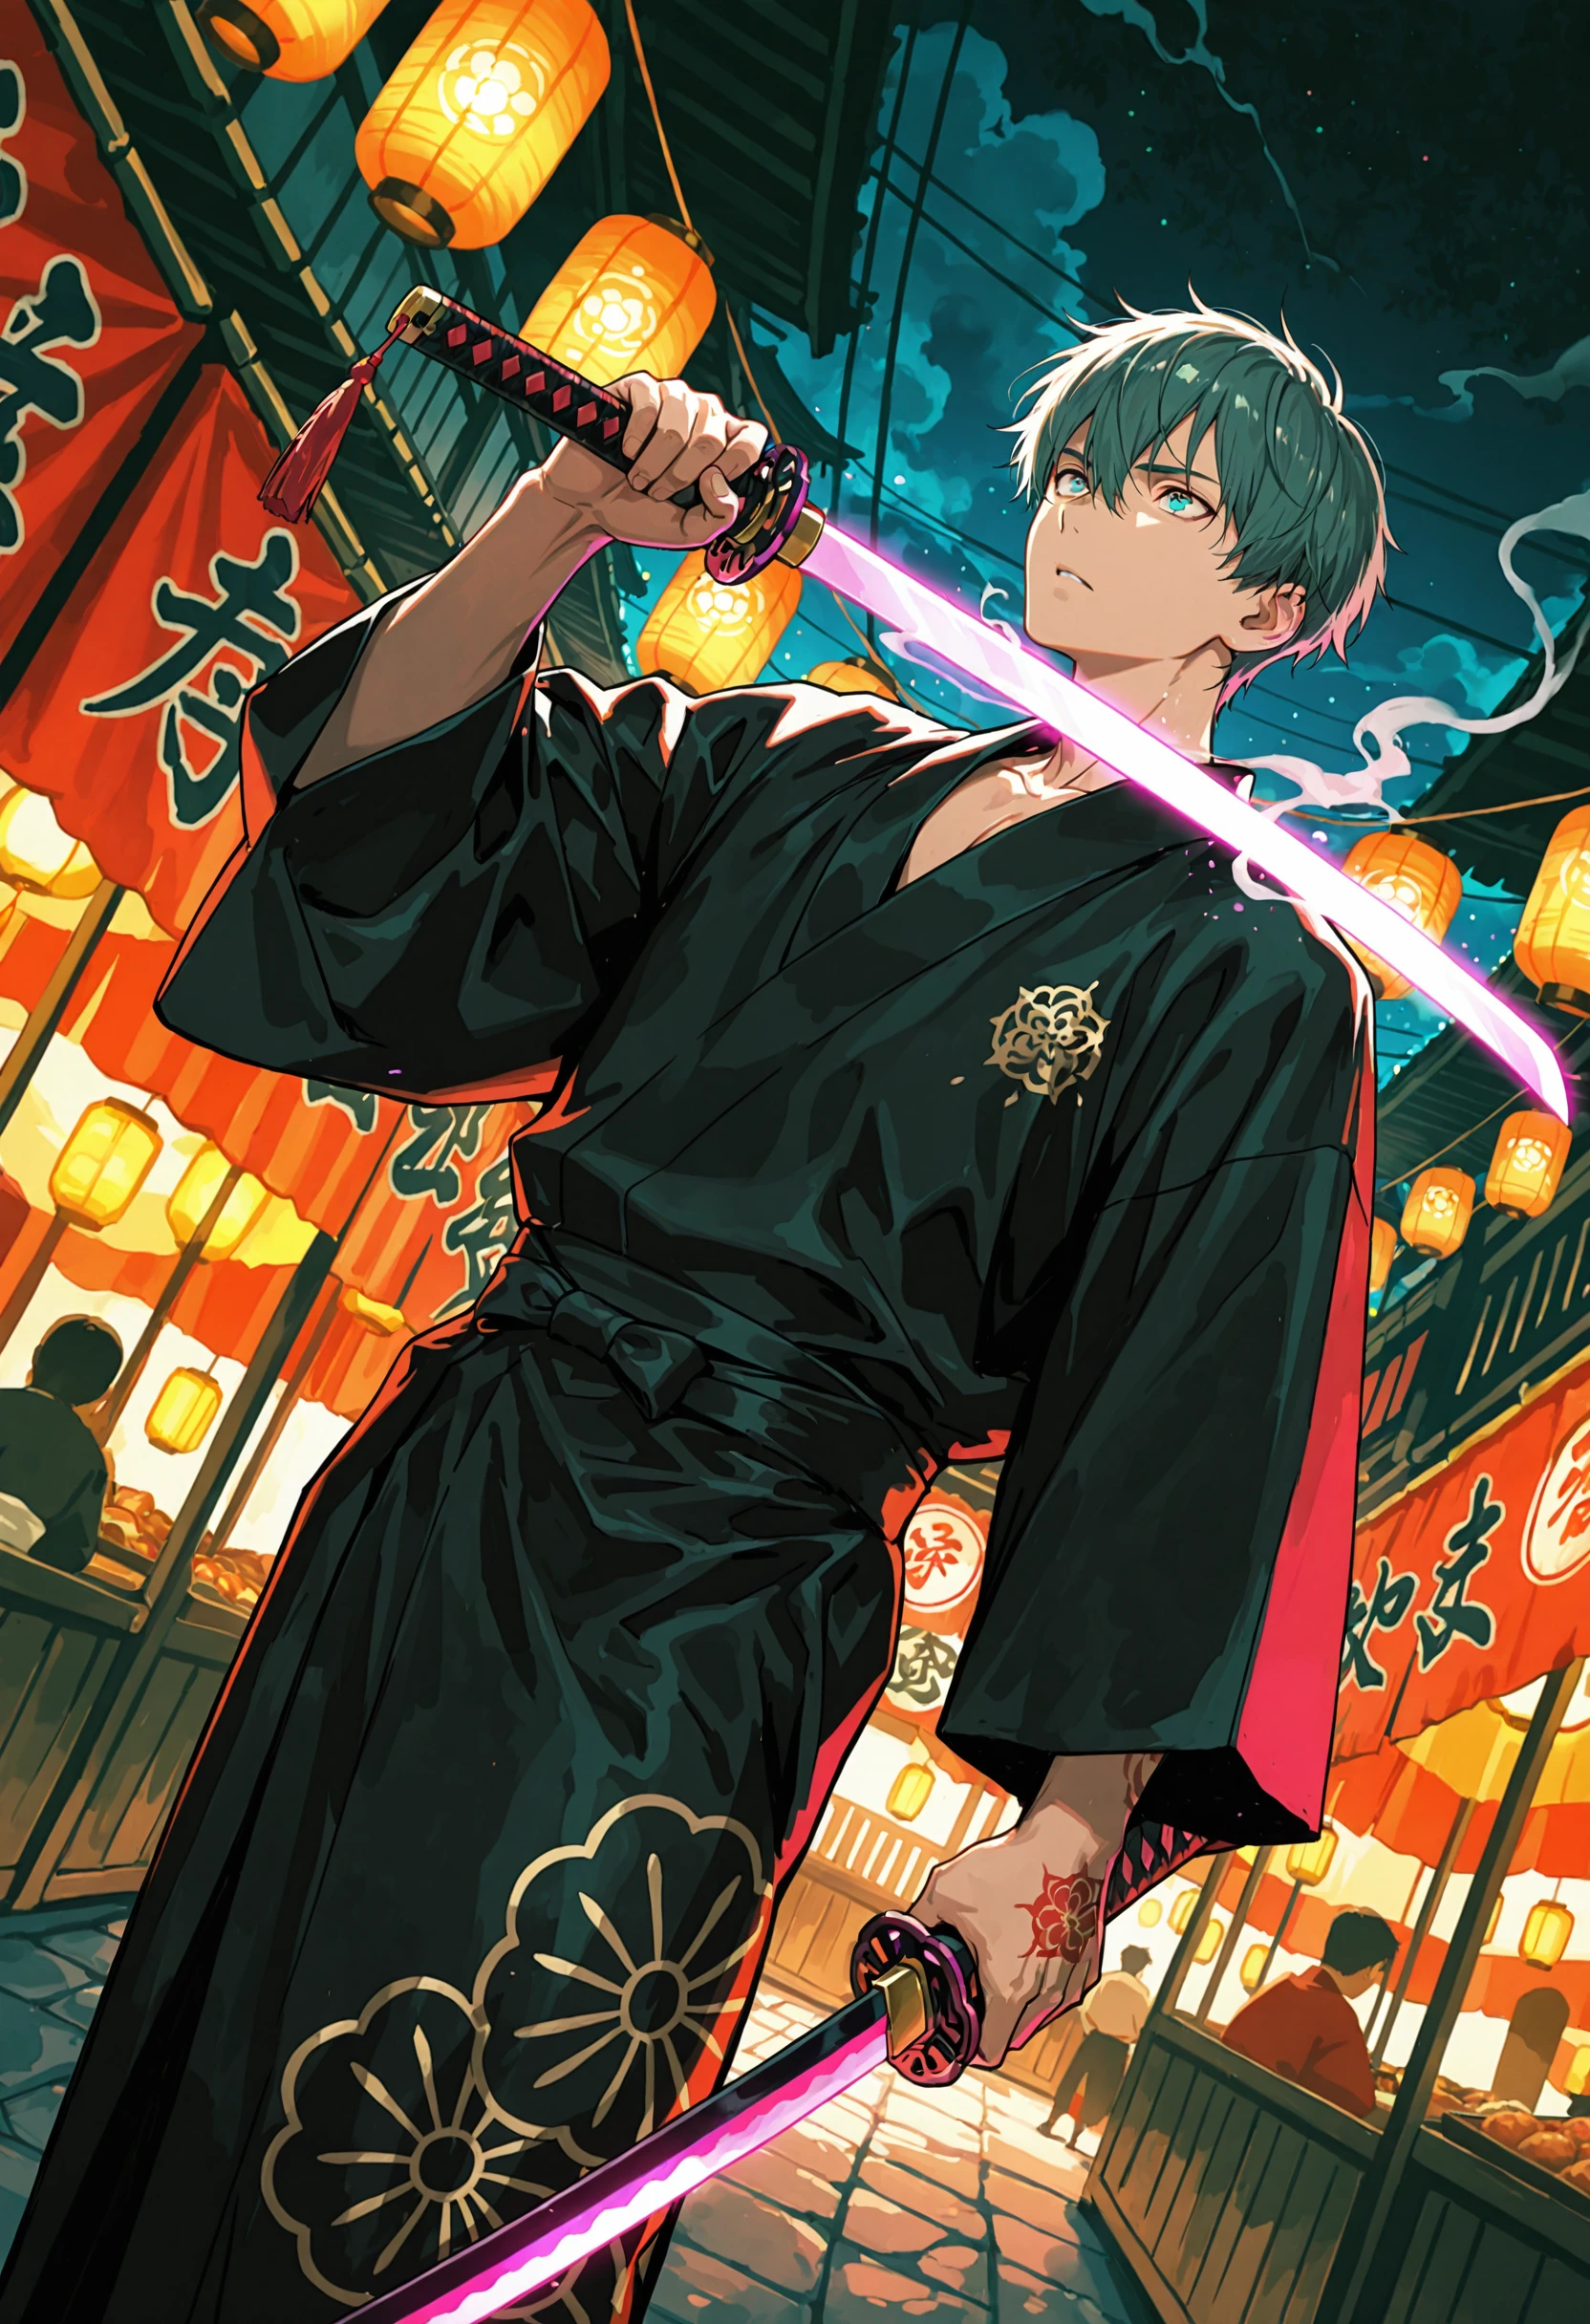
Trained on a 5090 with a massive hand-curated dataset of 900+ high-quality images, HOMOCHI XL is the successor to my MelloMochi SD1.5 model and uses a hybrid tagging system of Florence-2 prose and WD14 tags. This gives it incredibly solid control over composition and physique. It can go between slender Ikemen styles and high-detail Bara or muscular builds without losing anatomical accuracy. With the proper prompting this model can go between 90's retro anime to more 2.5D modern art styles without losing prompt adherence.
Quick Start Specs
NOTE: Civitai will not show the proper sampler in photos in the gallery created with Restart and will show DPM++ 3M SDE Karras by default
Primary Sampler: Restart (Highly preferred for the best clean anime lines and detail)
Alternative Samplers: DPM++ 3M SDE Karras (for a cinematic look) or Euler a (fastest for low spec PCs)
Sampling Steps: 30 to 35 (Don't go higher or textures get over-baked)
CFG Scale: 5.0 to 7.0
Preferred Res: 1024 x 1024 or 832 x 1216 (Portrait)
Clip Skip: 1 or 2
Baseline Negative Prompt
I highly recommend starting with this negative prompt. It is tuned to keep the stylized anime feel intact while pushing away plastic, 3D, and low-quality artifacts: lowres, bad anatomy, bad hands, missing fingers, extra digit, fewer digits, worst quality, low quality, normal quality, jpeg artifacts, signature, watermark, username, blurry, simple background, flat lighting, deformed, poorly drawn, (plastic skin:1.2), low-poly, 3d render, doll, figurine, mask, monochromatic
Detailed Workflow:
SDXL can be heavy. Since Homochi XL is built to nail very specific stylized details and clean linework, how you process the image matters just as much as your prompt. Below are two workflows depending on your hardware.
Method 1: The "Pro" Detail Pipeline (Preferred)
Use this if you have a decent GPU with 12GB+ VRAM. We upscale the image FIRST, and then inpaint the massive canvas so we don't lose any high-res hand-drawn details.
1. Base Generation (txt2img)
Sampler: Restart
Steps: 30 to 35 (35-50 w/ Restart)
Resolution: 832x1216, 1216x832 1024x1024
2. The High-Res Pass (Ultimate SD Upscale) Before fixing faces or hands, bring the whole image up to its final size. Send your base image to img2img.
Denoising Strength: 0.25 to 0.45
Script: Ultimate SD upscale
Target size type: Scale from image size
Scale: 2
Upscaler: 4x_NMKD-UltraYandere_300k (Highly recommended to keep anime lines clean)
Type: Chess
Tile width/height: 1024x1024
3. Final Inpainting (The Polish) Now that the image is huge, send it to the Inpaint tab to fix the eyes, hands, or background details.
Inpaint Area: Only Masked
Resize to: 1024x1024 (Vital: This gives the AI a high-res window into your 4K image)
Only Masked Padding: 32 to 64
Denoising Strength: 0.45 to 0.60
Prompt: Just prompt the part you are fixing (e.g., "close up of beautiful anime eyes, blue")
Method 2: The Low VRAM Pipeline (For Older PCs)
Use this if Method 1 gives you an "Out of Memory" error. Loading a 4K image into the inpaint canvas can crash 8GB cards. Here, we fix the anatomy first at base resolution, then run a highly optimized upscale.
1. Base Generation
Sampler: Euler a (lightest on hardware) or Restart
Keep base generation exactly the same (832x1216 or 1024x1024).
2. Inpaint First Send the base image straight to the Inpaint tab to fix any weird anatomy before making it bigger.
Inpaint Area: Only Masked
Resize to: 1024x1024
Denoising Strength: 0.40 to 0.60
3. Optimized Upscale Once the anatomy looks right, send the fixed image to img2img for the final upscale. We drop the tile size here to save your VRAM.
Denoising Strength: 0.25 (Keep this low so the upscaler doesn't erase your inpainting fixes)
Script: Ultimate SD upscale
Scale: 1.5 or 2
Upscaler: 4x_NMKD-UltraYandere_300k
Type: Chess
Tile width/height: 512x512 (Lowering this to 512 prevents crashes on low-end cards)
Description
Initial Release