HOW TO USE :
- Update Highlights – Version 1.6
Fully reworked the Detailer section, featuring better model selection and a cleaner, more readable display. This results in sharper outputs and a smoother experience when fine-tuning details.
Revamped the Preview system, making it more responsive and easier to read at a glance, improving iteration speed during generation.
Enhanced the Color Correction and Final Image pipeline, providing more consistent tones, better lighting balance, and overall higher-quality outputs.
Improved the overall workflow structure and visual clarity, making the setup more intuitive and user-friendly while keeping full flexibility for advanced users.
Various quality-of-life improvements and refinements across the workflow for a smoother and more efficient experience.
- Update Highlights – Version 1.5
Added LoRA Manager integration, allowing users to easily load, organize, and blend multiple LoRAs without clutter. This makes character and style creation much faster and more intuitive.
Improved stability and layout readability, refining the node flow to make it more logical and beginner-friendly while preserving full modular control.
Updated tutorial and usage guide, including a full step-by-step explanation on how to install, configure, and use the workflow efficiently.
Minor adjustments to default samplers and CFG values for better consistency across multi-character generations.
- Update Highlights – Version 1.4
Completely redesigned for better readability and ease of use, heavily inspired by vslinx’s workflow (shoutout to him).
The preview section has been revised for clearer and more intuitive feedback during generation.
The old dual-sampler setup has been replaced with a dedicated Hi-Res Fix node, improving image coherence and reducing anomalies during upscaling.
A new image filter now generates multiple base images depending on the batch size, allowing users to select the most suitable one before moving forward with detailing.
- Update Highlights – Version 1.3
Reverted some previous changes that didn’t provide meaningful benefits.
Improved readability: reorganized key sections of the workflow for better clarity and structure.
Enhanced usability: streamlined certain modules to make the workflow more beginner-friendly and intuitive.
Bug fixes:
Fixed issues with image upscaling using a second sampler. The upscaling process is now smoother and more reliable.
Addressed various minor bugs to improve overall workflow consistency and stability.
- Update Highlights – Version 1.2
Wildcard support added for more varied and automated prompt generation
Auto-masking system implemented
→ Automatically generates a base image to feed the mask detection logicManual masking system retained
- Update Highlights – Version 1.1
Added dedicated Detailer modules for:
• Face
• Eyes
• Hands
These provide better control and enhanced precision for high-focus areasIntroduced an optional NSFW Deta
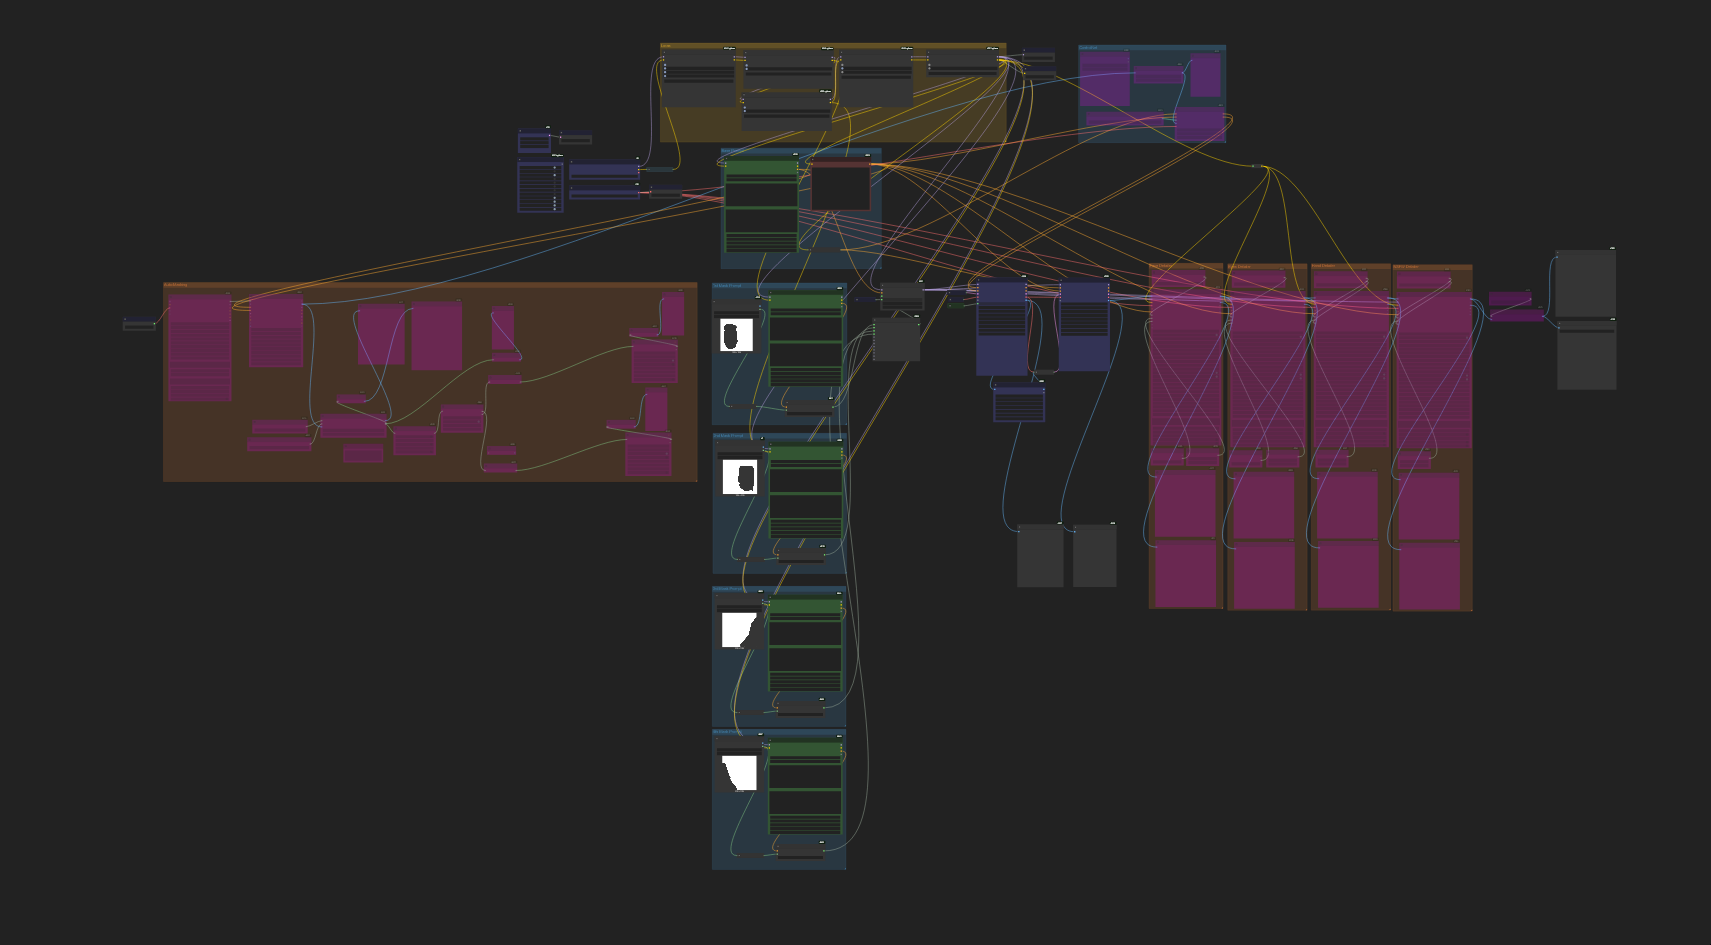
Introducing a powerful character design pipeline built around Illustrious — ideal for generating complex scenes with multiple precise characters, each with their own LoRA, styling, and pose masks.
✨ Key Features:
▫ Mask-Guided Multi-LoRA Framework
Supports multiple distinct characters with independent LoRAs
Each character area is defined via custom mask drawing (manual or input-based)
Dedicated nodes for LoRA types (style, body, clothing, accessories)
▫ Optimized Illustrious Foundation
Built on the Illustrious model family for rich detail and dynamic anatomy
Configured for stable multi-character composition
Modular design: easily customize scenes, lighting, camera, or prompt focus
▫ Creator-Focused Workflow
Enables high-precision, high-consistency character creation across generations
Ideal for multi-shot concepts, lineup renders, or consistent storytelling
Great for experimenting with pose, outfit swaps, or stylization
▫ Perfect For:
Multi-character fanart creators
Professional concept artists
Users who want full prompt and visual control
▫ Download Includes:
Main JSON workflow (ComfyUI ready)
Pre-configured node templates for characters and ControlNet masks
Prompt/Negative prompt structure examples
Optional face detailer setup
Feedback & Feature Requests :
I’m still actively improving this workflow — if you have suggestions, requests, or feature ideas, I’d love to hear them. Whether it’s a bug, usability issue, or a new tool you’d like integrated, feel free to share your feedback directly on the Civitai post or by message.
Community input is extremely valuable and helps shape future updates!
Ressources :
Detailers Models :
FACE
EYES
LIPS
NOSE
HANDS
NIPPLES
VAGINA
PENIS
Nodes used:
Join the Discord!
Come hang out, share your AI art, give feedback, ask questions, or just vibe with the community.
It’s also the best place for troubleshooting, commissions, and sneak peeks of upcoming work.
Description
FAQ
Comments (15)
Hi, can you please share video tutorial for this about how to use it?
There is a section "How to use" in the description, do you need more help?
Hello! First of all thank you for this workflow, it's so complete and well explained, you did an amazing work.
But i have a little question, when you are choosing the masks prompts, let's say i'll pick 3 masks, the background and 2 characters, do i need to pick the 3 masks of the same size and then edit them with the mask editor to choose where i want the character?
Sorry, i'm so new on comfy so maybe these are basic things :D
Hey! Thanks a lot for the kind words, really appreciate it haha!
And yes, it's important to keep all the masks the same size.
I’d recommend using the base prompt to define the background, and keeping the mask focused only on the character — that usually gives better results
Mittoshura thanks for the workflow! I had a blast using it.
I have couple of questions, more like asking for advice:
- do you have any suggestions how to have consistent background with this workflow?
- Second passing of Ksampler efficient does great job with face etc.. but it adds extra abs, sometime limbs, remove nipple etc.. feels like first sampler is really good but second one adds unwanted artifacts. I tried playing with denoise/steps/cfg but didnt really help. any advice?
I use waiNSFW v14 and sdxl_vae
Hey, thanks a lot for the feedback, I’m glad you had fun with the workflow!
About your points:
Backgrounds are definitely one of the trickiest parts right now. I’m still working on it and honestly breaking my head trying to figure out the most consistent way to handle them. It’s a problem I’m actively trying to improve.
For the second sampler, the issue comes from the fact that it has more pixels to "fill in," so the sampler tries to populate that empty space as best as it can. Sometimes it works great (especially with portrait resolutions), but other times it ends up stretching or adding artifacts like extra limbs/abs.
I’ll keep refining the workflow to make that second sampler behave better and hopefully avoid those weird artifacts. It’s a work in progress, but I’m pushing it forward!
Mittoshura thank you for the update and gl!
Hi, if you ever see this, I used your workflow with 2 characters and realistic models and it works extremely well for the first part. But at the face detail phase, the first character prompts get applied to both character, I have no idea why. If you could help you'd be a star (you already are)!
Sometimes it happens with the detailer, i don't really know why, probably happen when you mix Loras ! I'll try to fix it in the next update but i can't promise
When i try to use this only the base prompt gets used. Its like its ignoring my mask prompts. or maybe i am not using the masks correctly? that step is not really clear
Did you use the mask editor correcly to draw your masks ? For the correct steps, follow this : 🔹 First, your Main Prompt should describe the overall scene — environment, general vibe, number of people, and any shared details (like lighting, style, background, camera angle, etc.).
🔹 Then, each Mask Prompt should describe only the specific character inside that mask region — appearance, pose, outfit, expression, etc.
You don’t need to repeat the full scene or mention other characters again inside each mask — just focus on the one it's targeting.
So:
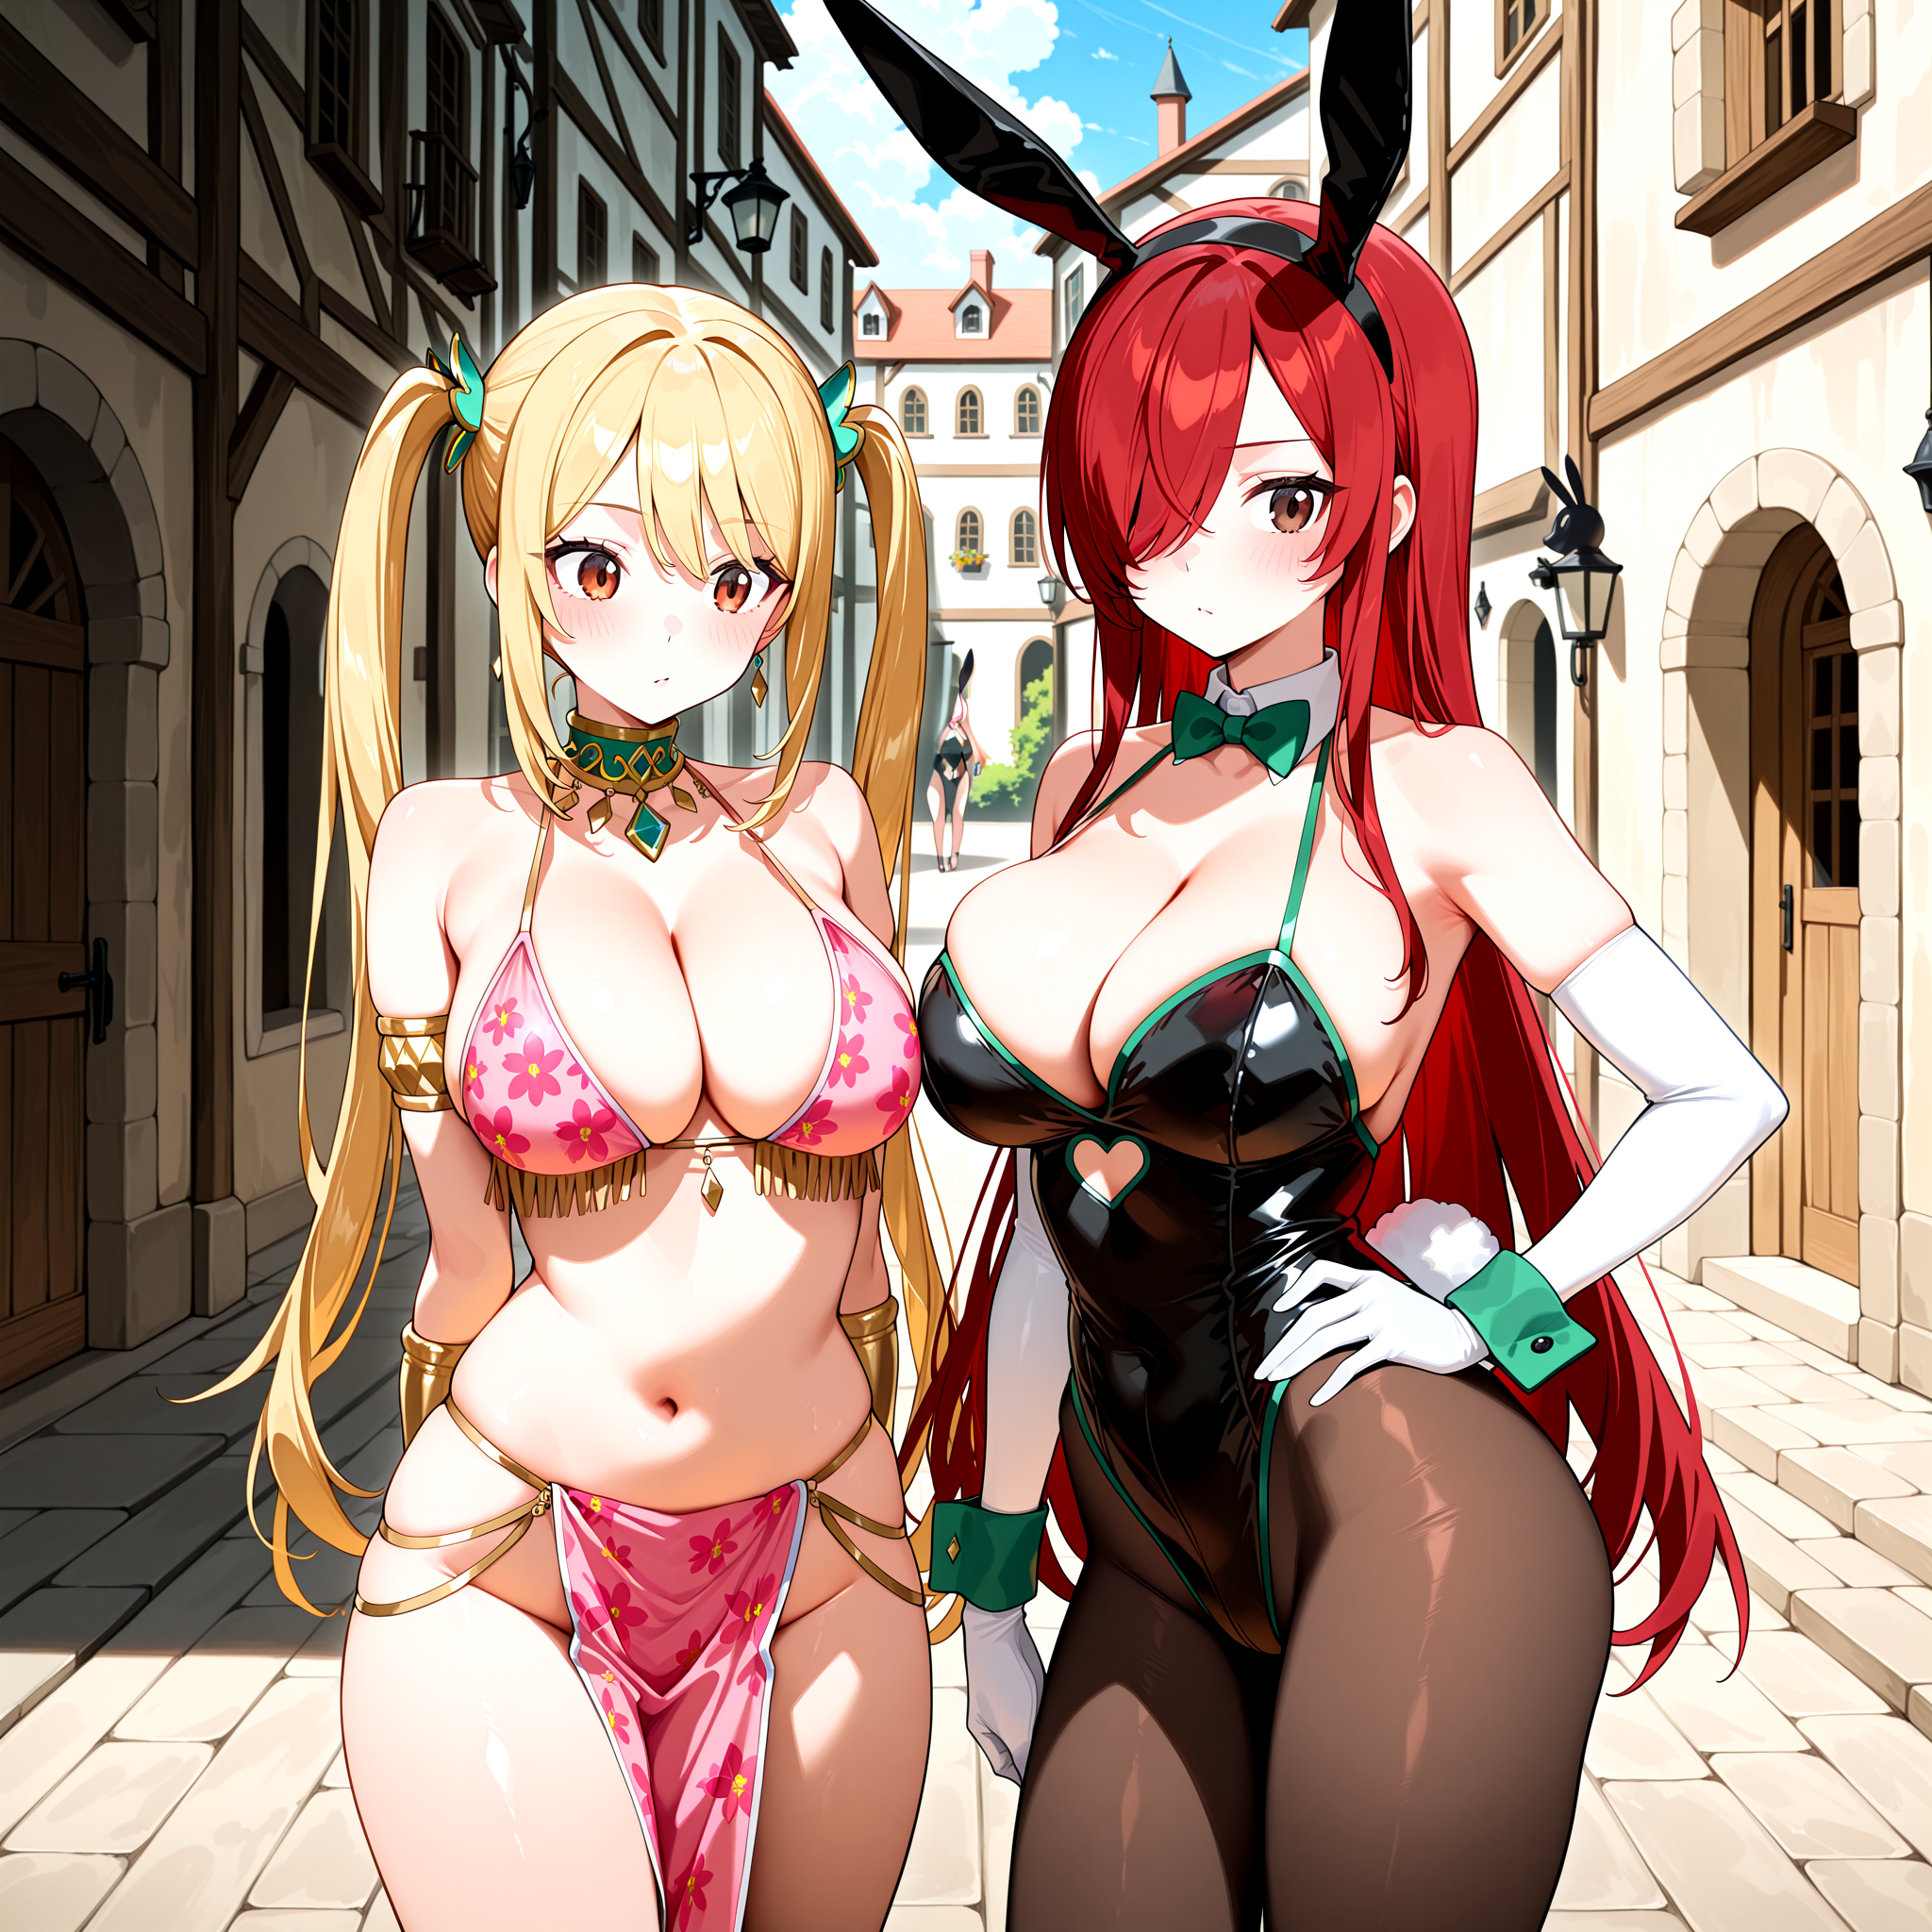
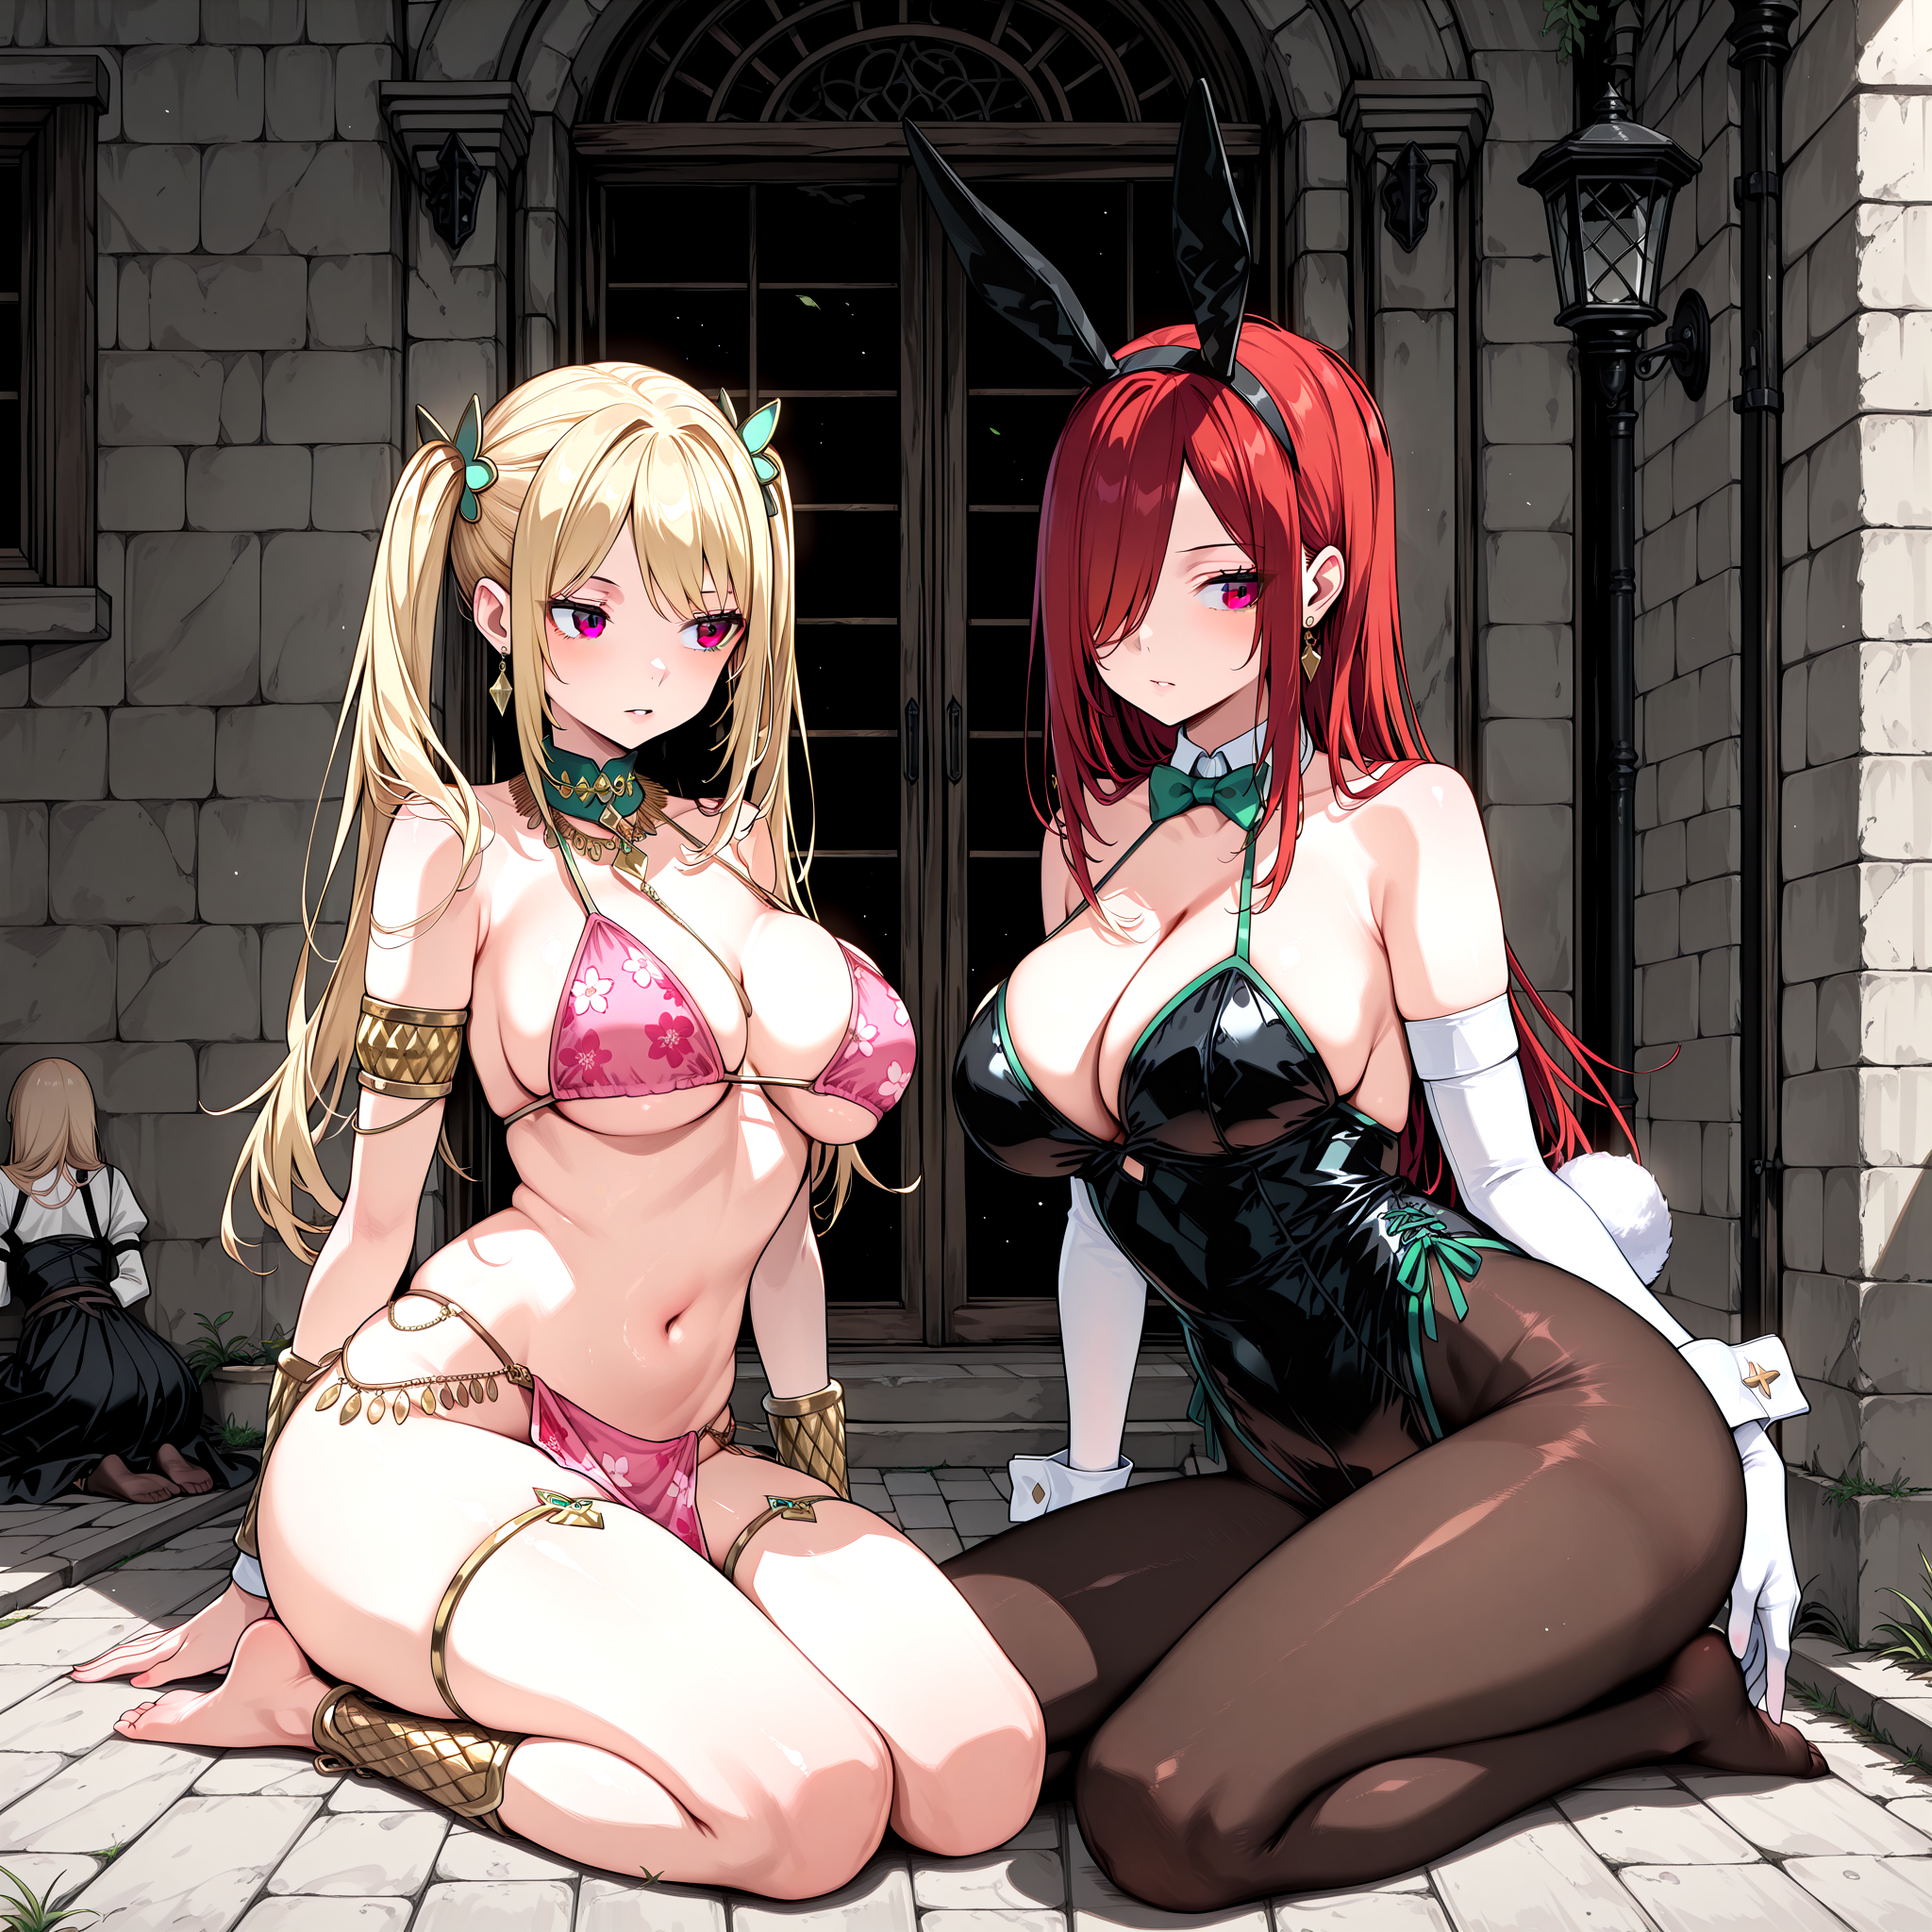
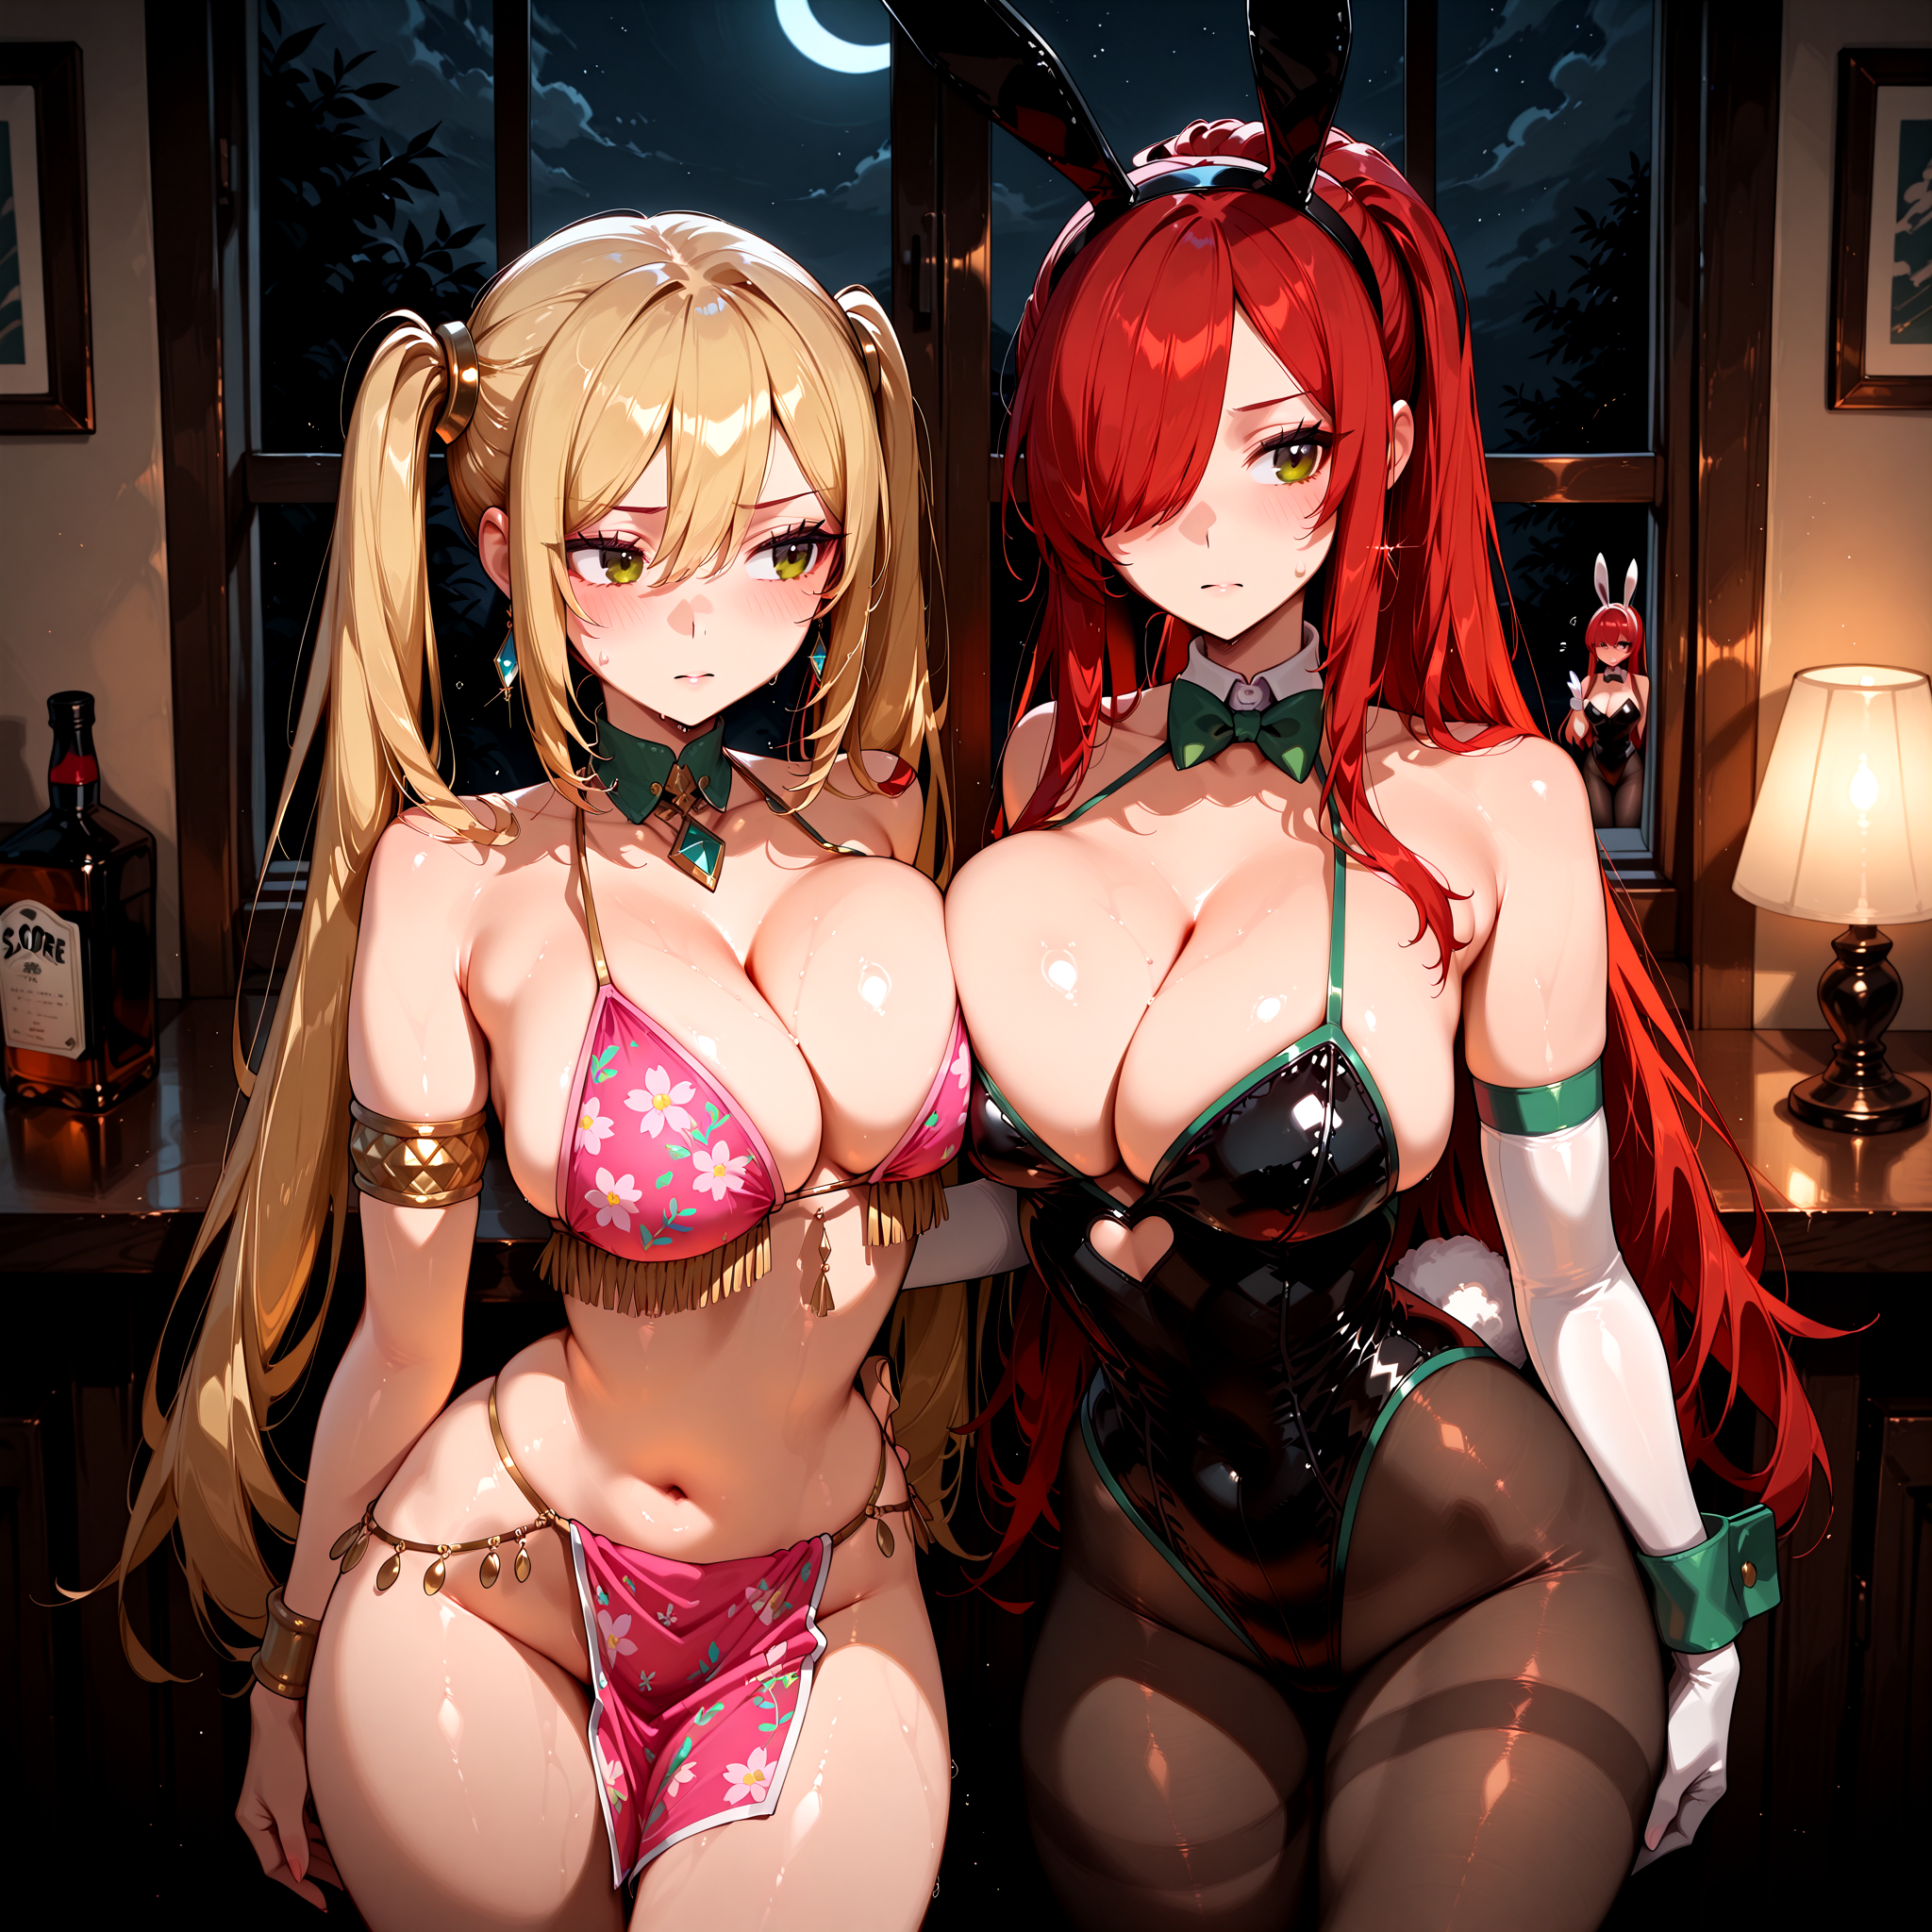
Main prompt: “4girls, standing, beach, sunset, masterpiece, 8K, aesthetic”
Mask 1 prompt: “4girls, long pink hair, green bikini, side ponytail, shy expression”
Mask 2 prompt: “4girls, blue hair, black swimsuit, confident pose, hands on hips”
…and so on.
@Mittoshura Well I was clearly doing the masks wrong. Now however, only the mask 1 and 2 prompts are being takeng into account and its largely ignoring the base one...
should masks 1 and 2 cover the entirety of the image or there should be some unmasked areas ?
@grimlook Just mask the area where you want the prompt to apply
@Mittoshura I get it now, I was doing it wrong hehe, this workflow is amazing and it works really well. Thank you for sharing and for the support!
@grimlook Happy that you got it to work ! It's not really to understand but once you get it it work pretty well ! Thx for the kind words