


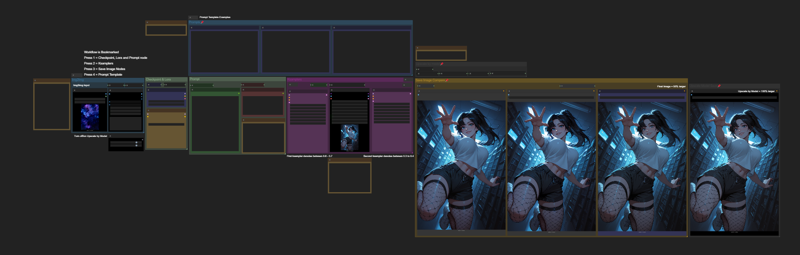
Img2Img Workflow (ComfyUI)
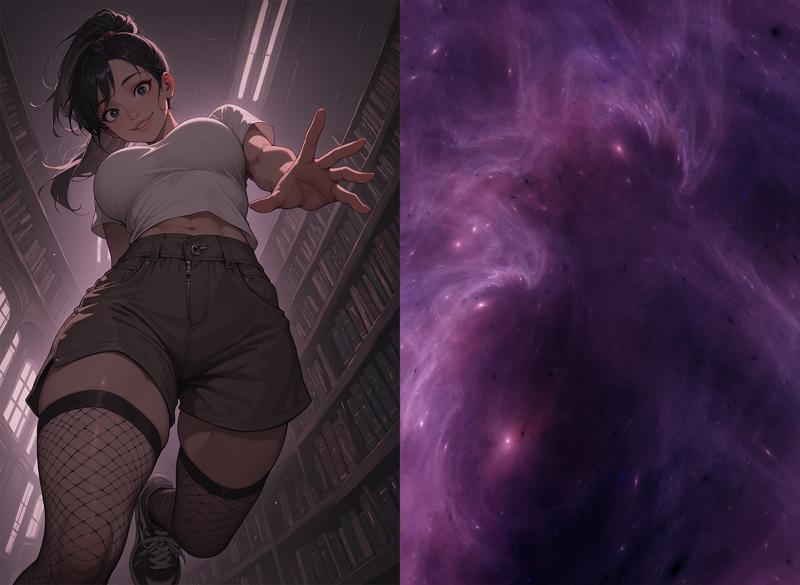
This workflow lets you take a base image and combine it with a secondary image (like a nebula, fractal, or other abstract texture) to generate new compositions that text-to-image alone wouldn’t produce. Instead of only relying on prompts, this setup uses the “driving image” to push the model into unexpected poses, angles, and layouts, while still respecting your text prompt and style settings.
This is especially useful when you want:
More dynamic posing (without manually inpainting or posing tools).
Unique layouts and camera angles.
A way to push your characters or scenes into new territory, while staying consistent.
What It’s For
Generating new compositions from an existing base image.
Keeping your characters consistent while experimenting with different layouts.
Using abstract images (nebulae, textures, fractals, clouds, etc.) as latent drivers for creativity.
High-Res Fix and Upscaling are built-in — this ensures the outputs stay sharp, detailed, and production-ready.
Step-by-Step Breakdown
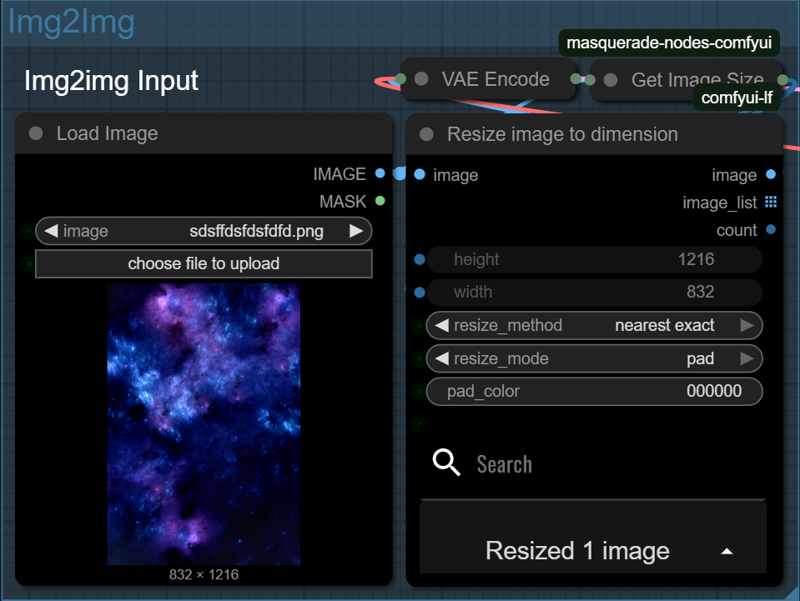
1. Load Your Driver Image
Start by loading the image you want to use as a guide — this could be a nebula, a fractal, a painting, or anything with interesting shape and color flow. This image will shape how your final result is composed.
Nodes will automatically take the width and height of your input image and apply it to the generation.
For best results, a standard SDXL size is recommended for input images with img2img. Be sure to crop your image to around 1 million pixels. The following sizes can be used as a guide:
1:1 - 1024×1024 - Square
3:2 - 1216×832 - Landscape
4:3 - 1152×896 - Landscape
16:9 - 1344×768 - Widescreen
9:16 - 768×1344 - Vertical
2:3 - 832×1216 - Portrait
3. Add Your Prompt
Now it’s time to describe what you want to see — your subject, the style, the lighting, etc. You can also write a negative prompt to avoid things like blurry faces, extra limbs, or text.
The SDXL base model and VAE are loaded, and LoRAs can be added if you want to steer the style further.

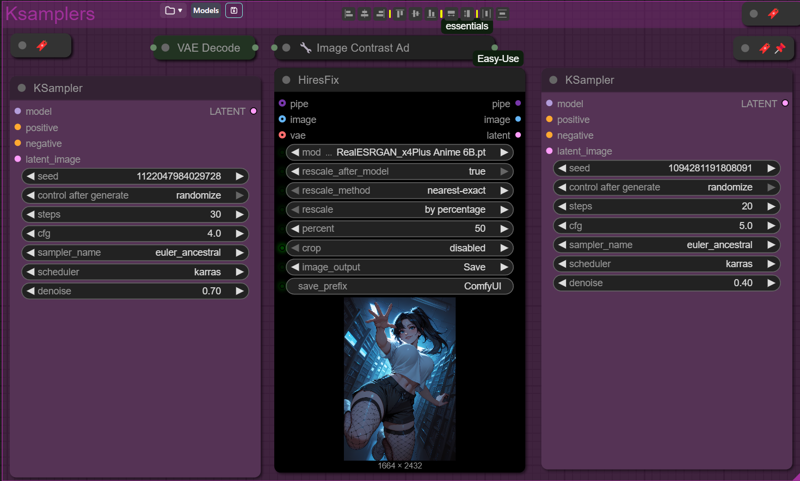
4. Sampling and Upscaling – Build and Refine the Image
This step handles both the base composition and the detail refinement. It’s made up of two sampling passes and a built-in upscale between them.
In the first sampling pass, the KSampler uses your latent input and prompt to create a strong composition. A denoise setting around 0.6–0.7 is used here — that’s strong enough to change the image significantly, but still preserve the flow and layout.
Next, the image is upscaled by 50%. This isn’t just a resize — the model intelligently adds detail using High-Res Fix. It sharpens the image and gives it more pixels to work with.
Finally, a second KSampler refines the image using a lower denoise value (around 0.4). This keeps the structure but adds texture and small fixes.
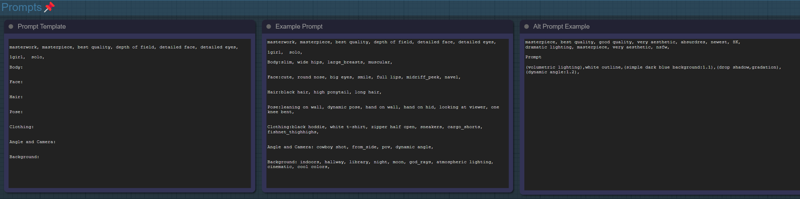
Labels and Prompt Template
This workflow is fully labeled for ease of use. Each section includes notes explaining what the node does, how it works, or what settings to change. This makes it easier to troubleshoot or customize without needing to reverse-engineer anything.
A prompt template is also included in the workflow to help guide your text inputs. It covers subject, mood, lighting, and style, giving you a strong starting point for consistent and well-structured prompts.
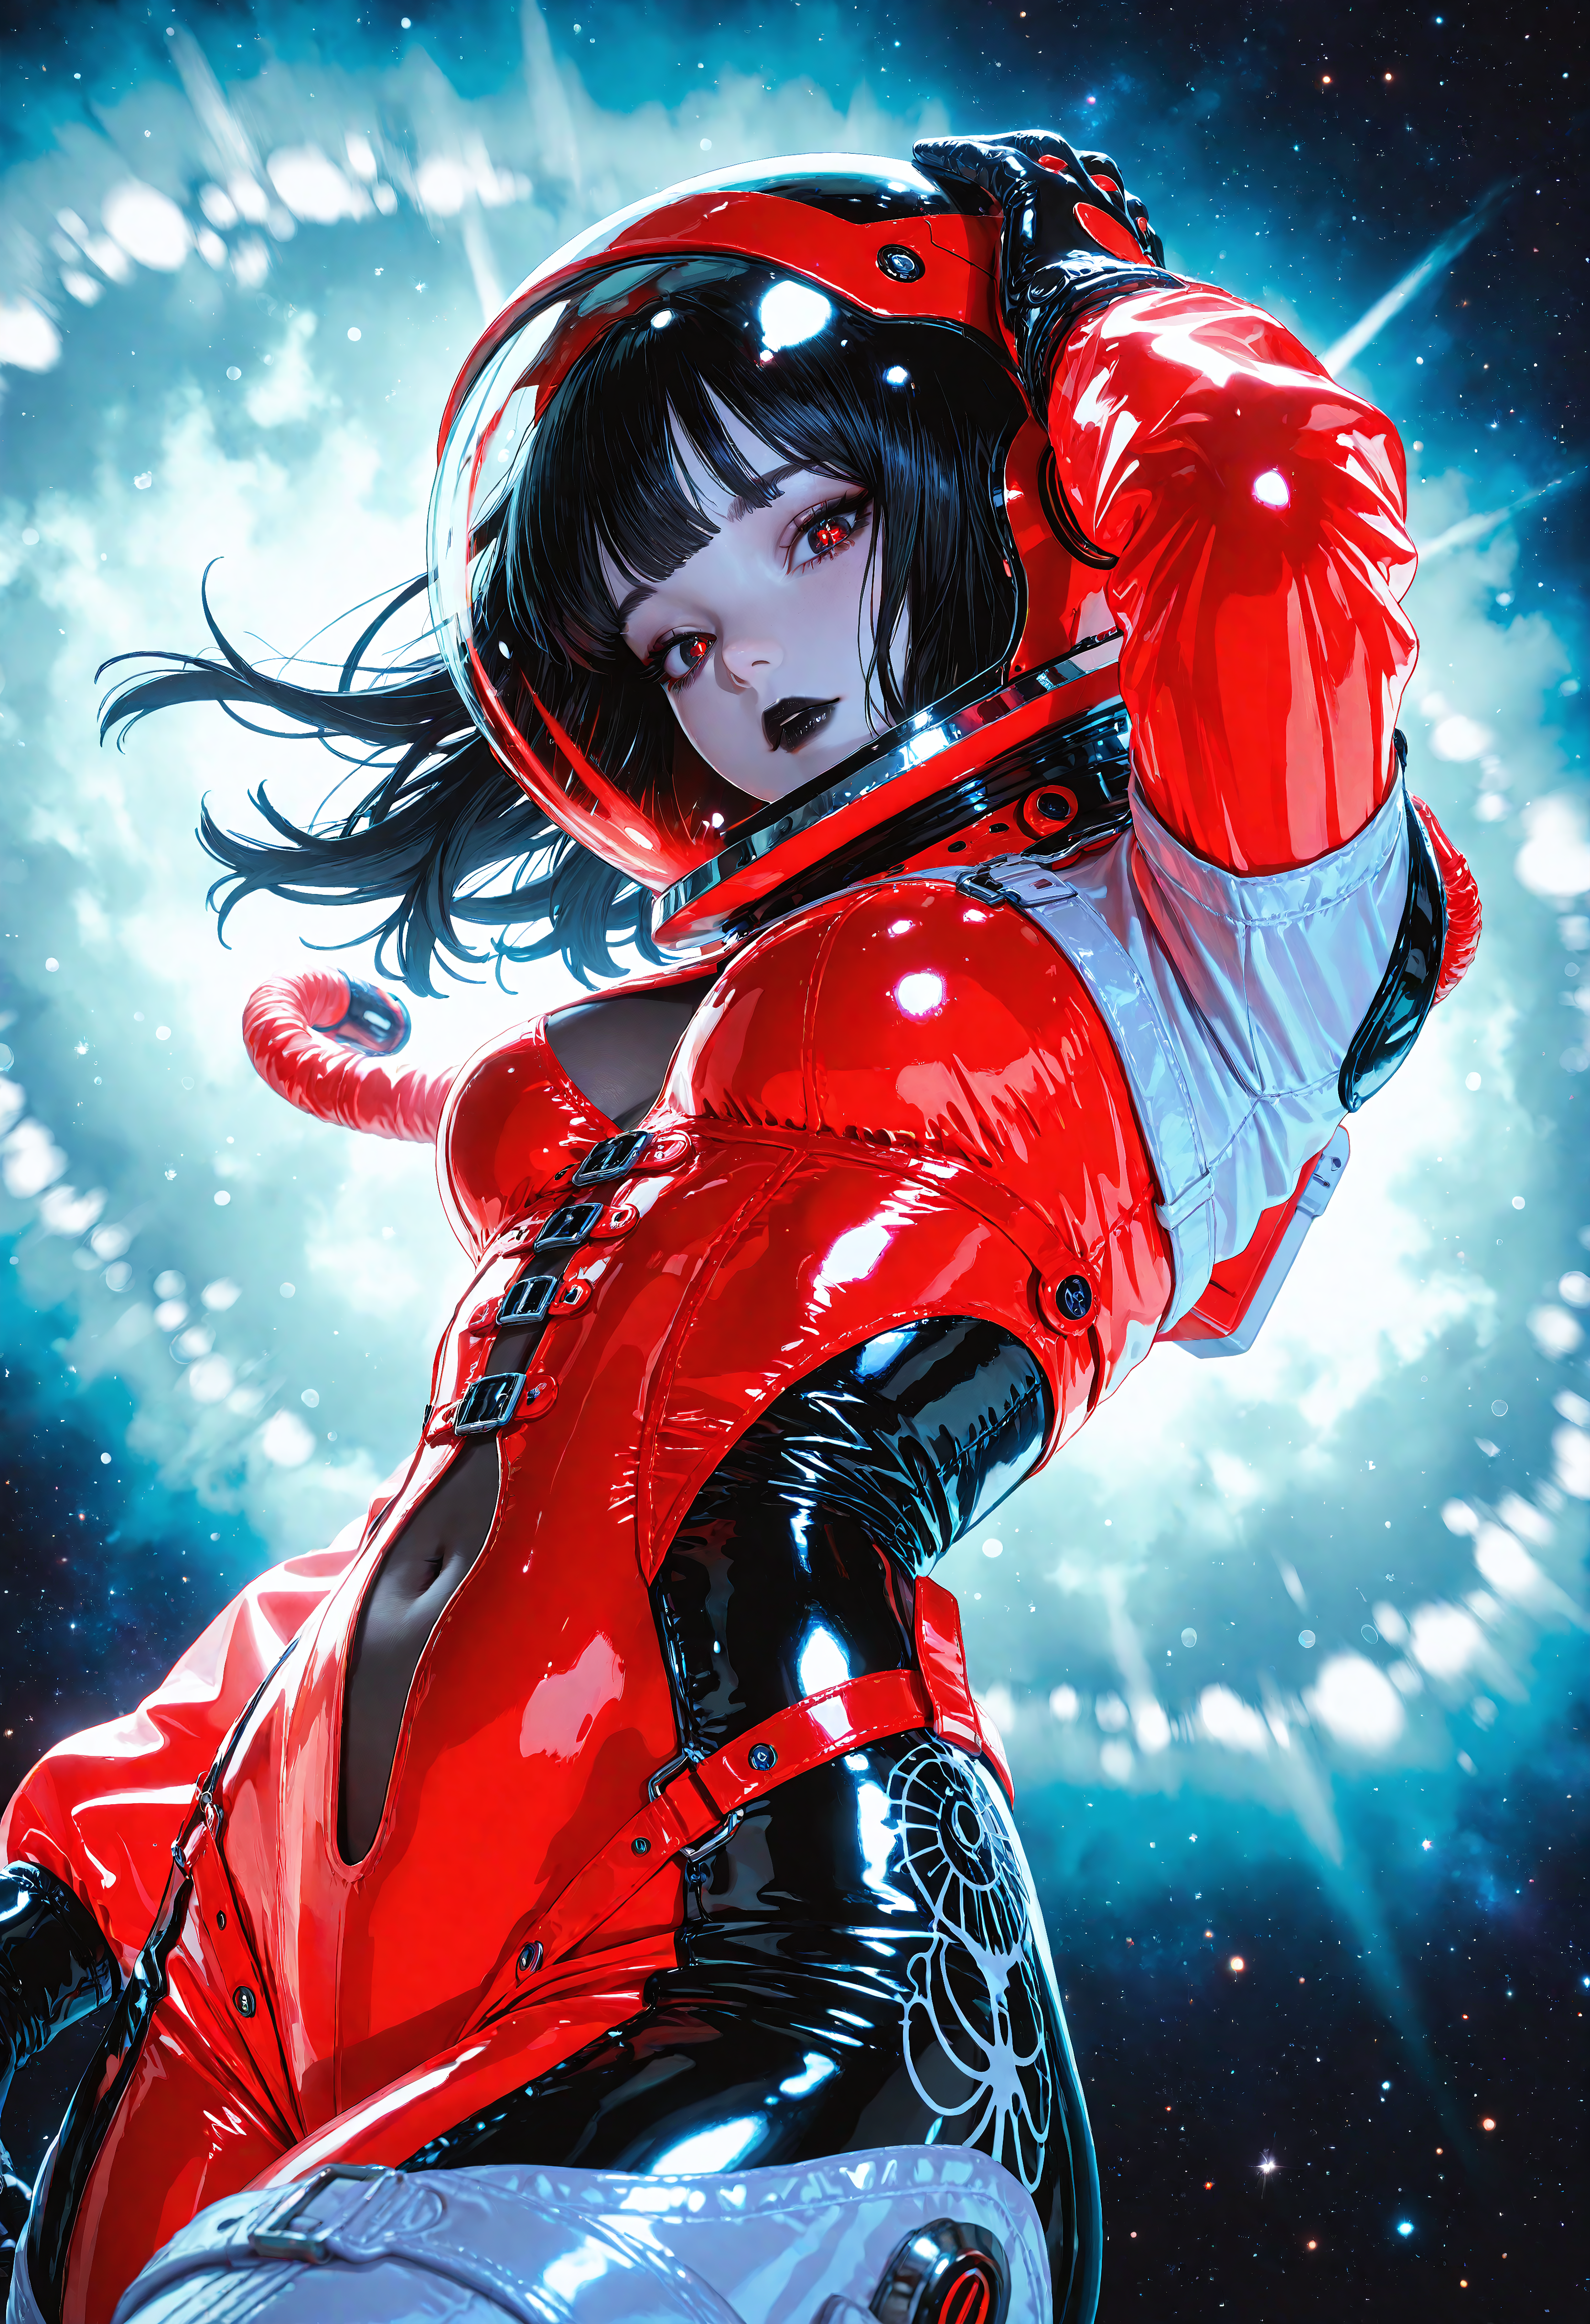
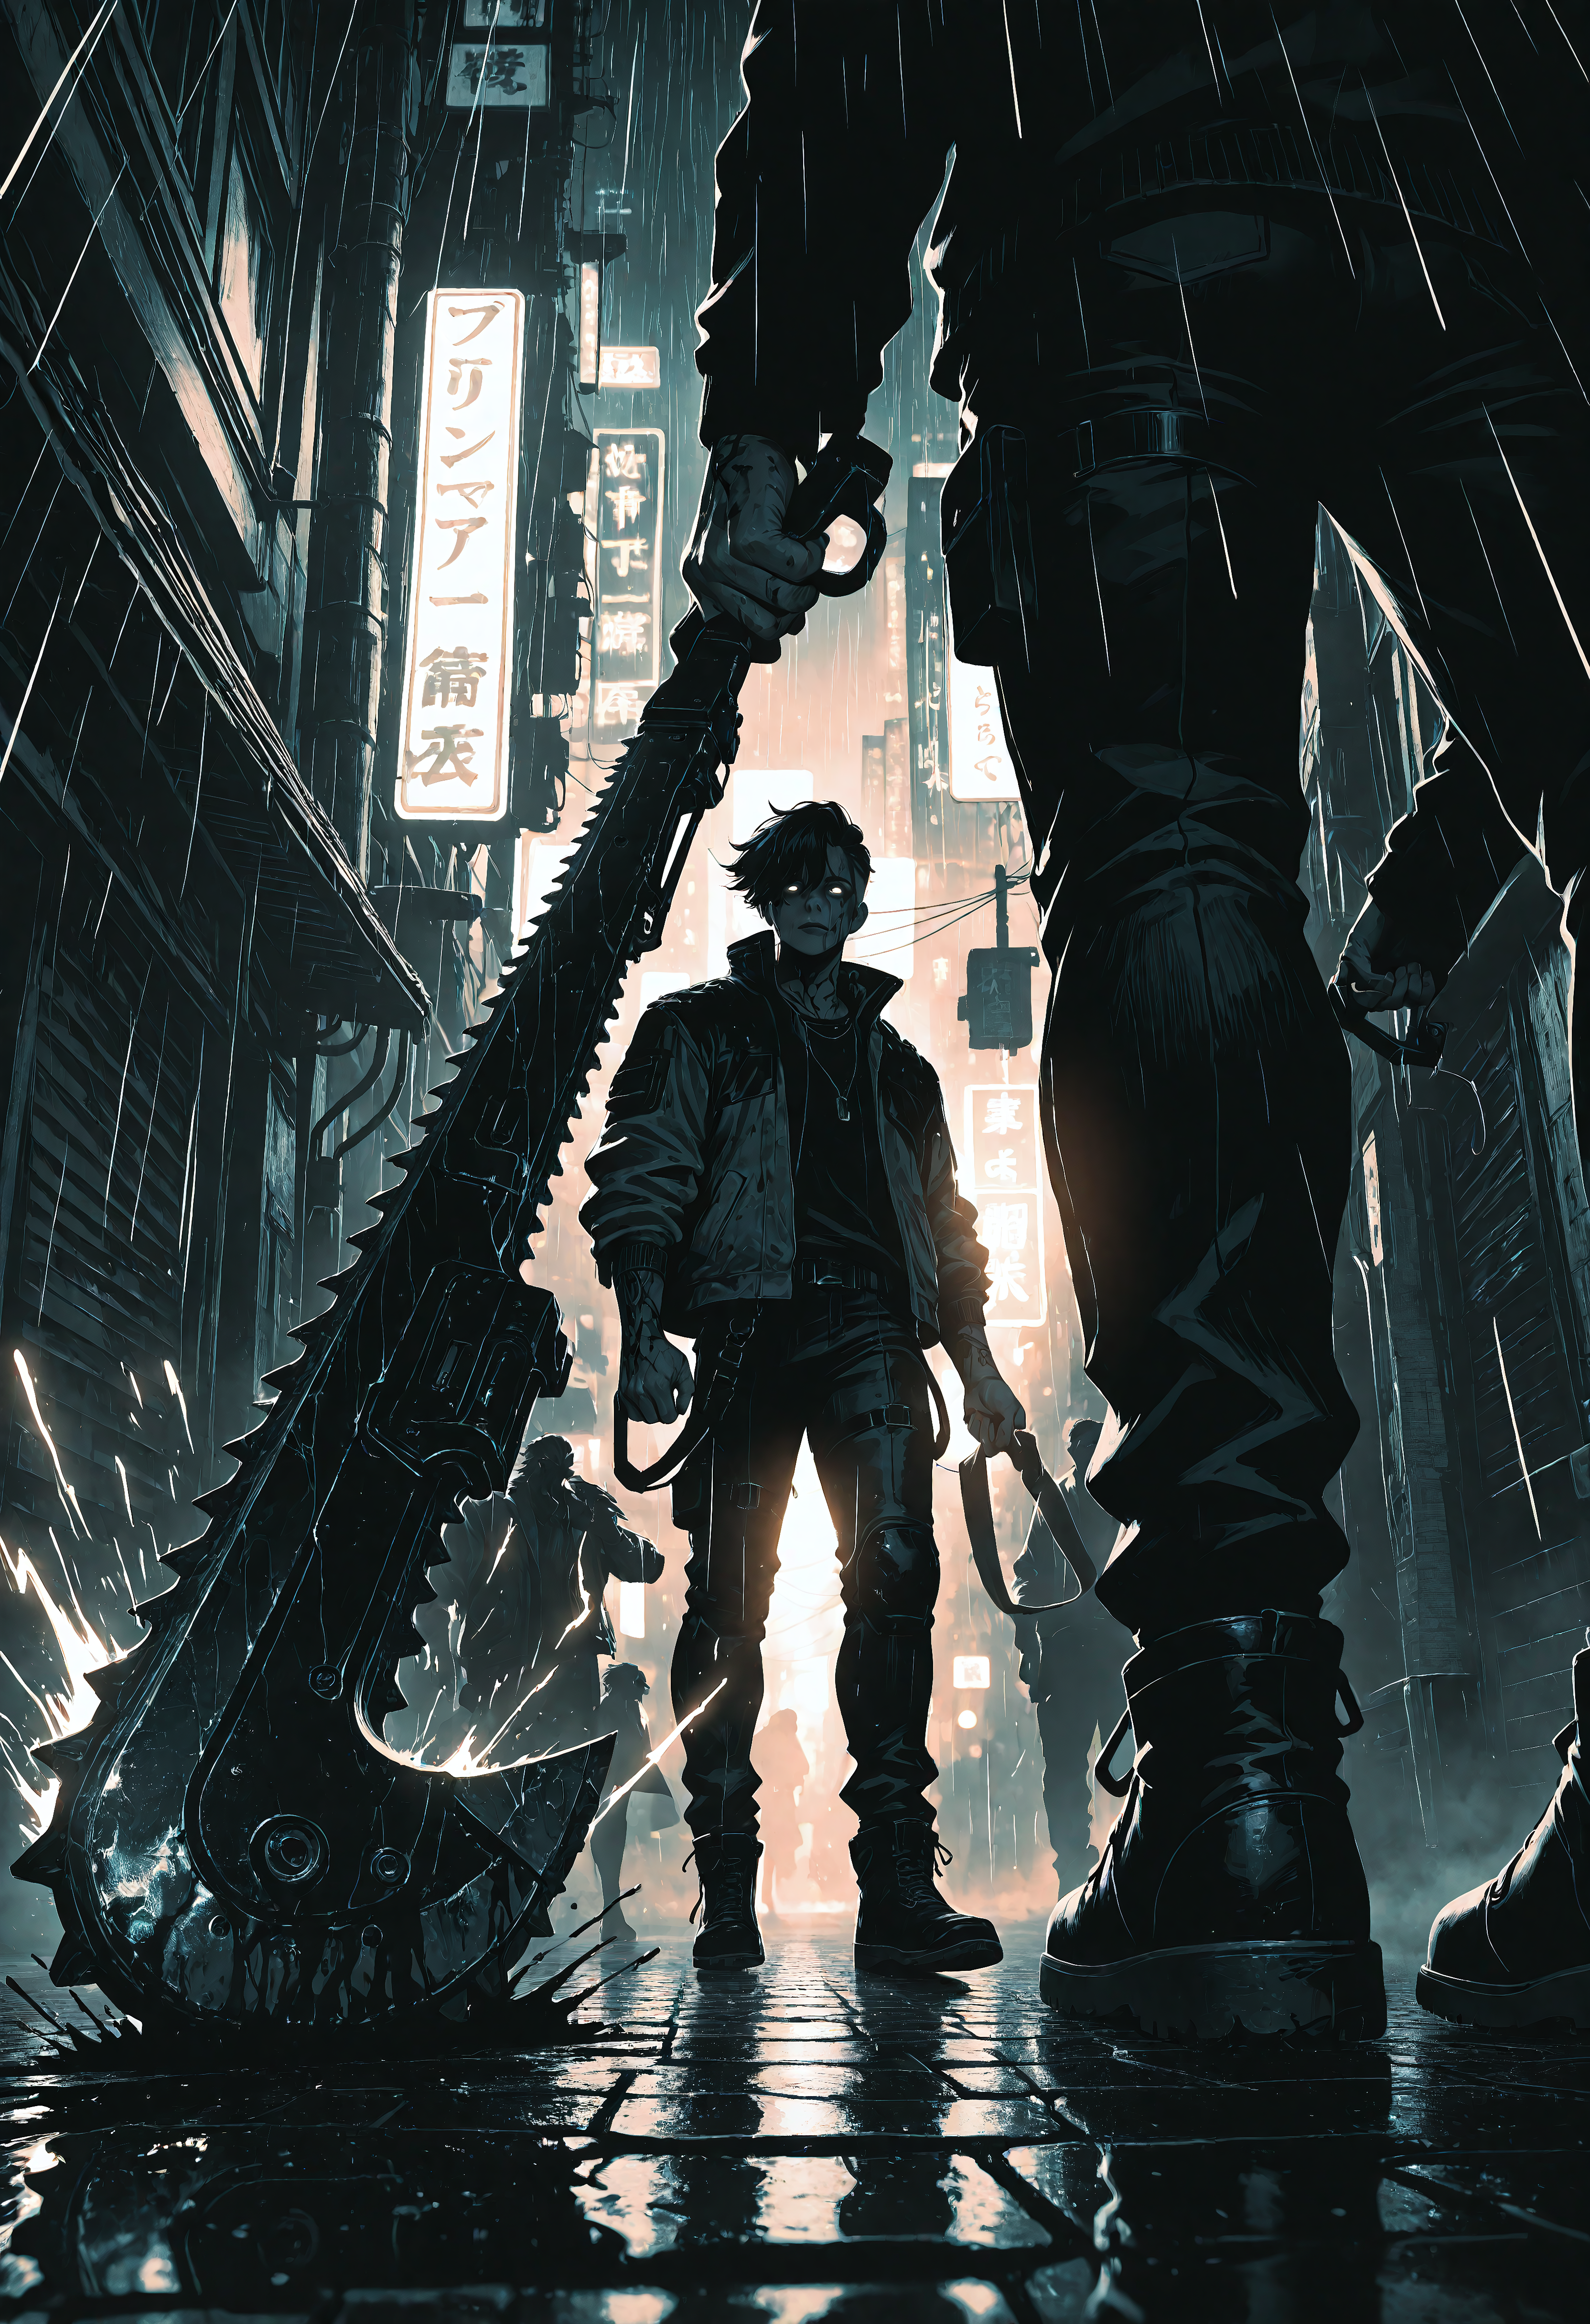
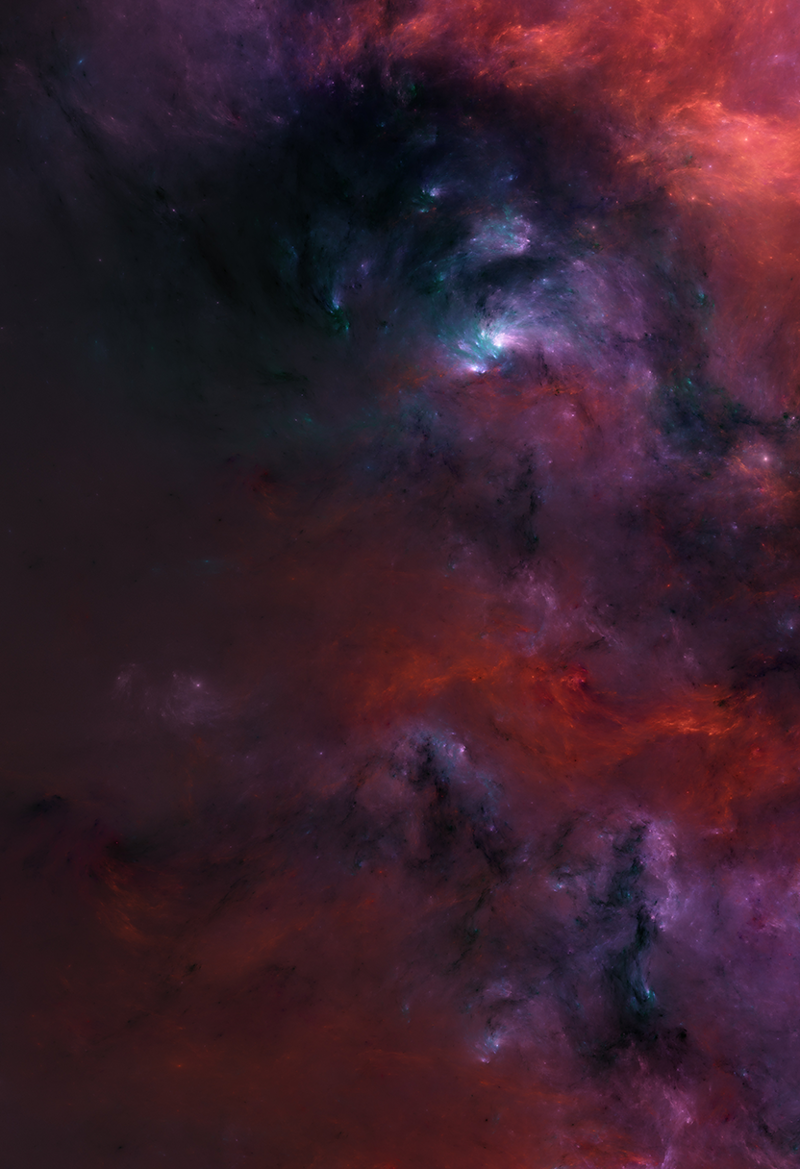
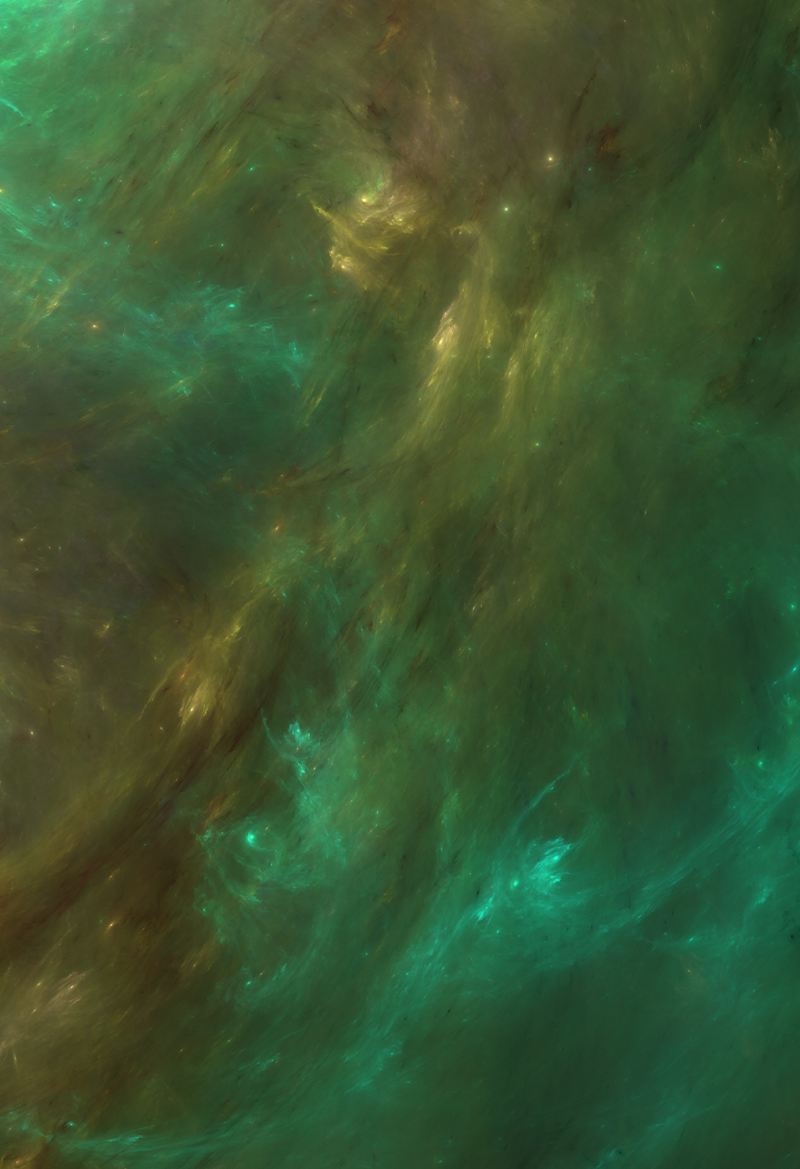
Here are some image for you to try with the workflow: Images are sized either 832x1216 or 1216x832


Description
Img2Img Workflow Guide — Clear + Accurate
This workflow lets you improve an image or reinterpret it.
You decide how much changes based on a single setting: denoise strength.
1️⃣ Load Your Starting Image
Import the picture you want to transform.
If the framing is bad → crop before starting
If the resolution is small → upscale a little before running
Higher-quality inputs produce more reliable results — but even a simple sketch will still work.
2️⃣ Write Your Prompt
Your prompt guides style, detail, lighting, and mood.
Describe what matters most (e.g., material, atmosphere, expression)
Avoid overloading the prompt with random details
The more consistent your wording, the more repeatable your result
Negative prompt:
Use it to avoid unwanted artifacts, distortions, or wild style changes.
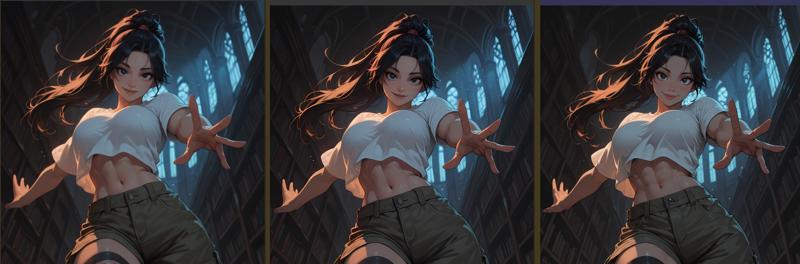
3️⃣ Denoise Strength — What Actually Happens Here
This is the most important control in the workflow.
It decides how much the model keeps from the input image.
0.30 – 0.55 → Keeps Most of the Original
Similar pose, proportion, and composition
Useful when the image is already close to what you want
Best for fixing issues: face problems, clutter edges, lighting, textures
You’re improving the image, not replacing it.
0.60 – 0.75 → Explores New Ideas
More prompt influence
The design, lighting, and outfit can shift
Still respects your input image as a loose structure
A balance: you’re still guiding it, but letting the model make creative decisions.
Above ~0.75 → Minimal Connection to Original
The base image mostly stops influencing the result
Good for turning a sketch into a completed piece
Expect a new composition
The input becomes more of a suggestion than a source.
4️⃣ High-Resolution Enhancement
Boosts sharpness and adds new detail without changing the composition too much.
Suggested starting ranges:
Scale: 1.25 – 1.6
CFG: 6 – 9
If results look noisy or chaotic → lower Scale slightly.
5️⃣ Smart Upscale (Optional but Recommended)
After you like your result, upscale it for clarity and polish.
Recommended:
Sharpen: 0.7 – 0.9
Final Scale: 0.40 – 0.55
If the image looks grainy → reduce sharpening.
6️⃣ Save and Review
Do quick small tests first.
Render full resolution only once you’re satisfied.