
Workflow made in response to one comment in this article.
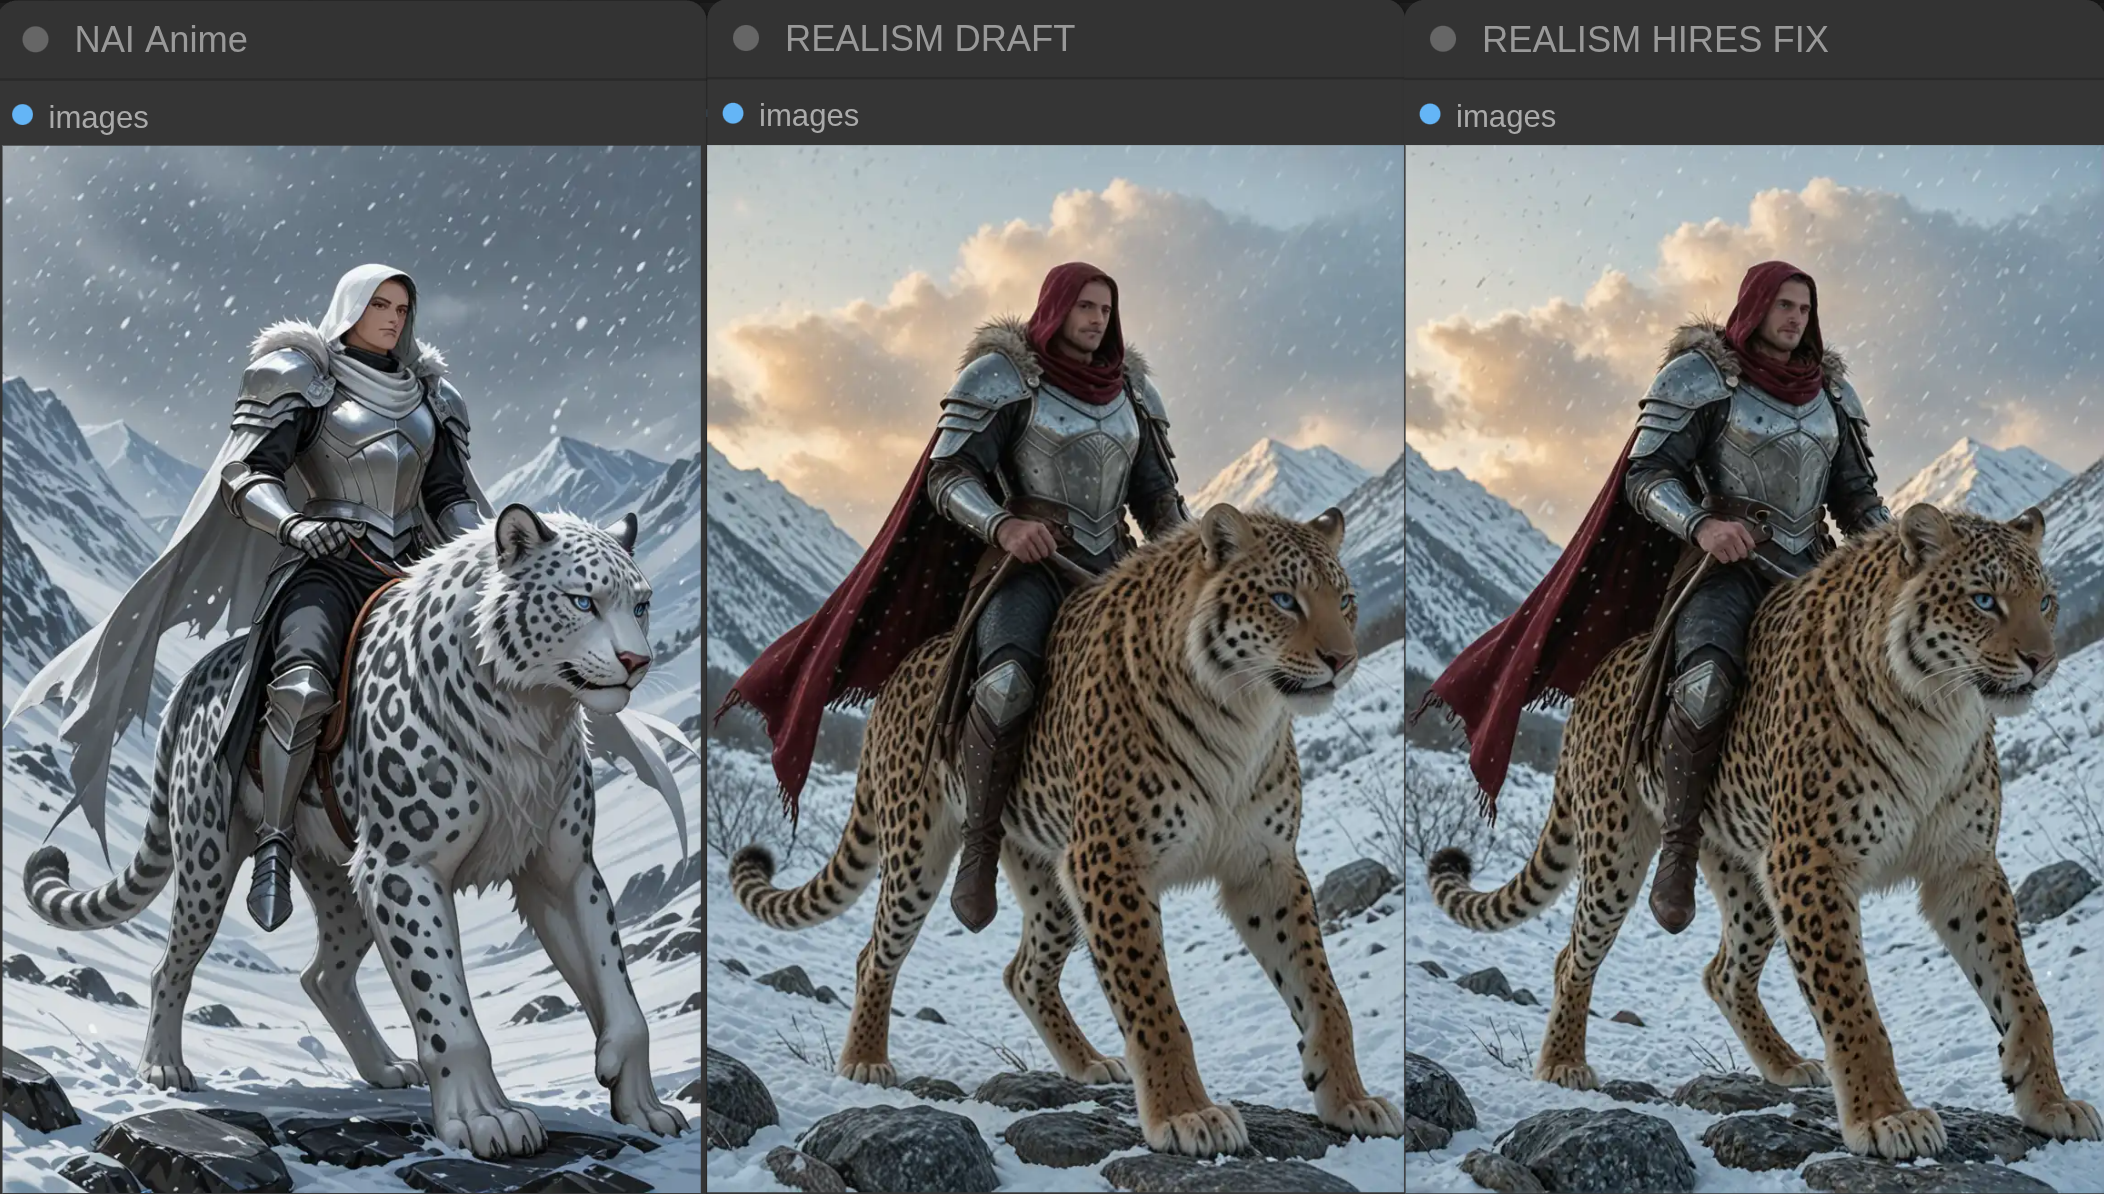
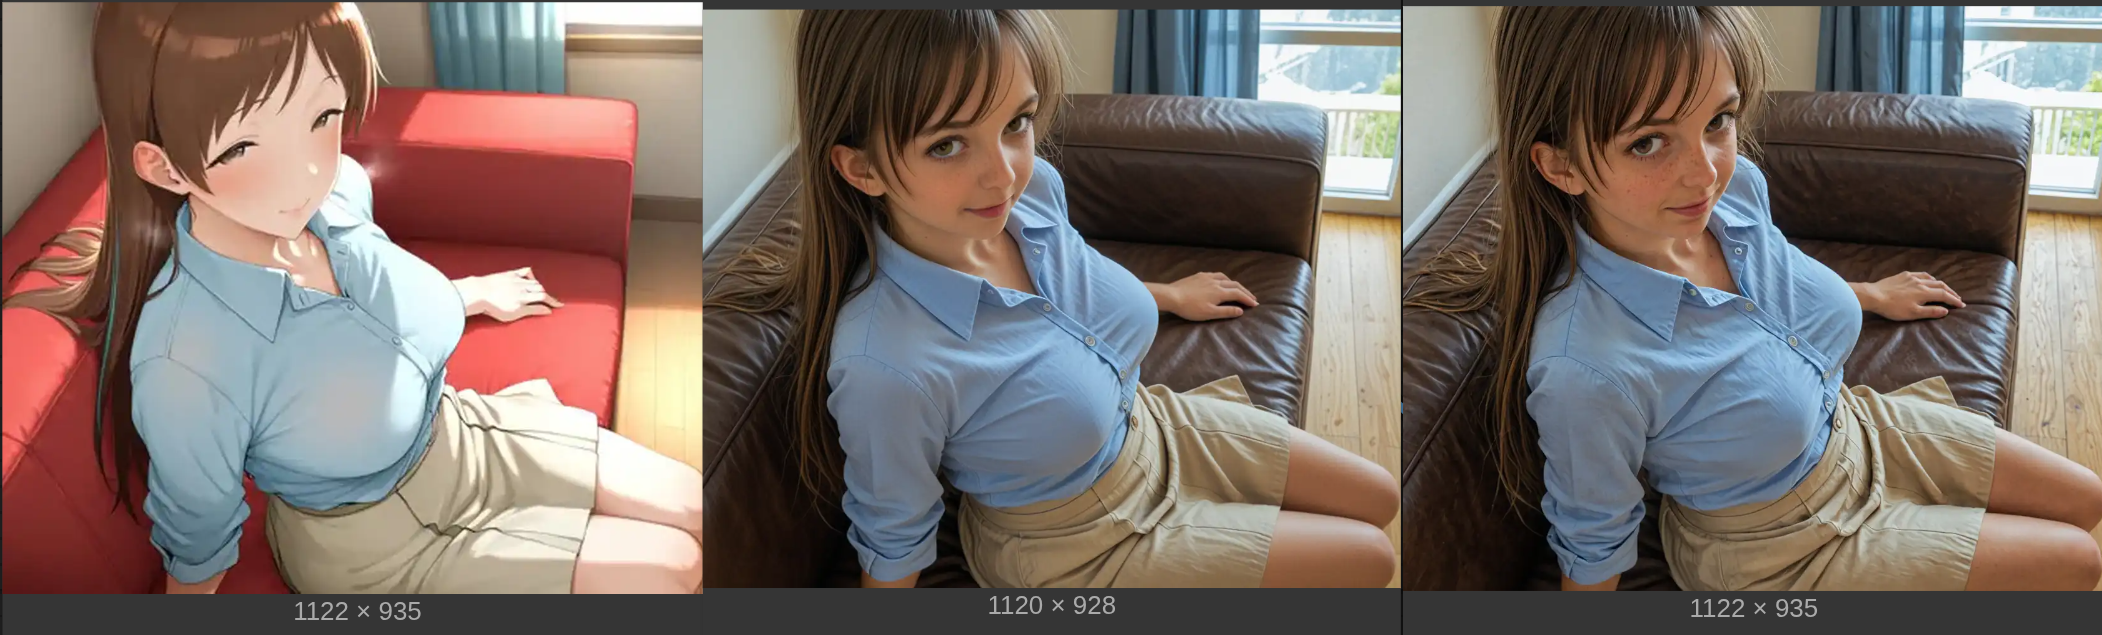
This workflow for ComfyUI uses the 3-pass approach to convert images from Anime style checkpoints (NoobAI Anime) to photorealistic render.
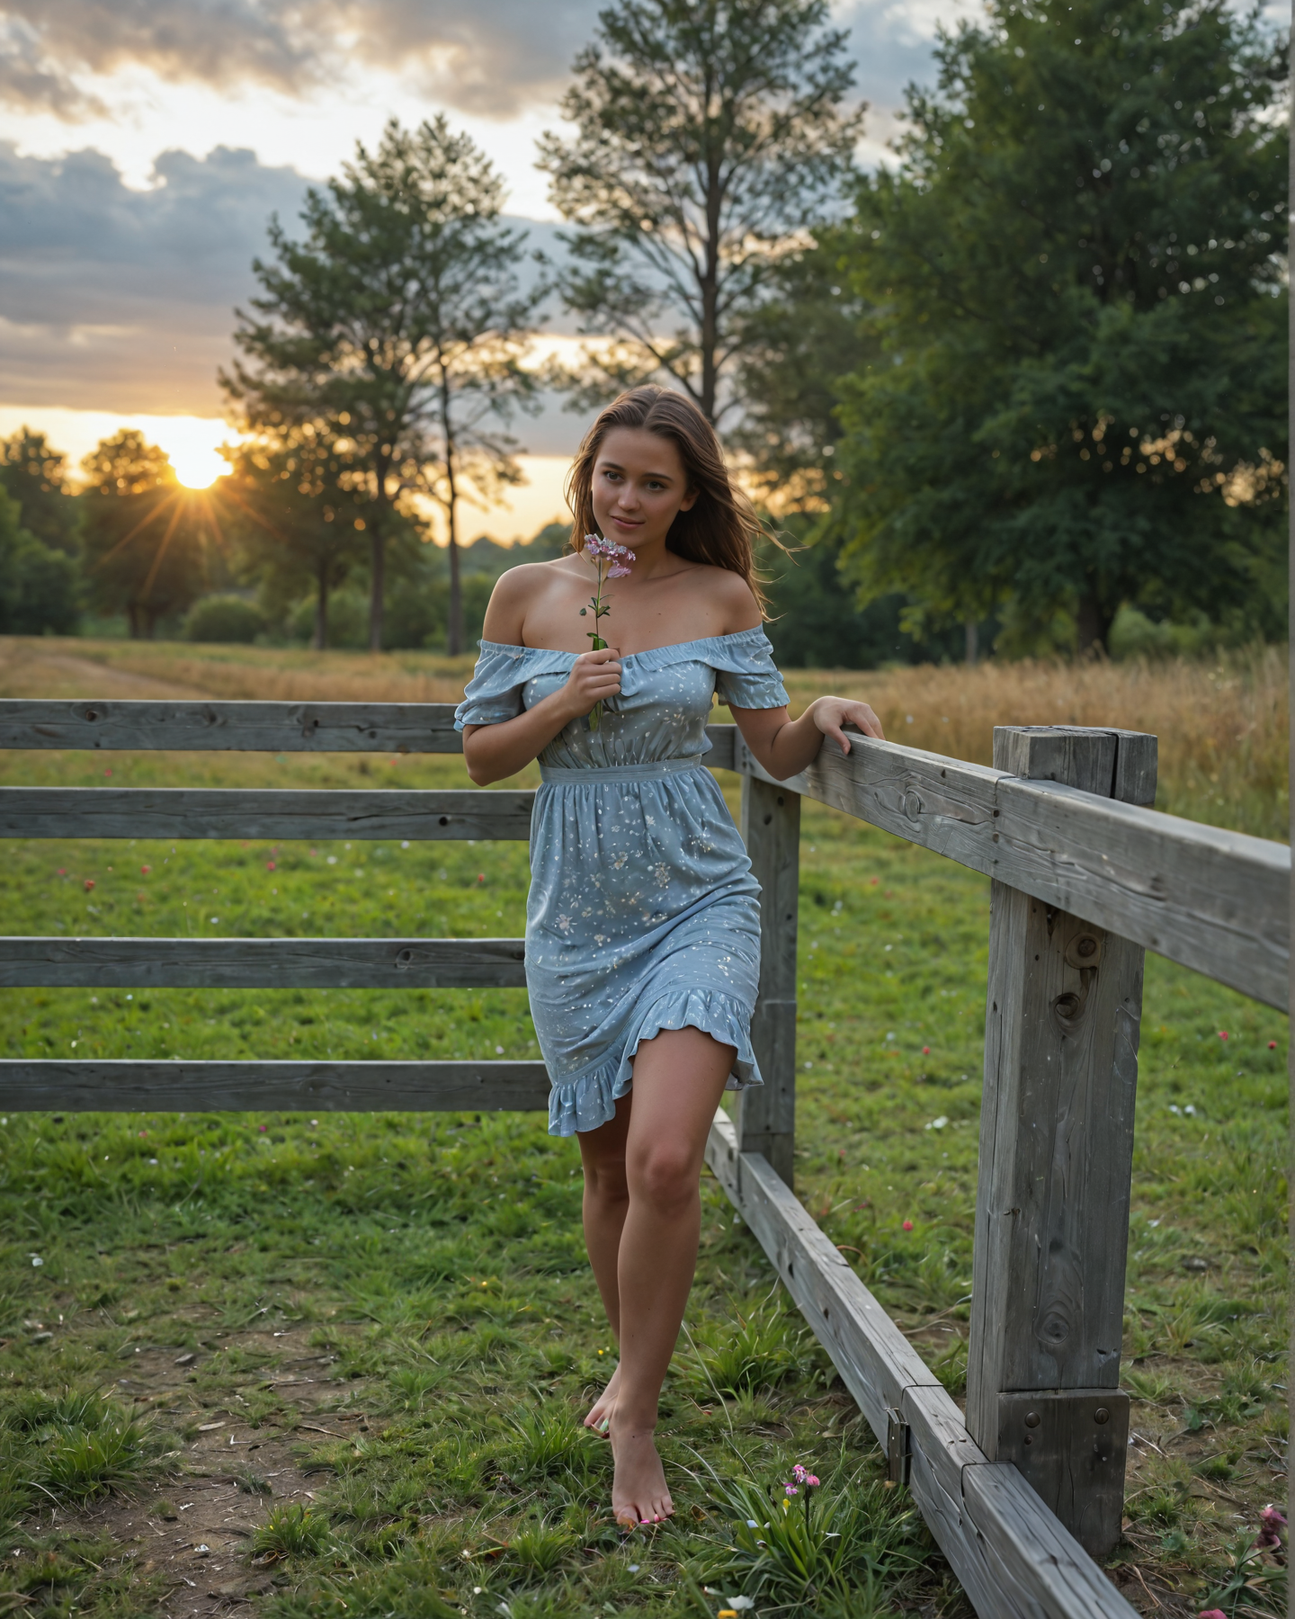
Main usecase is to get a composition, character, dress, etc. from anime style checkpoint and make the same image in photorealistic style. This approach is useful to prepare photo-realistic training dataset for anime checkpoint.
Read this article for more details about the workflow.
Description
FAQ
Comments (3)
What is the point of downscaling image after the upscale? And "Hires. Fix" helps to get OOM and artifacts
Remacri doubles both sides of the image. It is 4 times more pixels than original image had. That's too much. If 1st pass imag had a 1MPx resolution, then Remacri upscale will have 4MPx resolution. 2.0 .. 2.5 is enough for 3rd pass. So I added the downscale to reduce time consumption. You can bypass downscale, but then VAE Decoder will switch to Tiled Mode - which is slower.
Downscale node takes a fraction of a second on GPU. So, overhead of downscale is a bit lower than nothing.
PS: there are 2x upscalers but Remacri x4 is better.
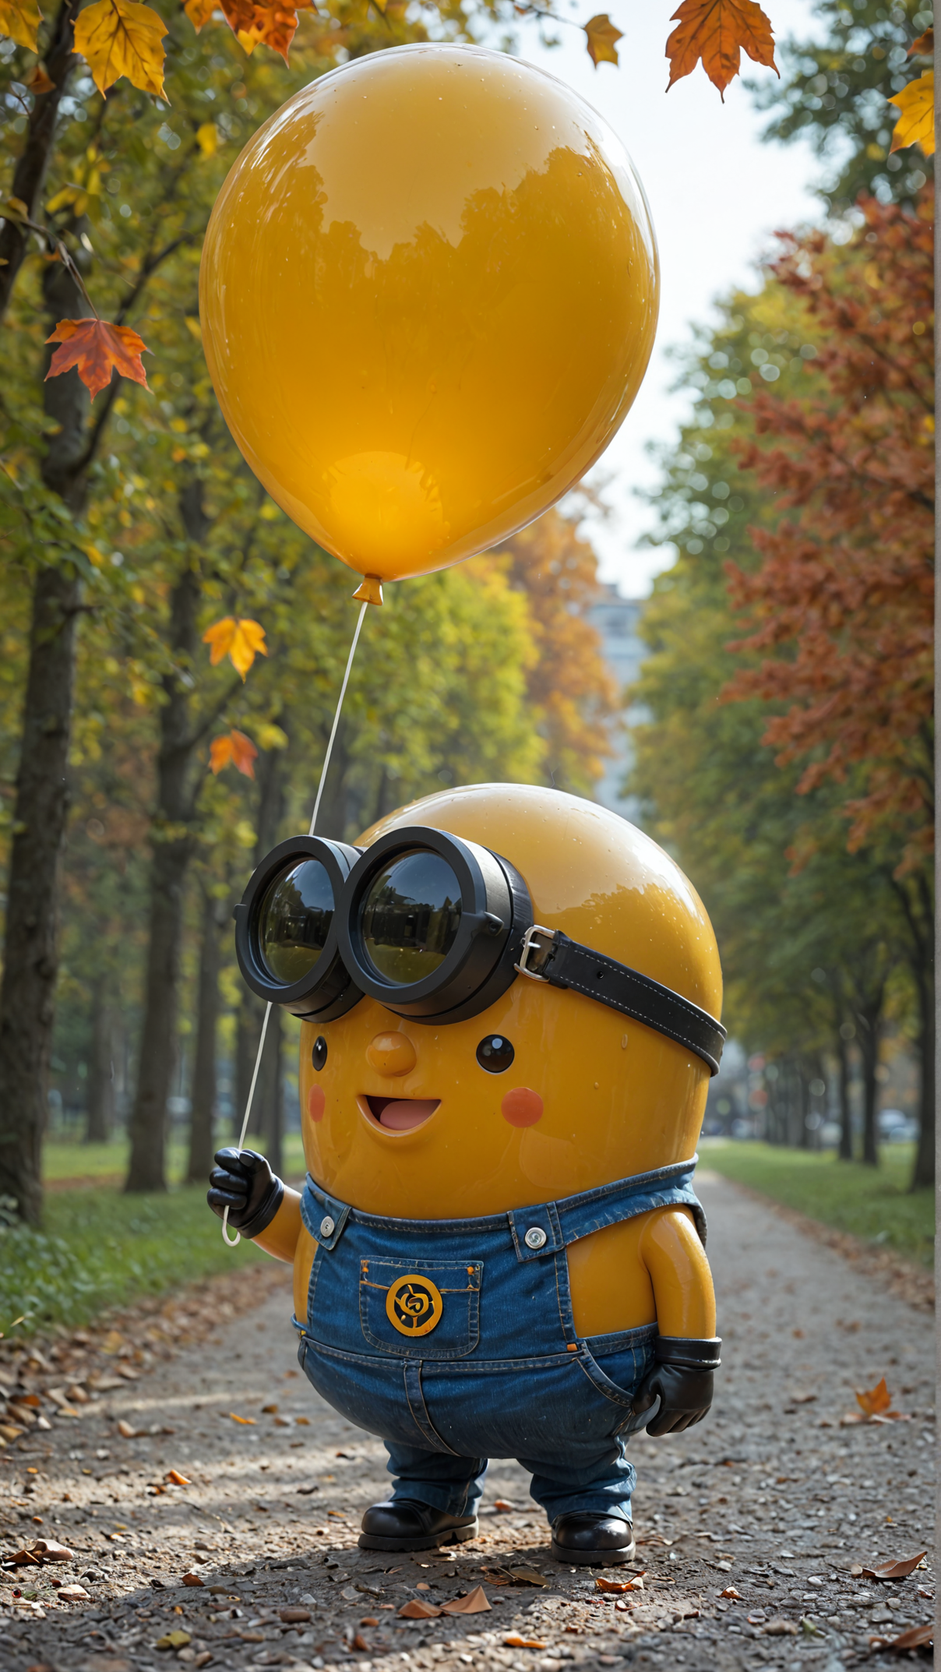
As for the goal of having 3rd pass, it is needed to convert realistic image with smooth unnatural textures into a proper skin textures with natural imperfections and pigment variations.
Single conversion pass don give a good detailed textures.