

Sexiam - Beginner Friendly Txt2Img Workflow
List of custom nodes used:
If you’re new to ComfyUI and not sure where to start, this workflow is meant to give you a reliable foundation. It focuses on a simple, standard text-to-image setup that helps you get clean, polished results while you learn how ComfyUI works.
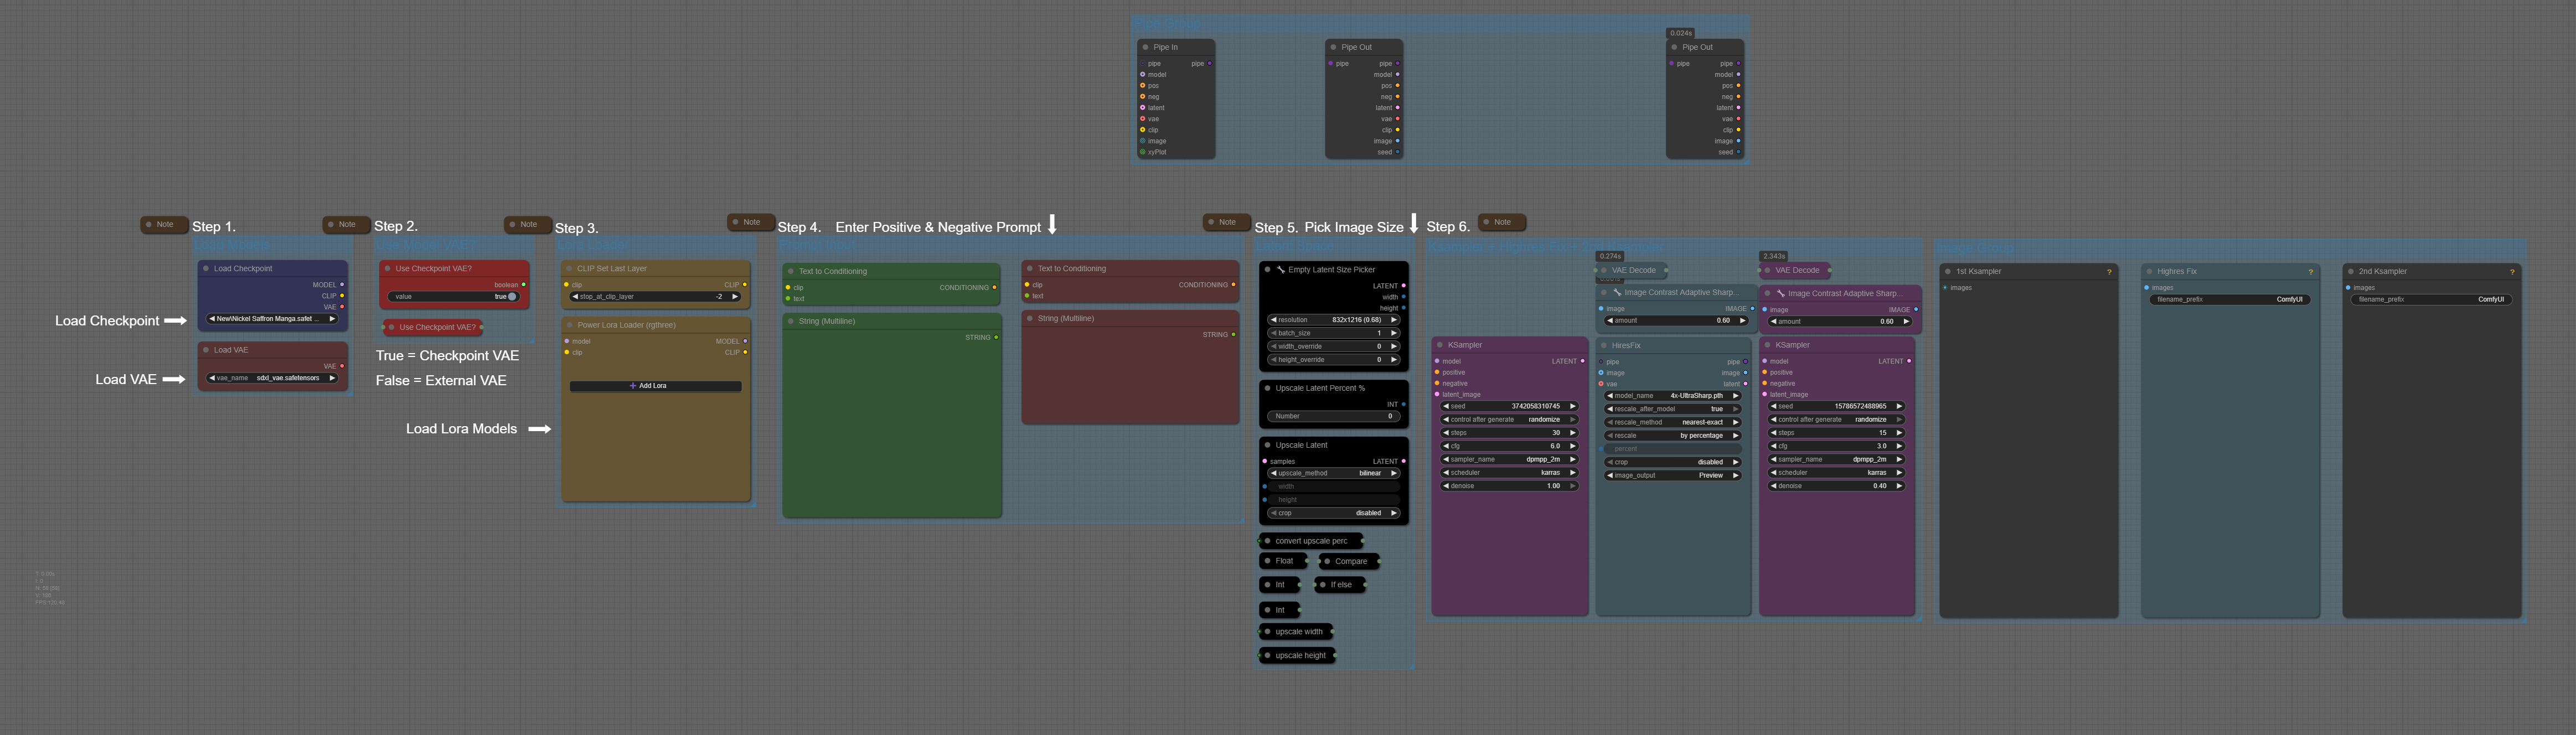
Step 1: Load your checkpoint and VAE models
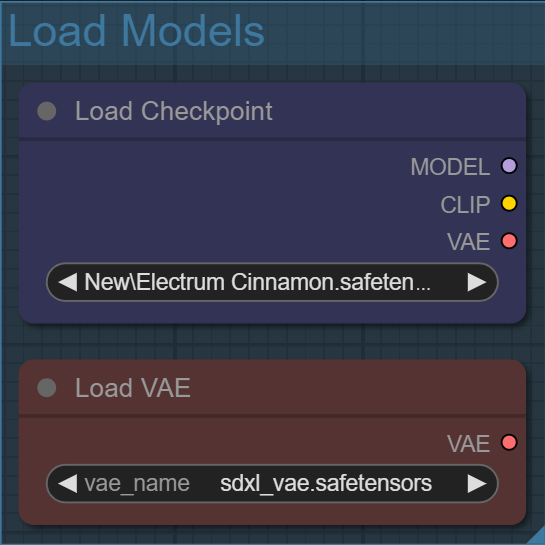
The checkpoint is basically the brains of the model. It’s where all the learned knowledge lives — things like style, anatomy, lighting, and how your prompt gets interpreted.
The VAE is what takes that invisible latent data and turns it into an actual image you can see. Think of the latent space as a compressed blueprint, and the VAE as the translator that converts it into real pixels. A different VAE won’t change what the model creates, but it can subtly affect how the final image looks, especially in color, contrast, and fine detail.
Step 2: Use the built in Checkpoint VAE or an external VAE?

Most of the time, the built-in checkpoint VAE works just fine — that’s why it’s the default. But if an image looks wrong in subtle ways, like odd colors or flat contrast, swapping to an external VAE is an easy way to rule out decoding issues. Think of it as a safety switch you probably won’t need, but you’ll be glad it’s there when you do.
Step 3: Skip clip last layer & Lora Loader

Think of CLIP Skip as how literally the model “listens” to your prompt. Skipping the last layers softens that interpretation just a bit, which often leads to better composition and fewer weird edge cases.

If you’re not sure what to use here, don’t overthink it — leave CLIP Skip at -2 and move on.
Load your LoRA models using the Power LoRA Loader by clicking “Add LoRA.” Once a LoRA is loaded, you can right-click on it and select “Show Info” to see its trigger words, example images, and a direct link to its Civitai page.
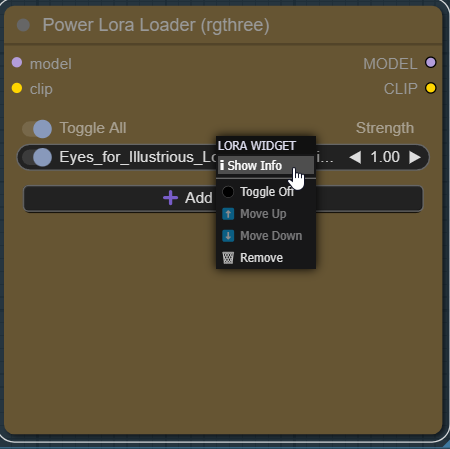

This makes it much easier to understand how and when to use each LoRA in your prompt.
Step 4: Entering in your Positive and Negative Prompt
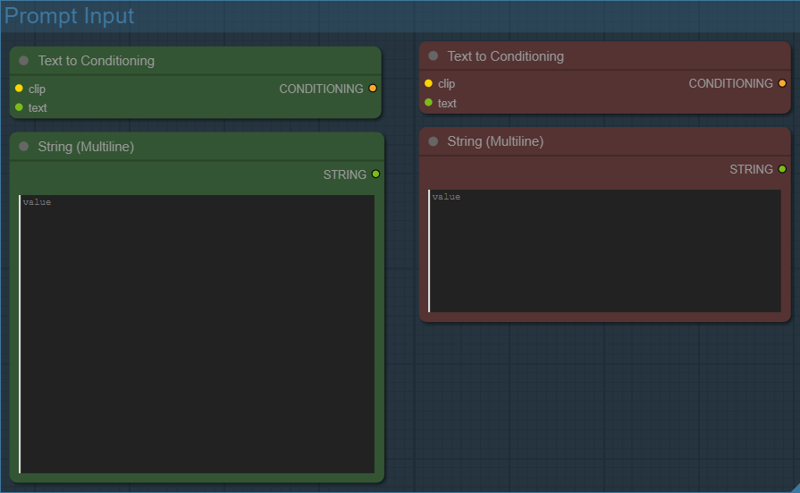
This is where you tell the model what you want and what you don’t want.
The green prompt box (Positive Prompt) describes what should appear in the image. This includes the subject, style, clothing, pose, lighting, and any LoRA trigger words you’re using.
The red prompt box (Negative Prompt) tells the model what to avoid. This is where you list common problems like bad anatomy, artifacts, unwanted styles, watermarks, or anything you consistently don’t want showing up.
Both prompts are converted into conditioning using the Text to Conditioning nodes, which is how the model actually understands your instructions. The positive and negative prompts work together — the model is constantly balancing both when generating the image.
A few practical tips:
You don’t need to write perfect sentences. Comma-separated keywords work great.
Put important concepts earlier in the prompt — they tend to carry more weight.
If a LoRA isn’t doing anything, double-check that its trigger words are included here.
The negative prompt is just as important as the positive one. A strong negative prompt can dramatically clean up results.
If you’re new, start simple. Get a clean result first, then slowly add detail. This workflow is built so you can experiment safely without everything falling apart.
Step 5: Pick image size with the Latent Space group

This section controls how big your image is, but it does so before anything becomes pixels. Everything here happens in latent space, which is cheaper to compute and gives the model more room to think before details are locked in.
Here’s what each part is doing and why it’s set up this way:
Empty Latent Size Picker

This is where you choose your base resolution.
The selected size (for example, 832×1216) defines the initial canvas the first KSampler works on.
Think of this as the starting blueprint.
Bigger isn’t always better — SDXL is happiest when the base image stays reasonably sized.
Aspect ratio matters more than raw resolution at this stage.
Upscale Latent Percent %
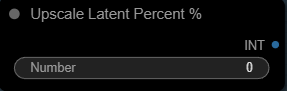
This value controls how much the latent space is upscaled before the first KSampler runs.
0 = no upscale (use the base resolution)
50 = upscale the latent by 50%
75 = upscale the latent by 75%
This gives you a simple, human-friendly way to say “make it bigger” without manually calculating widths and heights.
Upscale Latent

The Upscale Latent node resizes the latent before it’s ever turned into an image. At this stage the latent is just noise, but resizing it still matters because it changes the canvas and structure of that noise before the model starts sampling.
This node does not add detail. It only gives the KSampler a larger (or smaller) latent space to work with.
Even though the latent starts as noise, the way that noise is interpolated affects how stable the first pass is and how clean the refinement will be later.
Upscale methods (how they affect raw latent)
bilinear (default)
Smooth, neutral interpolation
Produces evenly blended noise
Most stable option and the safest default for anime and stylized models
Lets the KSampler decide style instead of forcing one earlynearest-exact
Copies noise values without blending
Preserves harder transitions in the latent
Can help very flat or cel-shaded anime styles
More likely to introduce blocky structure that needs cleanup laterbicubic
Sharper interpolation with more curve fitting
Can subtly distort noise patterns
Sometimes over-smooths or introduces ringing artifactsarea
Averages surrounding noise values
Can flatten the latent too much
Generally better for downscaling than upscalingbislerp
Spherical interpolation in latent space
More experimental and less predictable
Can change the “feel” of the generation in subtle but inconsistent ways
Crop
Crop is disabled here to preserve the full composition. Cropping latent space can silently cut framing or anatomy and is rarely desirable in a refinement workflow.
Math Nodes (The Safety Net)
This is the part that quietly prevents quality problems.
The math nodes:
Convert your upscale percentage into a multiplier
Calculate the resulting width and height
Compare the final resolution against a safe threshold
If the upscale would push the image too large, the workflow automatically caps the refinement size so the second KSampler doesn’t go past roughly 2 megapixels.
Why this matters:
SDXL models tend to lose coherence when refining images that are too large
Going over ~2MP during refinement often causes:
Mushy details
Washed-out textures
Anatomy drift
Instead of letting that happen, the workflow intentionally scales back the second pass
You don’t have to think about any of this while generating — the math handles it for you.
Step 6: Two-Stage Sampling with Upscaler

This part of the workflow is where most of the polish comes from. Instead of trying to do everything in one pass, the image is built in three clear phases:
Sampler 1 → High-Res Fix → Sampler 2.
This approach is called two-stage sampling, and it’s especially effective with SDXL.
Sampler 1: The Base Pass
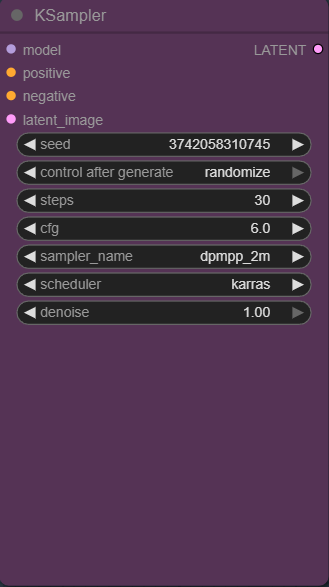
The first KSampler is responsible for the big decisions:
Overall composition
Pose and framing
Major shapes and lighting
Interpreting your prompt and LoRAs
Here, the denoise is set to 1.0, which means the model starts from pure noise and fully generates the image. This pass is not about perfection — it’s about getting a strong, coherent base.
Think of this as blocking in a sketch.
High-Res Fix: Making Room for Detail
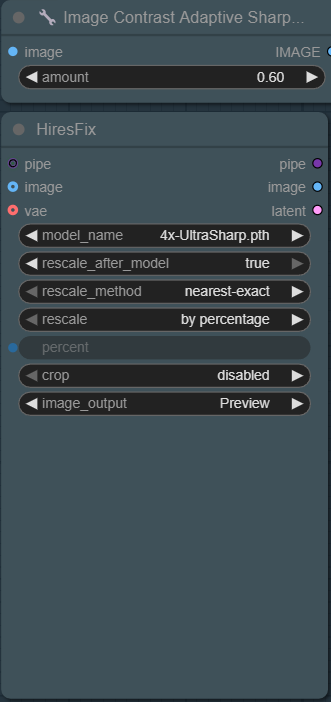
Once the base image exists, it is decoded and lightly sharpened, then upscaled before refinement.
The sharpen step matters because High-Res Fix works in pixel space. A light sharpen increases local edge contrast (eyes, hairlines, fabric edges), which helps the upscaler preserve structure instead of slightly blurring it. This gives the second KSampler cleaner structure to refine.
High-Res Fix then upscales the pixel image produced by the first KSampler and prepares it for refinement.
It increases resolution using an upscaler model
It preserves composition while giving the model more pixels to work with
It does not invent new details by itself
In this workflow, High-Res Fix is set to Upscale by Percentage, meaning the image is scaled relative to its current size instead of being forced to a fixed resolution.
That percentage value is not hard-coded. It’s routed through math nodes earlier in the workflow, which automatically adjust the upscale amount to keep the refinement pass under roughly 2 megapixels. In practice, the values are clamped between 35% and 50%, preventing SDXL from degrading during the second KSampler pass.
In other words, you still choose how large you want to go — but the workflow quietly steps in if that choice would push the refine pass beyond what the model handles well.
This is different from Upscale Latent, which resizes the latent canvas before the first KSampler runs. High-Res Fix happens after generation, in pixel space, and exists specifically to give the second KSampler more resolution to refine without sacrificing stability.
Sampler 2: Refinement Pass (after High-Res Fix)

The second KSampler is the refinement pass. It takes the upscaled result from High-Res Fix and improves it without rebuilding the image from scratch. The key setting here is denoise.
What denoise controls (in this pass)
Denoise is basically: “How much is the sampler allowed to change the image?”
Because this is a refine pass, you usually want denoise low, so the model:
keeps the composition and identity from Sampler 1
tightens details, textures, and small errors
Why you’d adjust denoise
You adjust denoise based on what you’re seeing:
Lower denoise (around 0.20–0.35):
Use this when you like the image and only want small improvements (sharper details, cleaner edges, minor artifact cleanup).
Too low can make the second pass do almost nothing.Middle denoise (around 0.35–0.50 — your workflow uses 0.4):
The “sweet spot” for most SDXL refine passes.
Strong refinement without major drift.Higher denoise (0.50+):
Use this only when the base image has bigger problems (bad hands, messy clothing, broken anatomy) and you’re okay risking changes.
Too high can cause drift: face changes, pose shifts, details rewriting.
So the reason to adjust denoise is simple:
If you want more fixing, raise it. If you want more stability, lower it.
Where the sharpen node fits (and what it does NOT do)
After Sampler 2, the result is decoded to a pixel image and then sharpened with ImageCASharpening+ before saving. That sharpen node is connected to the Save Image output, not back into the sampler.
Meaning:
Sharpening affects the final saved/preview image
It does not influence what Sampler 2 is generating (Samplers operate on latents)
That’s why sharpening is treated as final polish, not part of the sampling loop.
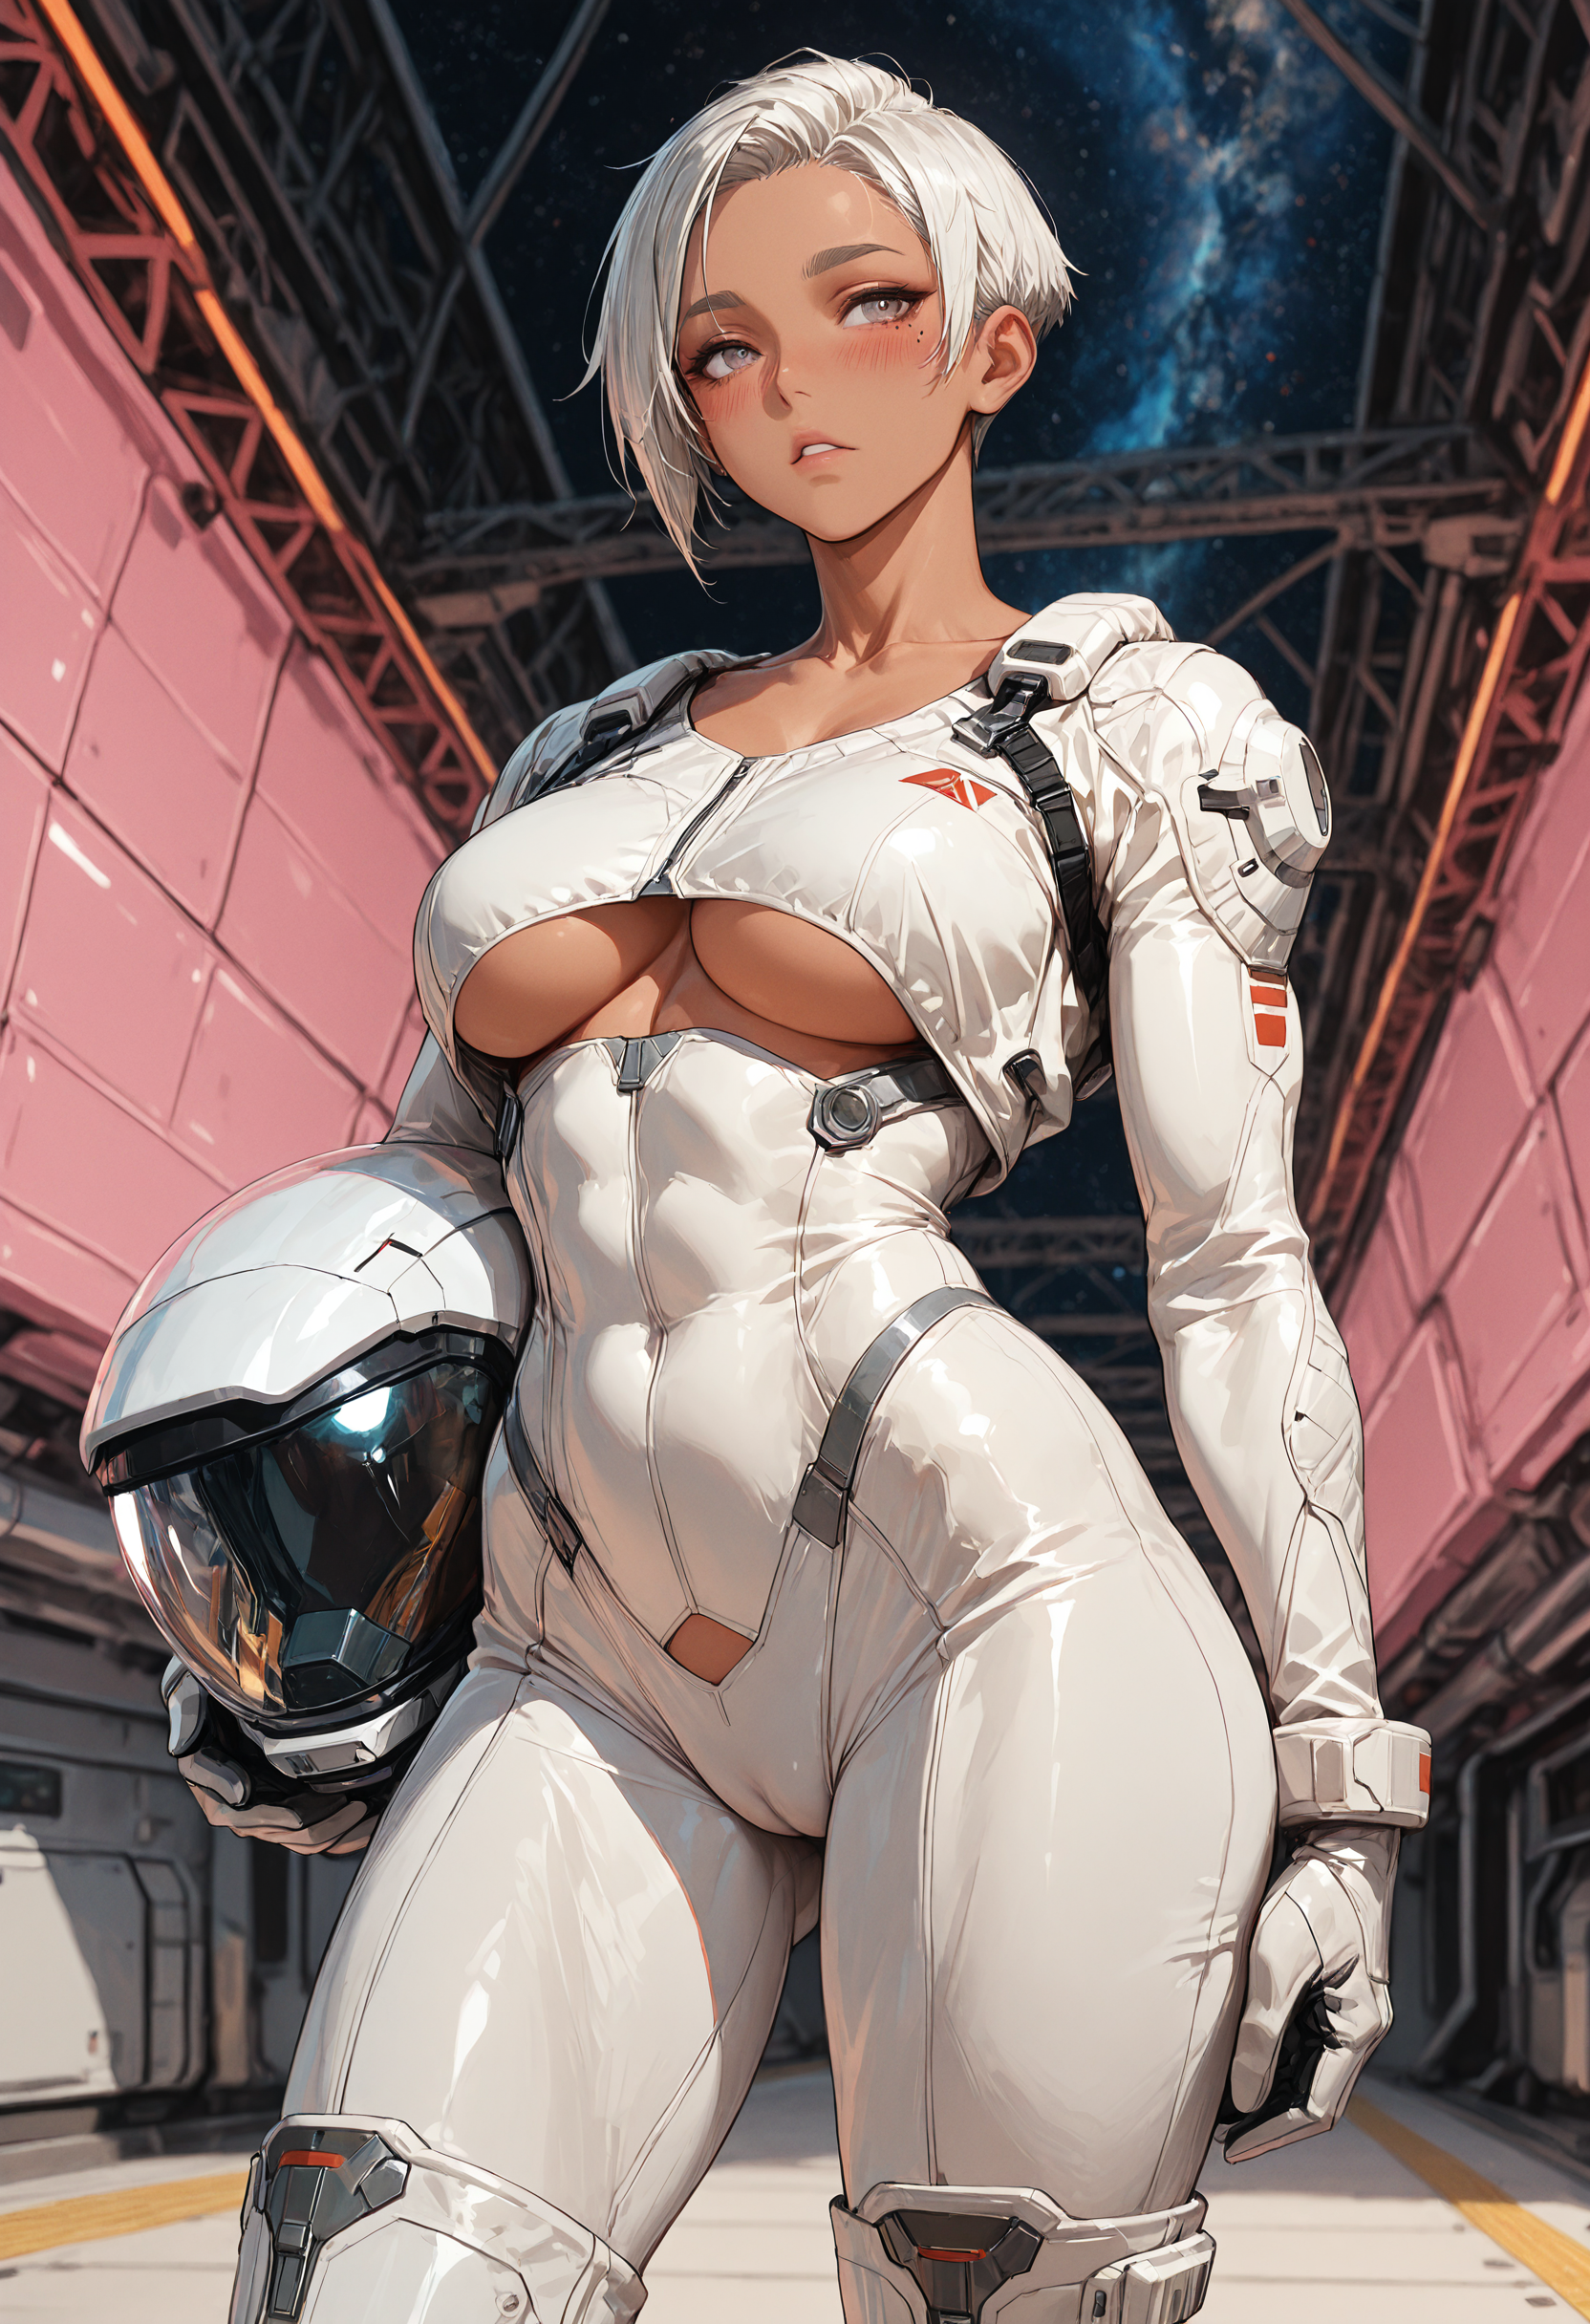
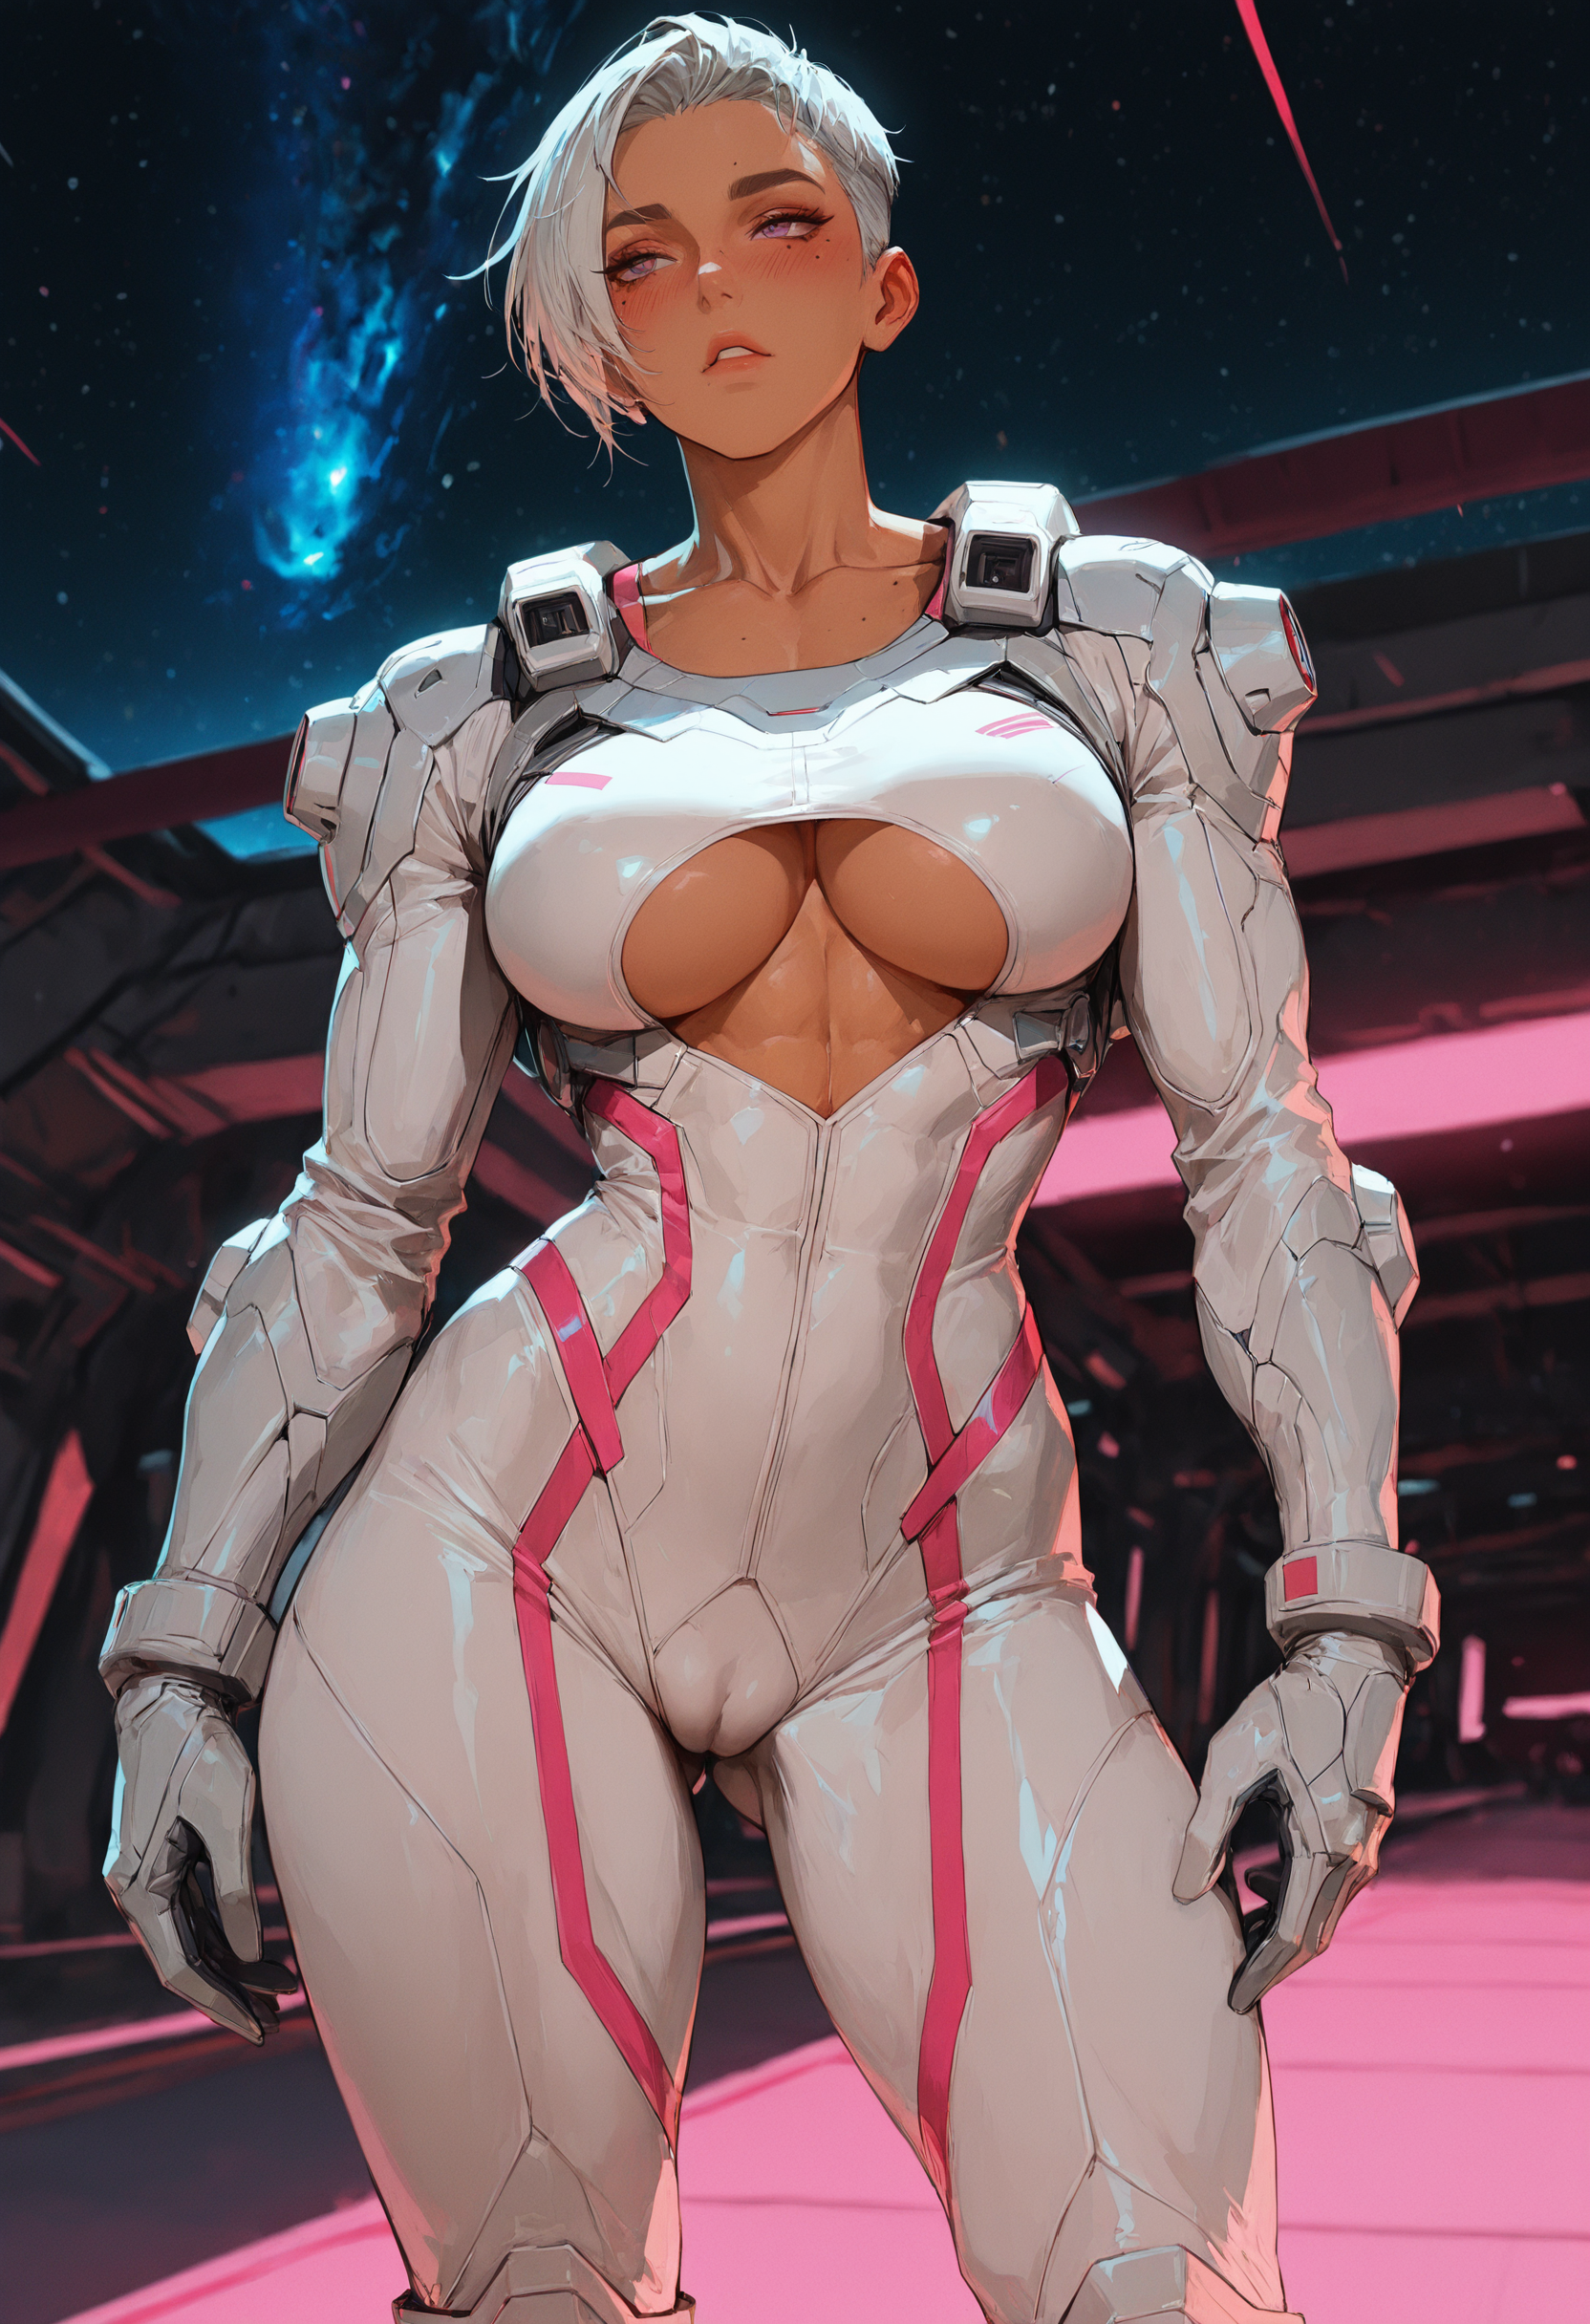
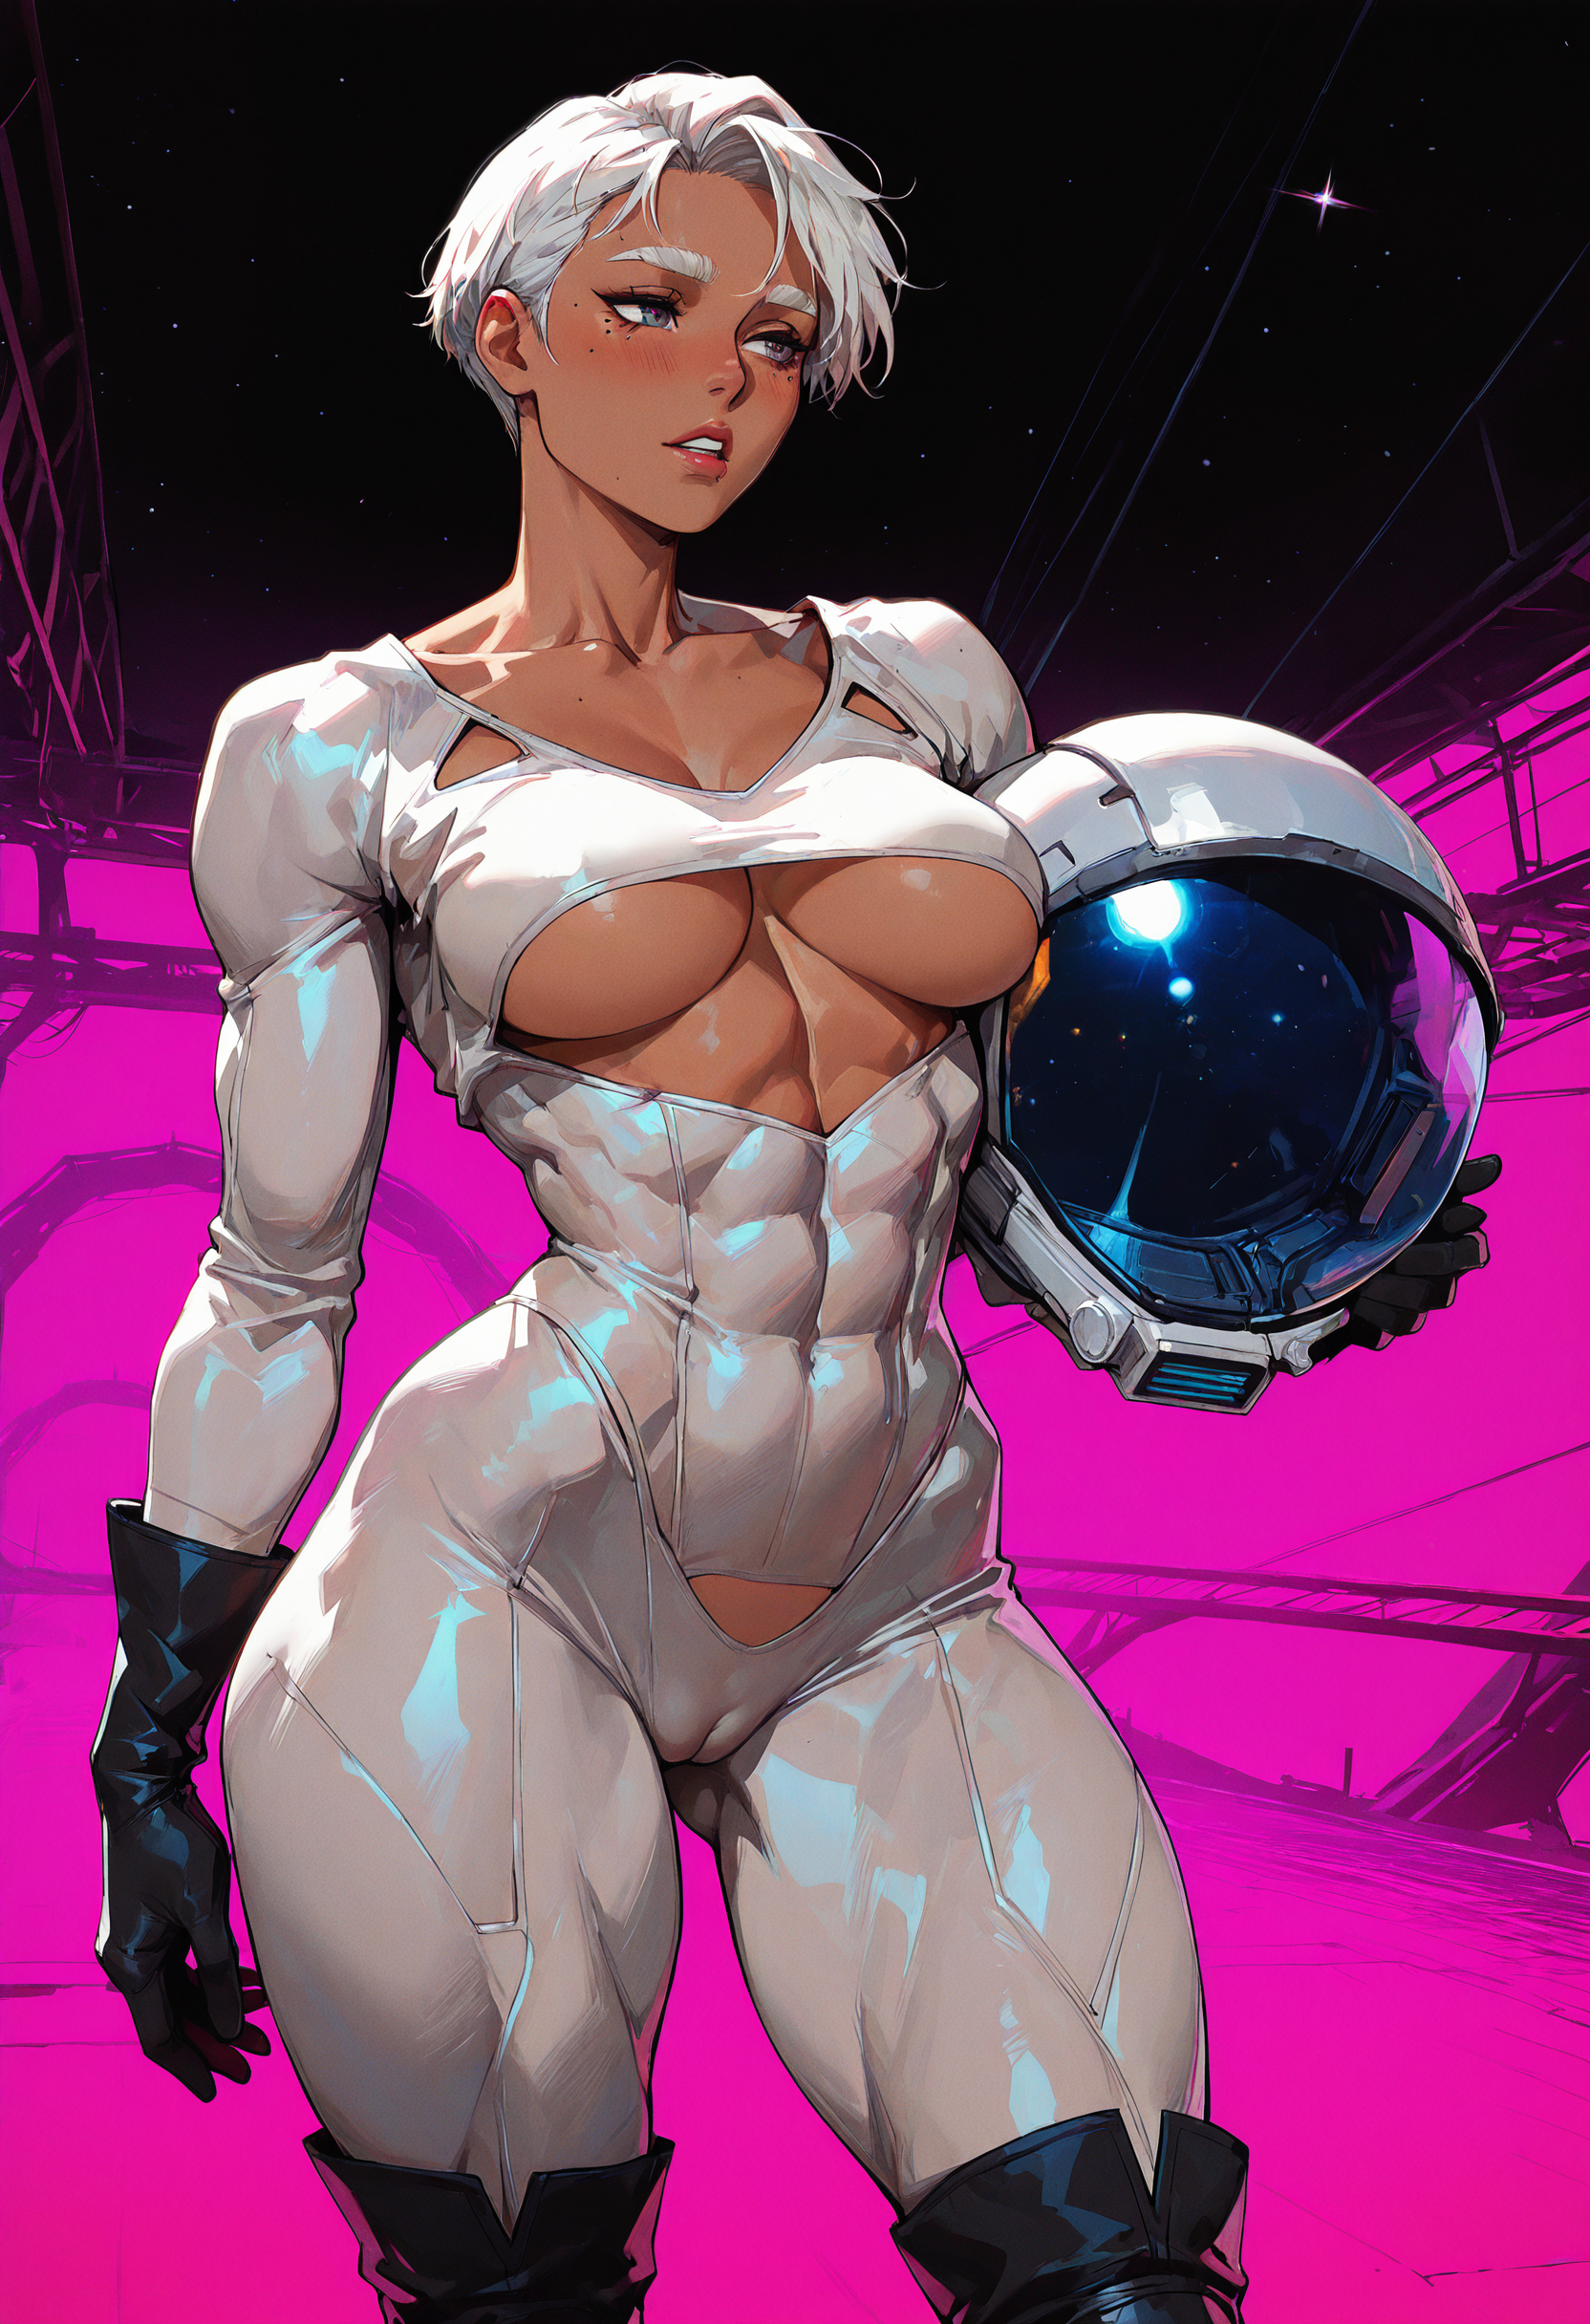
Example Images:
I included a handful of example images with the workflow. Just drag and drop any of the images to load the workflow in Comfyui or drag and drop the .json file if you want a clean wokflow without a promt.
Each image is from one of my own models.
Electrum Cinnamon (Beta)

Obsidian Anise

Rusty Iron Pepper

Copper Thyme

Nickel Saffron
