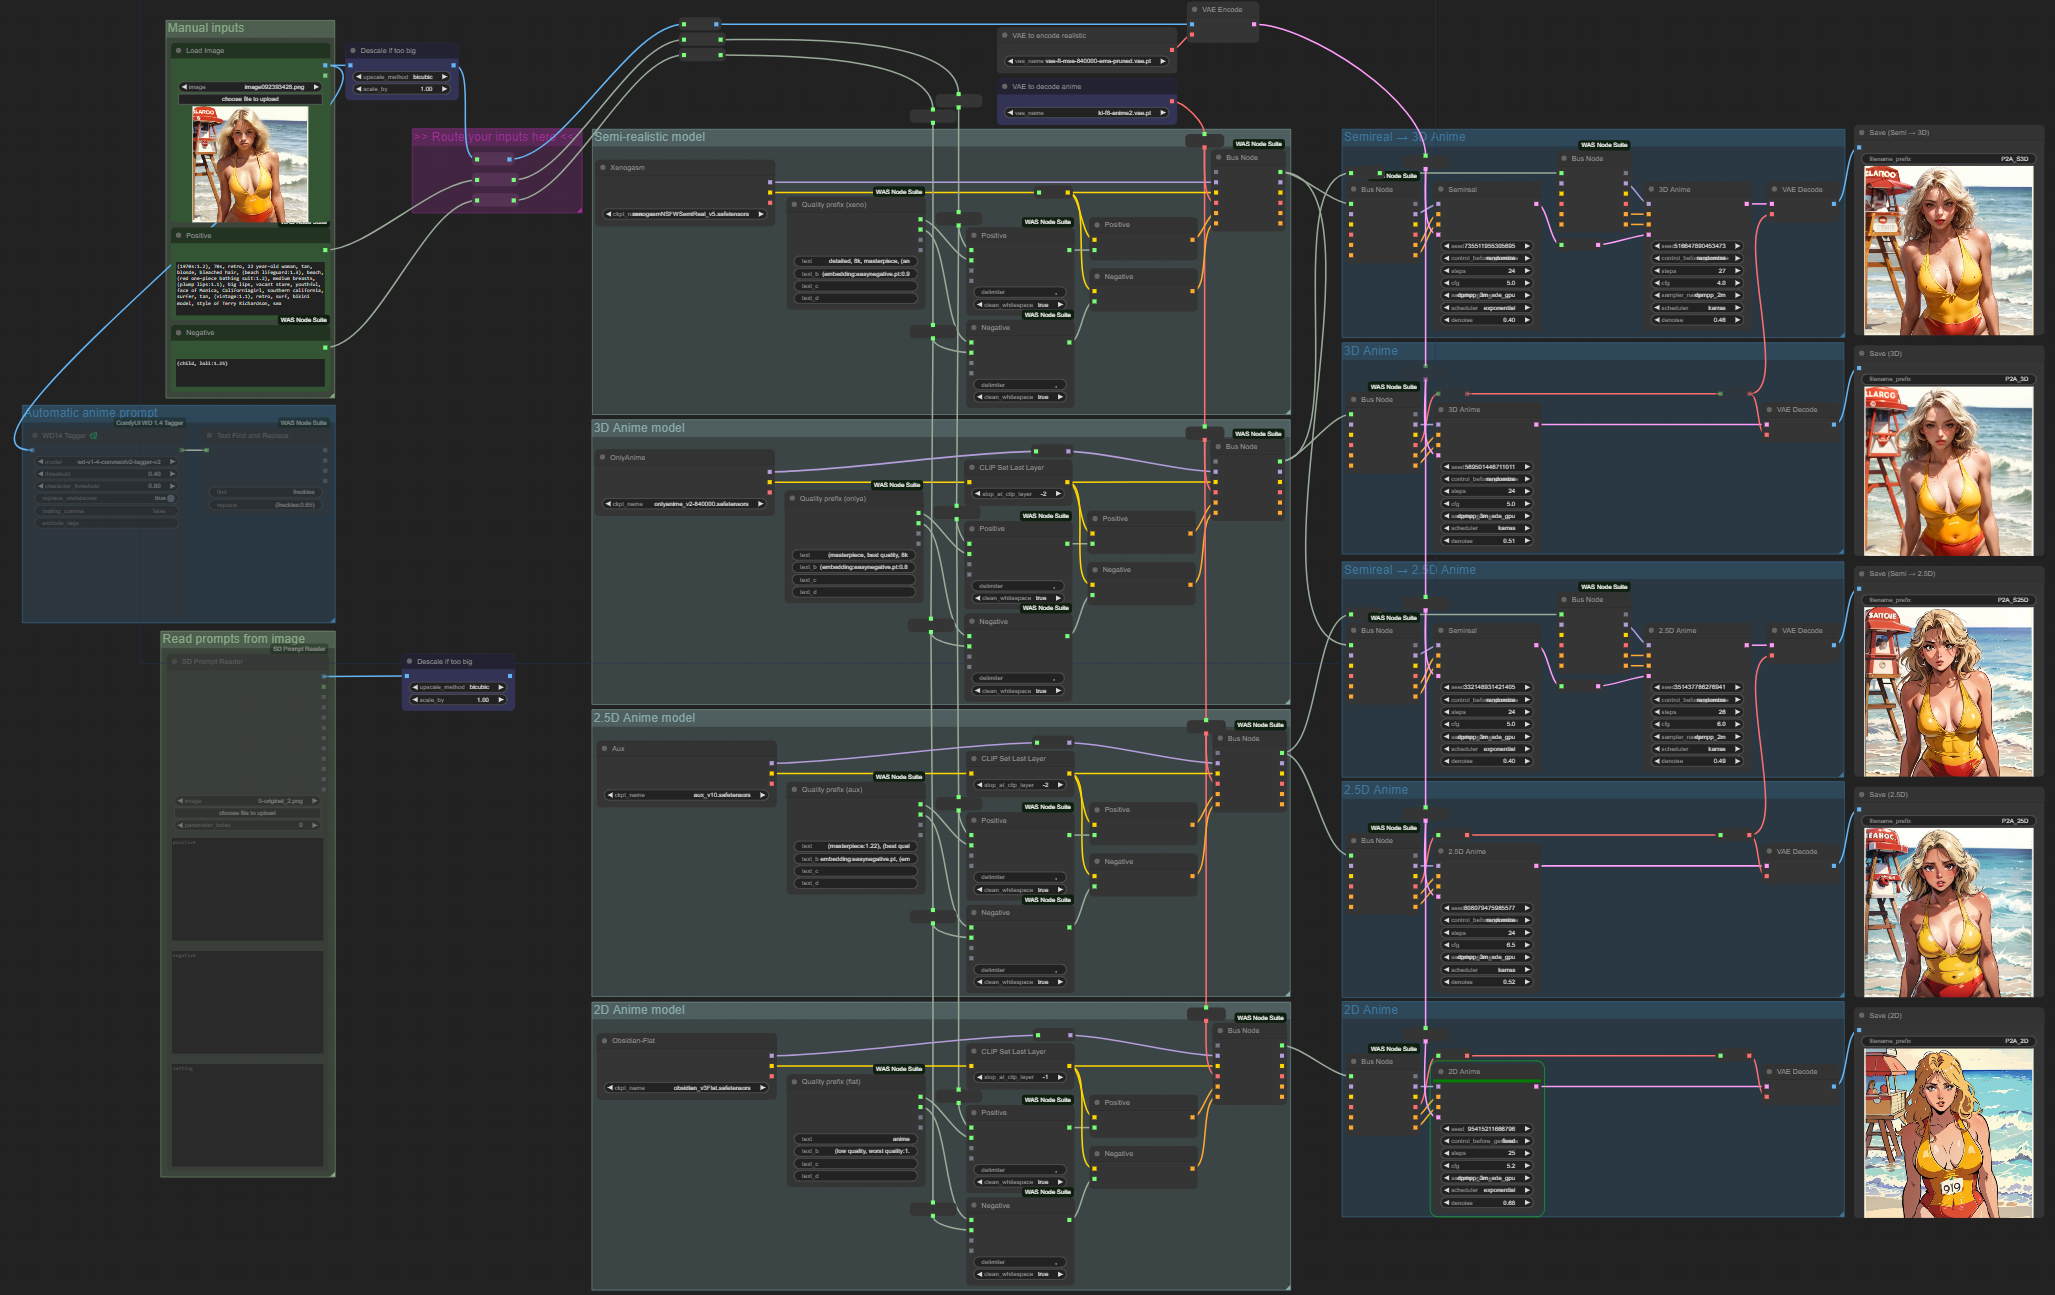


(Note: in ComfyUI you can disable nodes with Ctrl+M. You can quickly disable whole groups with right click option. Useful to turn off parts you don't want.)
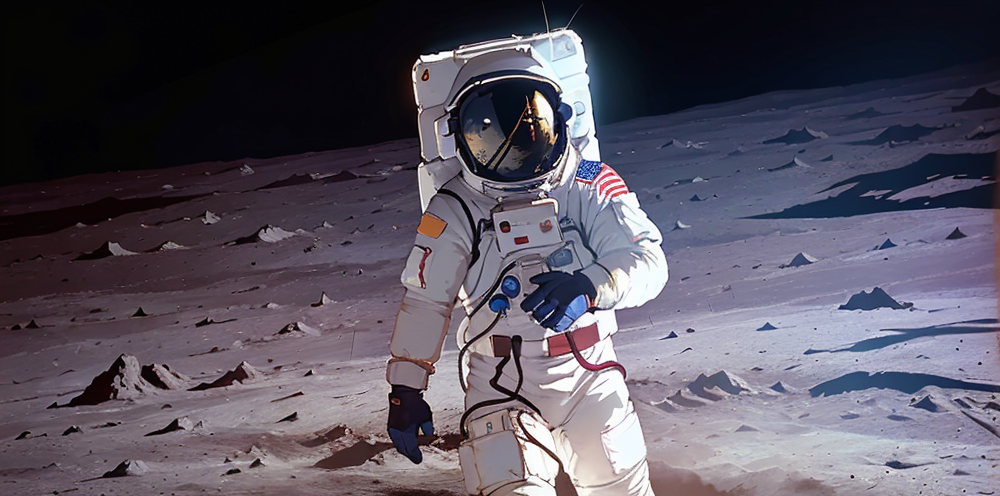
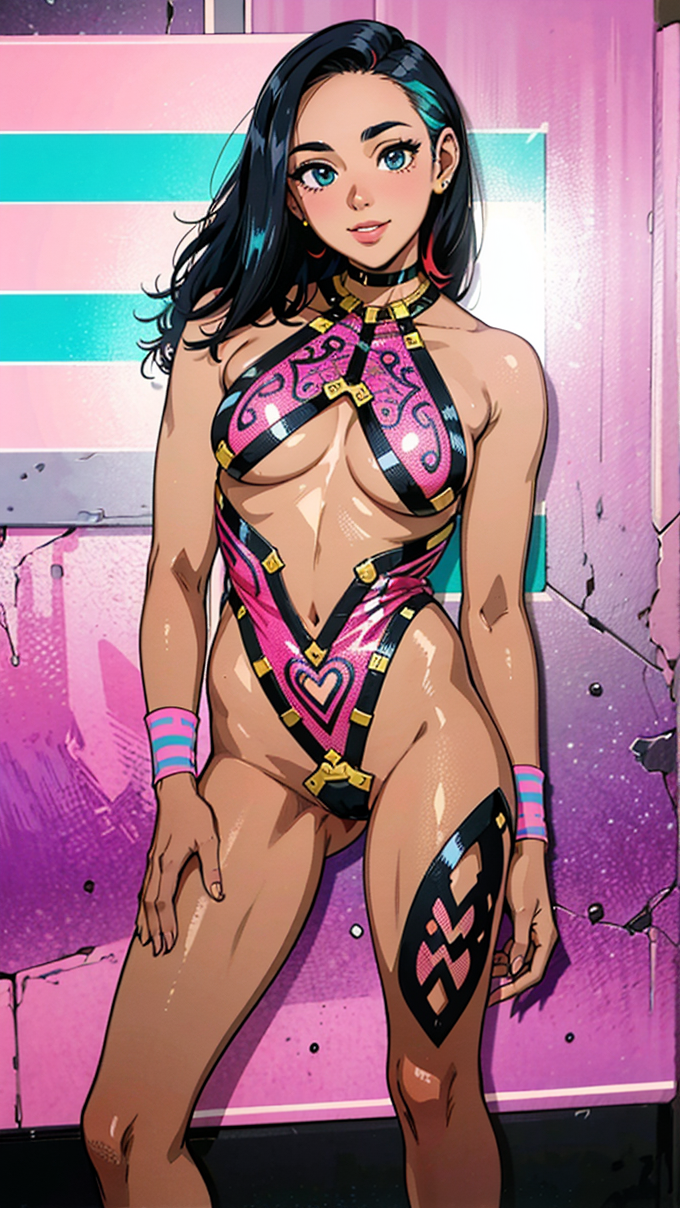
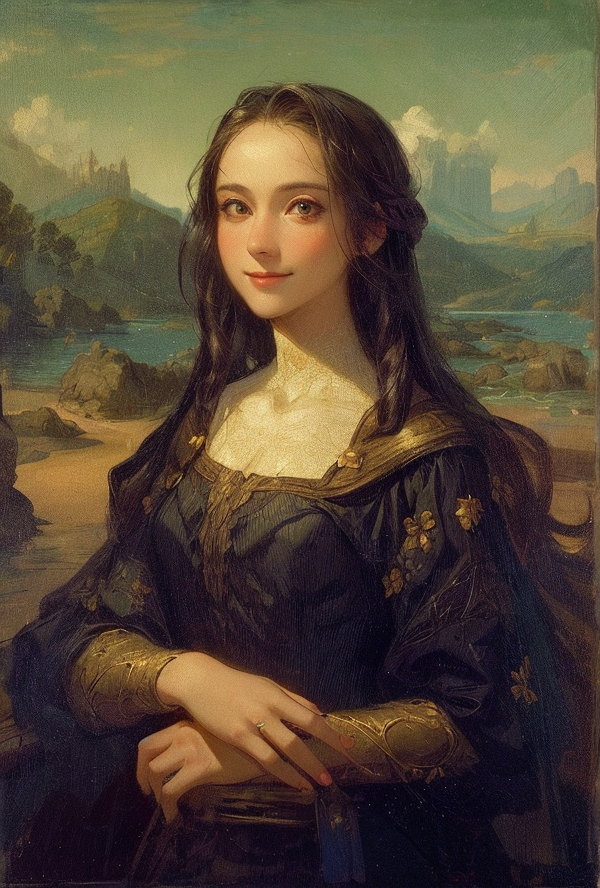
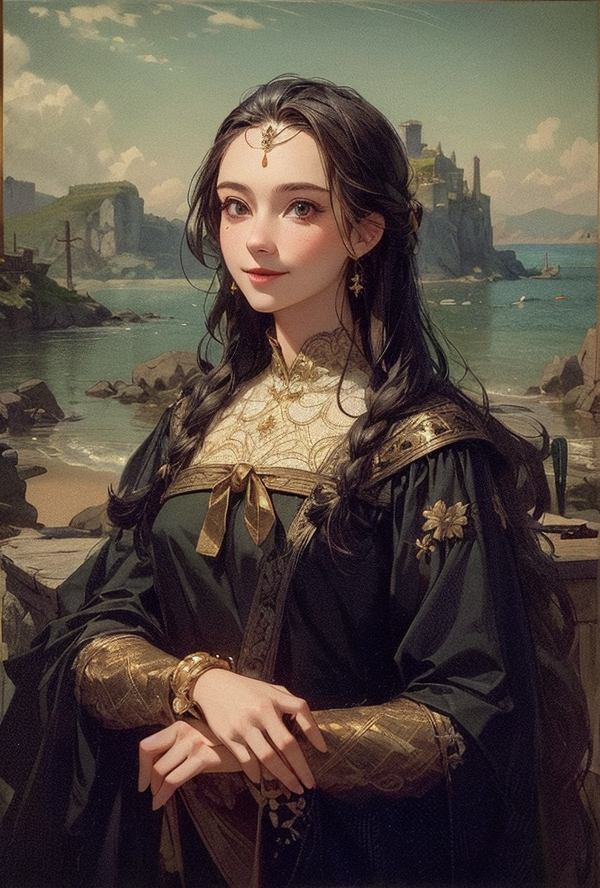
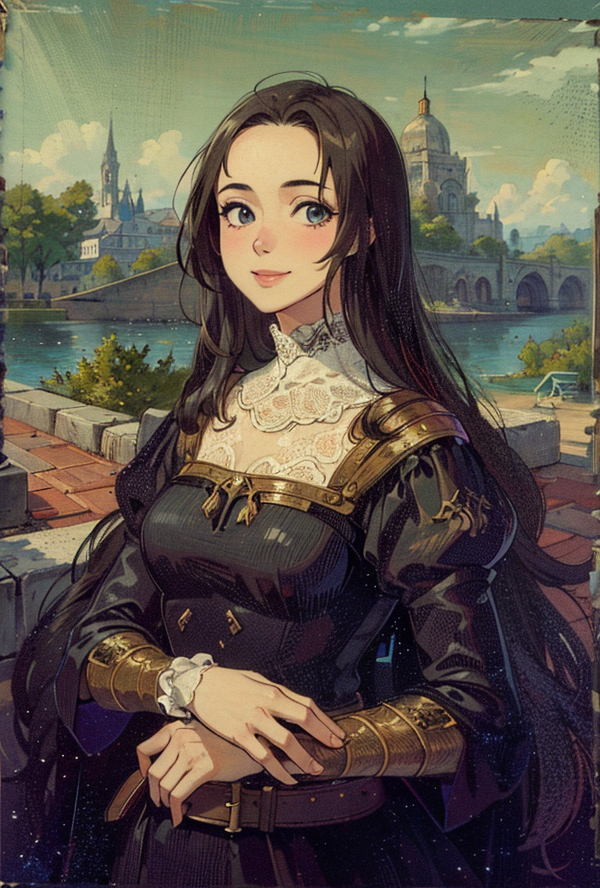
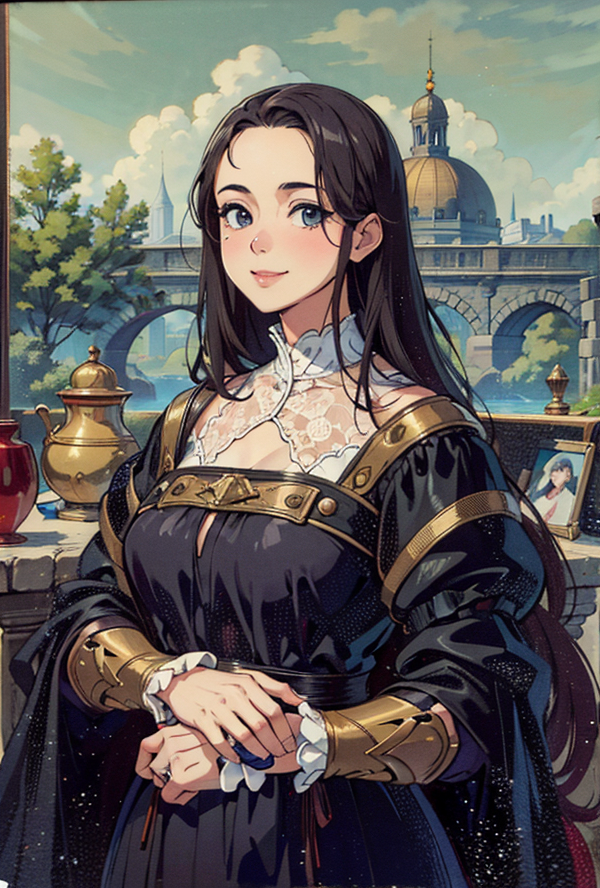
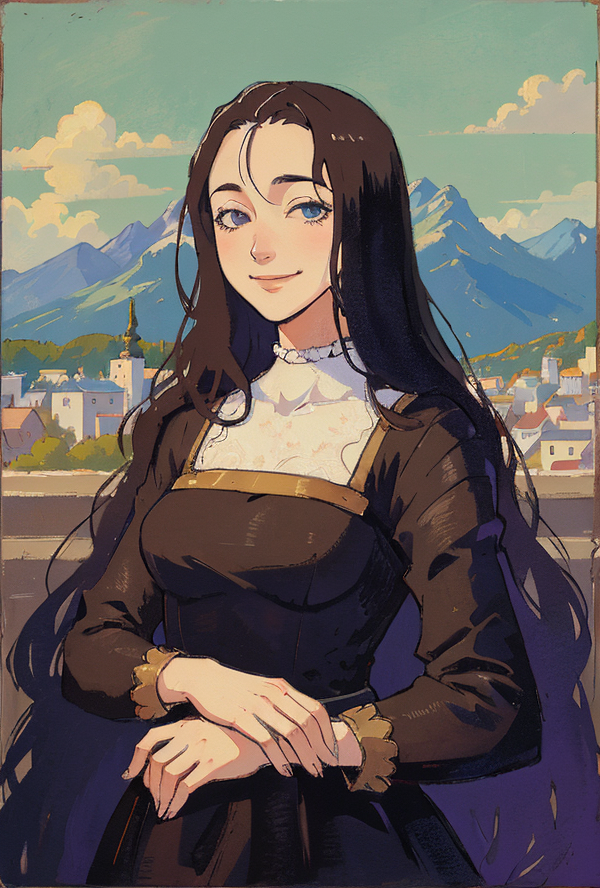
This workflow takes a realistic image to generate 5 different anime versions of it in. Works with real photos!
Reverse workflow: Anime2Photo
Comparison of results

Installation and dependencies
Install WAS Node Suite custom nodes;
(optional) Install WD 1.4 Tagger custom node;
(optional) Install SD Prompt Reader custom node;
Download and open this workflow;
(kind of important) Check "Resources and substitutions" section below for recommended extras.
You only need WD 1.4 Tagger if you want to interrogate image for prompt automatically.
You only need SD Prompt Reader to get prompts from metadata of realistic generations.
With neither, you'd have to write the prompt for picture manually.
Resources and substitutions
Workflow was made with possibility to tune with your favorite models in mind. There is the node called "Quality prefix" near every model loader. Just put most suitable universal keywords for the model in positive (1st string) and negative (2nd string). Note that KSampler parameters are thoroughly tested and fine-tuned for selected models.
Semi-realistic model (intermediate): XenoGASM. How to substitite: with semi-realistic model of your choise, like CT, EighthThing or Lyriel. Add anime-guiding keywords to "Quality prefix" node.
3D Anime model: OnlyAnime. How to substitite: with anime model of your style choise. Examples of 3D anime models: Kotosmix, xRikishi's Unstable Diffusion, AniVerse. Add universal quality tags recommended by the model author to "Quality prefix" node.
2.5D Anime model: Aux. How to substitite: with anime model of your style choise. Examples of 2.5D anime models: Hassaku, AniWave, DivineEleganceMix. Add universal quality tags recommended by the model author to "Quality prefix" node.
2D Anime model: ObsidianV3-Flat. How to substitute: don't know, really. Put your favorite model of unique style, I guess. Add universal quality tags recommended by the model author to "Quality prefix" node.
VAE to encode realistic: vae-ft-mse-840000-ema-pruned. Standard, recommended.
VAE to decode anime: kl-f8-anime2. How to substitute: vae-ft-mse-840000-ema is fine.
Embeddings: easynegative (recommended), bad-hands-5 (optional).
How to use
Choose where to get image and prompts from and connect nodes for image, positive and negative into ">> Route your inputs here <<" group:
By default, manual written prompts are used
Turn on (Ctrl + M) and connect "WD 1.4 Tagger" node to generate prompt from picture
Turn on (Ctrl + M) and connect "SD Prompt Reader" node to get prompts from metadata
Run it!
Description
Initial version of 28.01.2024.
FAQ
Comments (10)
There is a reverse demand to generate realistic photos from anime/CG images
I already have the workflow for it, but don't publish it yet. It need some renewal with fresh models, some testing and some serious rewiring. Coming soon, in a few days. You can press "Follow" button near my nickname on model card to get notification.
Oh, if anyone miss it: Anime2Photo
If I use an ip adapter or control net, which part should I enter?
Positive conditioning. Between "Positive" and "Bus Node".
There are 4 models used tho, so you'll need 4 "Apply ControlNet" nodes.
(and 1 "Load ControlNet Model", 1 "Load Image", and, maybe, 1 node for ControlNet preprocessor)
@Postpos Can't it be used as a multi-control net by connecting to the 'Manual Input' load image?
Sorry, but could you please show me an example image?
@knobvorn Typical ControlNet setup: https://ibb.co/16XCcNG
How to fix this. I already put "vae-ft-mse-840000-ema-pruned.safetensors" at \ComfyUI\models\vae, but it can't run.
Prompt outputs failed validation VAEEncode: - Required input is missing: vae1. Press on VAE name in VAE node;
2. Select any VAE you have.
I tried with a very close front plane of a girl and the results felt like a nightmare.