


Oh hi!
So after I made my first deck of playing cards, I received requests to share a playing card workflow. The first one I had made was a complete mess of noodles, and was to ashamed to share.
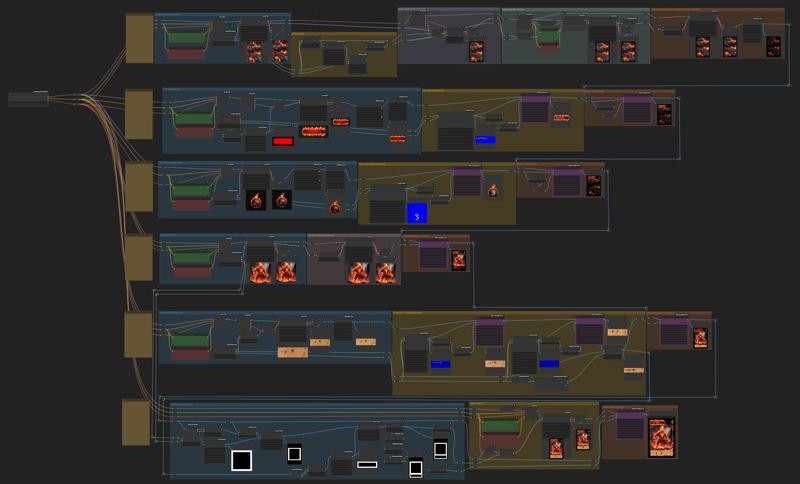
However, based on my previous learnings using ComfyUI, I started again from scratch, and created a whole new workflow, simpler and more flexible. It is built on 6 different lanes, where each lane generates an element of the playing card.
Version History
v1.1 - Remplaced Rembg nodes by Layer Diffuse nodes which handle transparency much better
v1.0 - Initial version
Before you start
The workflow was tested on a NVIDIA RTX 3090 with 24GB of VRAM.
The resolutions used in the workflow assume a SDXL model. Please adjust resolutions if you use a non-SDXL model for optimal results.
The workflow uses the same model for all the lanes, and no LoRAs. But you can easily change this. Simply edit the LoadCheckpoint Node at the very left of the workflow. You can also tinker with the models given in input of each lane, if you want to specialize a lane with a different model.
Lane #1: Card Background
This lane is responsible for building your card's background. I would suggest using keywords such as "video game texture" and "viewed from top" in your positive prompt as a mean to try remove the depth and perspective effect of your card's background, unless it is an effect you are looking for.
The lane will automatically add a black fading border to the card, and then upscale it. I did this for aestheticism, but feel free to change or remove the border. Here is an example: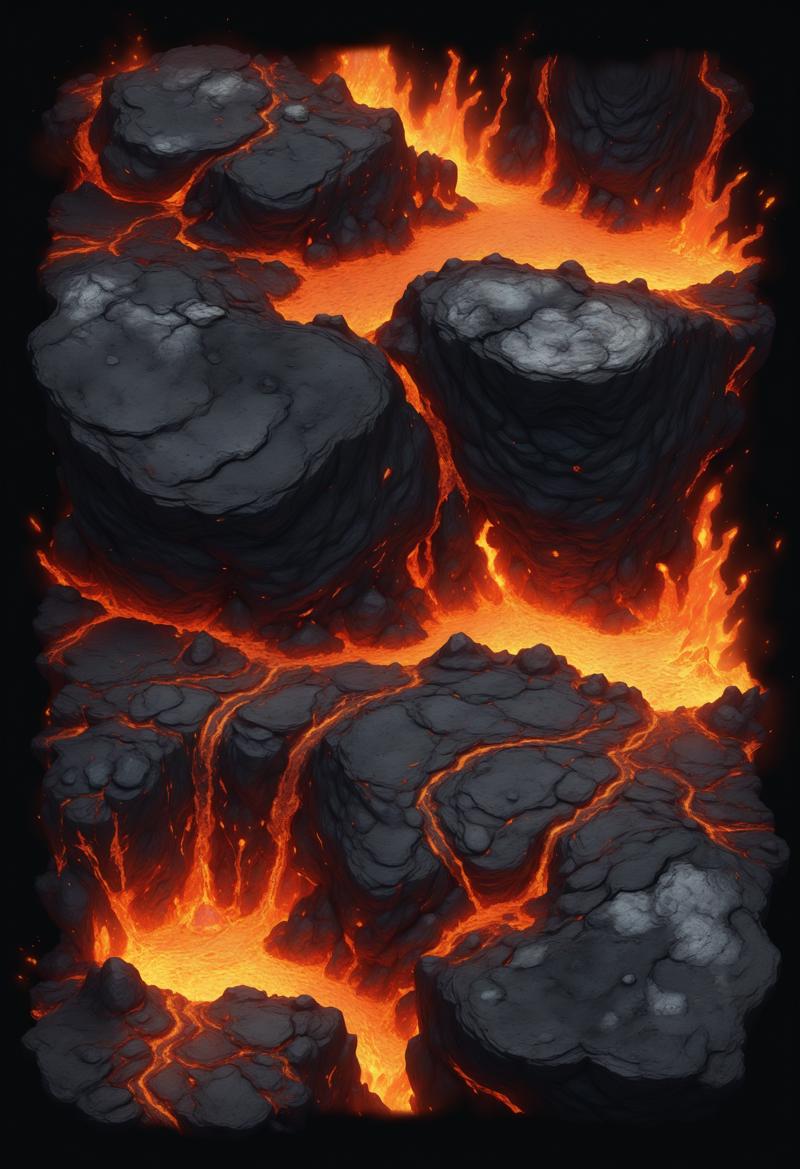 The last node of the lane changes the background, to dim it and let the foreground elements capture the eye's attention.
Lane #2: Card Title
This lane will generate the title of the card. For example, if you are to build a MTG-like playing card, this could be the name of your creature or enchantment.
The lane starts by building a background frame, or logo, on which the text will be rendered. A node has been inserted to add a black feathered border around the logo; this helps leave some room around your logo if you don't want it to be perfectly rectangular.
 This lane uses Layer Diffuse nodes to add transparency to the image.
Lane #3: Card Cost
Often times, in a game of playing cards, a card will cost something to play. The goal of this lane is to hold some form of indicator of this cost.
The prompt is built around a spherical logo of a given theme, and overlays a number on top of it. There is also a Layer Diffuse node in this lane to make the background transparent before pasting it on the card.

Lane #4: Card Illustration
Lane #4 is a bit more simple to explain: it sole purpose is to generate the card illustration. The illustration is upscaled in latent space and then pasted on card.
Lane #5: Description
In the fifth lane is generated a background image, which you can theme the way you want, on which a text description of the card is added. The background illustration has a filter adjustment node added to it so that you can fade it a bit and ensure the description is more easily readable. It is then pasted on the card.
Lane #6: Borders
The last lane is the one which ties everything together: borders. First, a mask for the border is generated. The mask overlaps the edges of the description and the illustration generated in lanes 4 and 5. You'll see that the mask also overlaps a bit on the card background. This is used as an inpainting mask. By tweaking the prompt, you'll be able to generate a custom frame that makes the whole composition of your card feel more natural and smooth.
Credits
That being said, have fun noodling, and please share your results here!
Description
FAQ
Comments (11)
Such a beautiful idea and execution! Always interesting to see how one goes about creating something so specific by using comfyui's strengths without relying on LoRAs or embeddings for a quick effect.
For the noodleage issue I can greatly recommend the use of get/set nodes. Once I started I couldn't stop until I had all my messy workflows untangled and I love the clean look of free disconnected groups. Together with box-shapes and grid-snapping,... OCDelicious
Another suggestion I wanted to point out. There is a way to generate images with a hidden alpha layer in the latent, which can be a good alternative to rembg and segmentation. Might be worth checking out if you haven't already.
https://github.com/huchenlei/ComfyUI-layerdiffuse
Oh thank you so much! LayerDiffuse looks pretty interesting. Adding this to my todo list.
@ArtisMysterium yeah LayerDiffuse would be the ideal tool in this case!
@redpinkretro I just updated the workflow based on your feedback about LayerDiffuse. It is indeed pretty good, better than I would have imagined, especially with alpha gradients. Thank you so much!
@ArtisMysterium That's amazing; glad LayerDiffuse worked out so well! Can't wait to check it out! It really performs impressively in some cases where you'd least think it would, like keeping the transparency of translucent objects intact somehow and other sorcery like that. LayerDiffuse has some serious magic going on and it doesn't even take any longer compared to RemBG and segmentation.
this looks amazing, do you have a usage guide or some tips?
Most of it is in the description, but let me know if you have further questions.
@ArtisMysterium thank you, I've come across a error and I don't know how to fix it, I'm new to Comfy: Error occurred when executing Image Overlay: ImageLabelOverlay.put_overlay() got an unexpected keyword argument 'base_image'
@stygianwizard42 Make sure you have all custom nodes installed. This specific error is probably coming from the Efficiency Nodes extension:
https://github.com/jags111/efficiency-nodes-comfyui
@ArtisMysterium I reinstalled the efficiency nodes last night, it still flagged me an error however I don't know what is wrong?
@stygianwizard42 Did you have an (IMPORT FAILED) error with this extension?
It was documented here: https://github.com/jags111/efficiency-nodes-comfyui/issues/149
And it looks like the latest update fixes this issue. At least it fixed it for me.