Hello there and thanks for checking out this workflow!
What's new in v12? : Fixes and SubGraphs compatible with the latest ComfyUI Updates!
—Purpose—
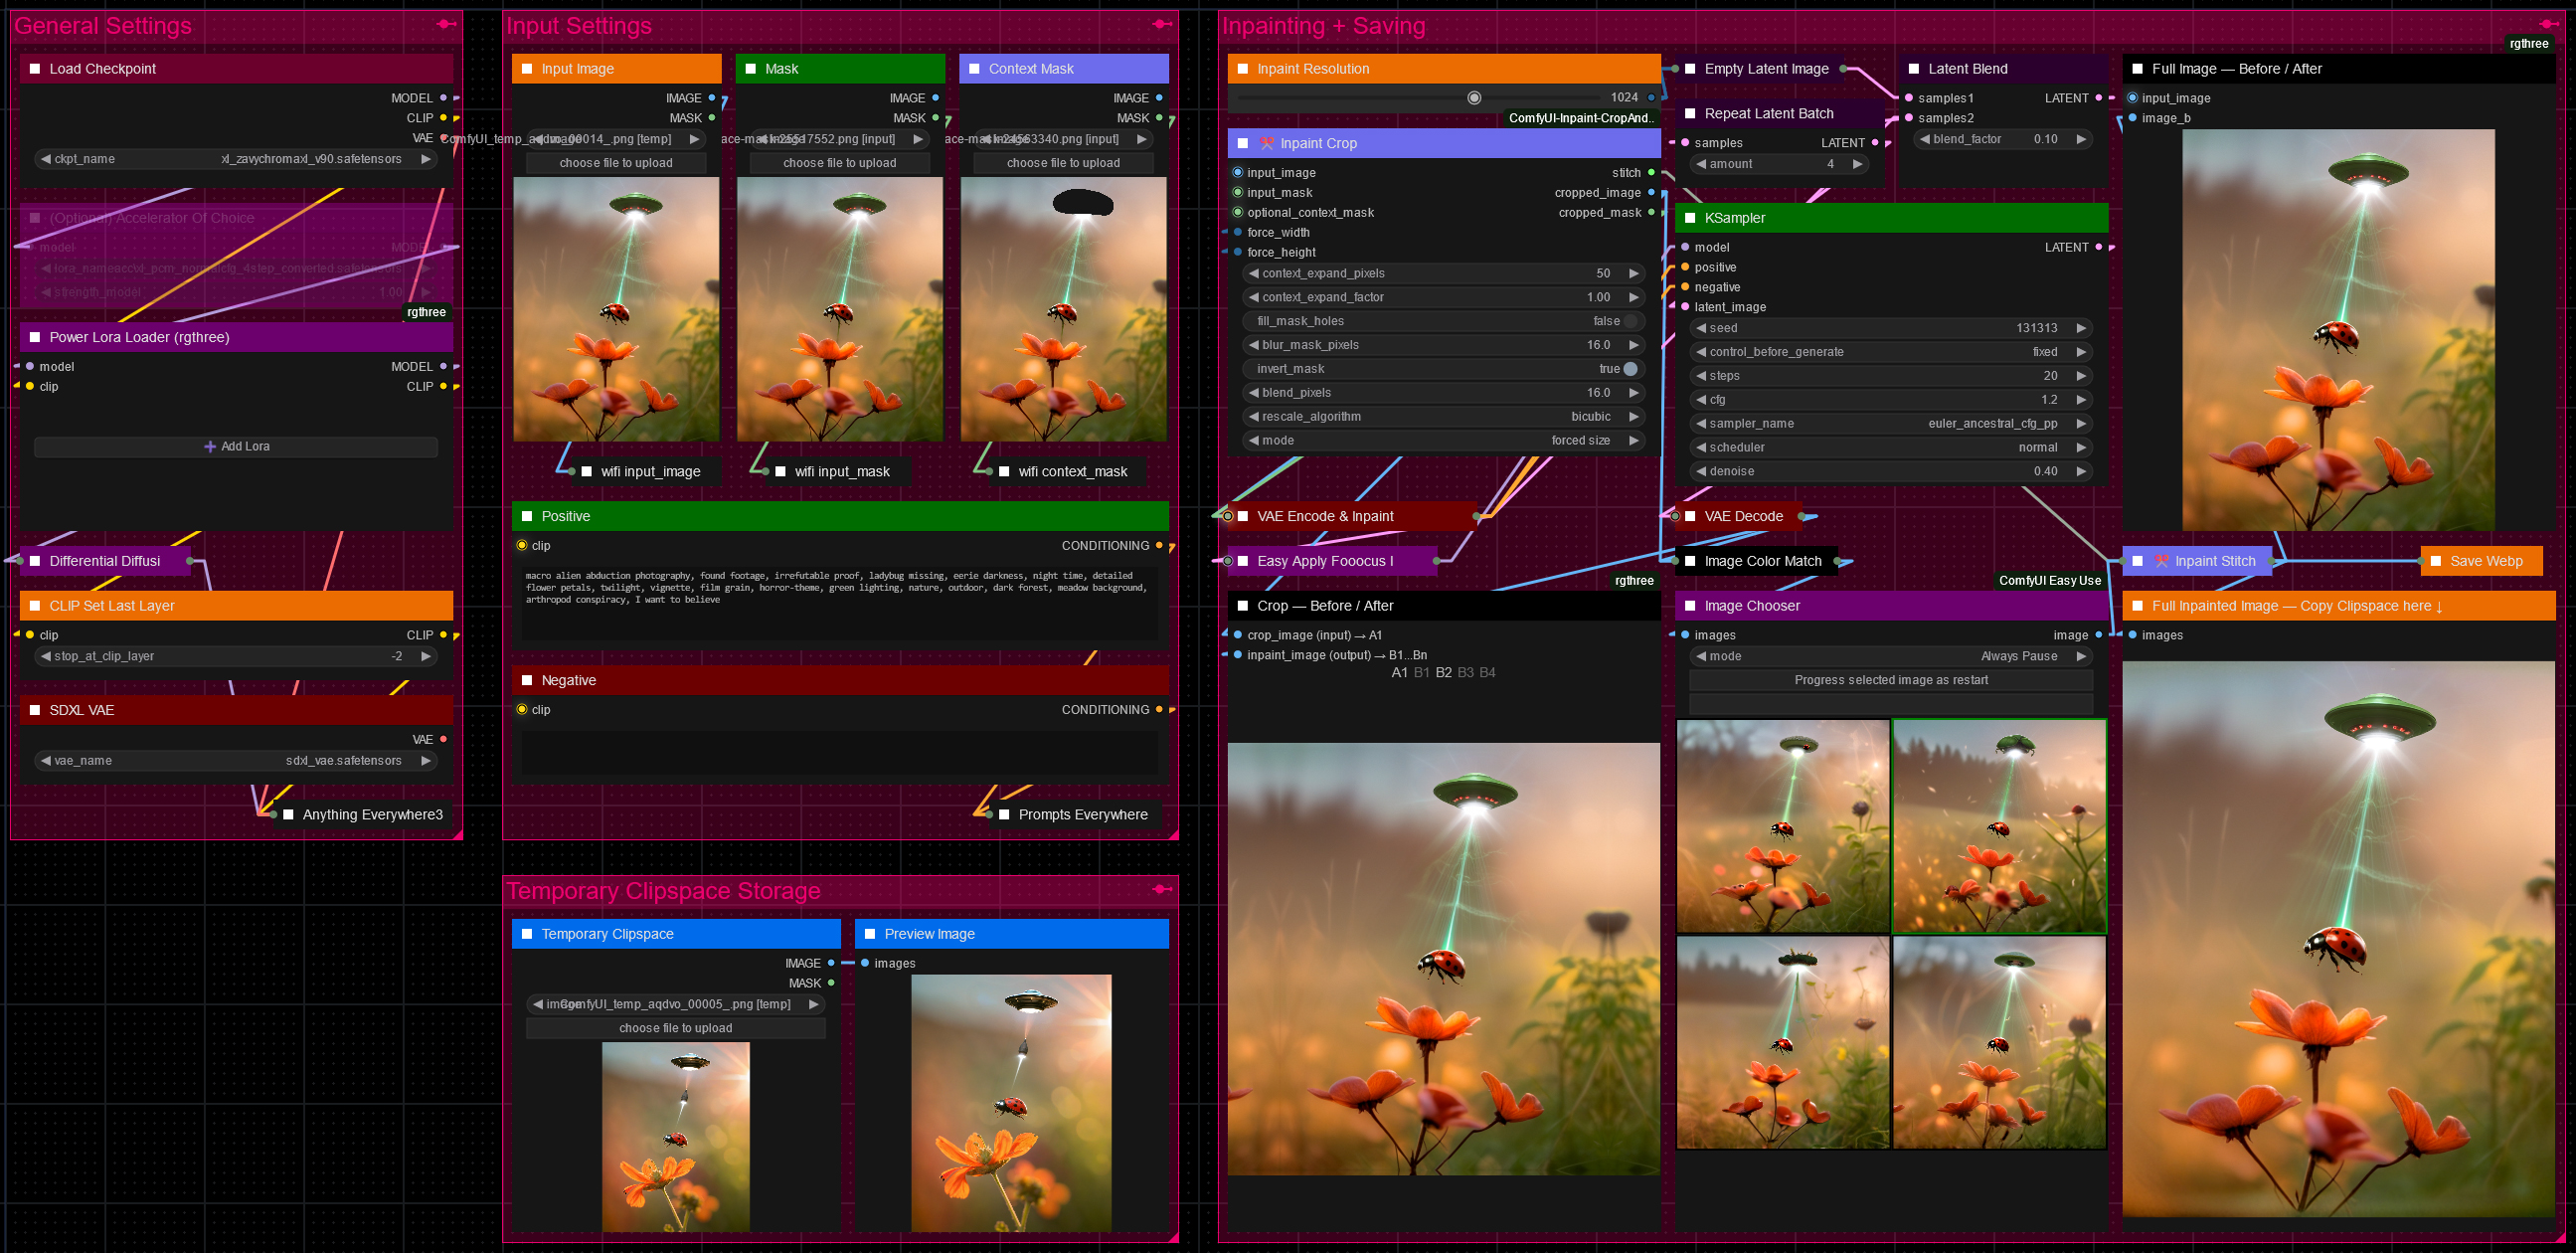
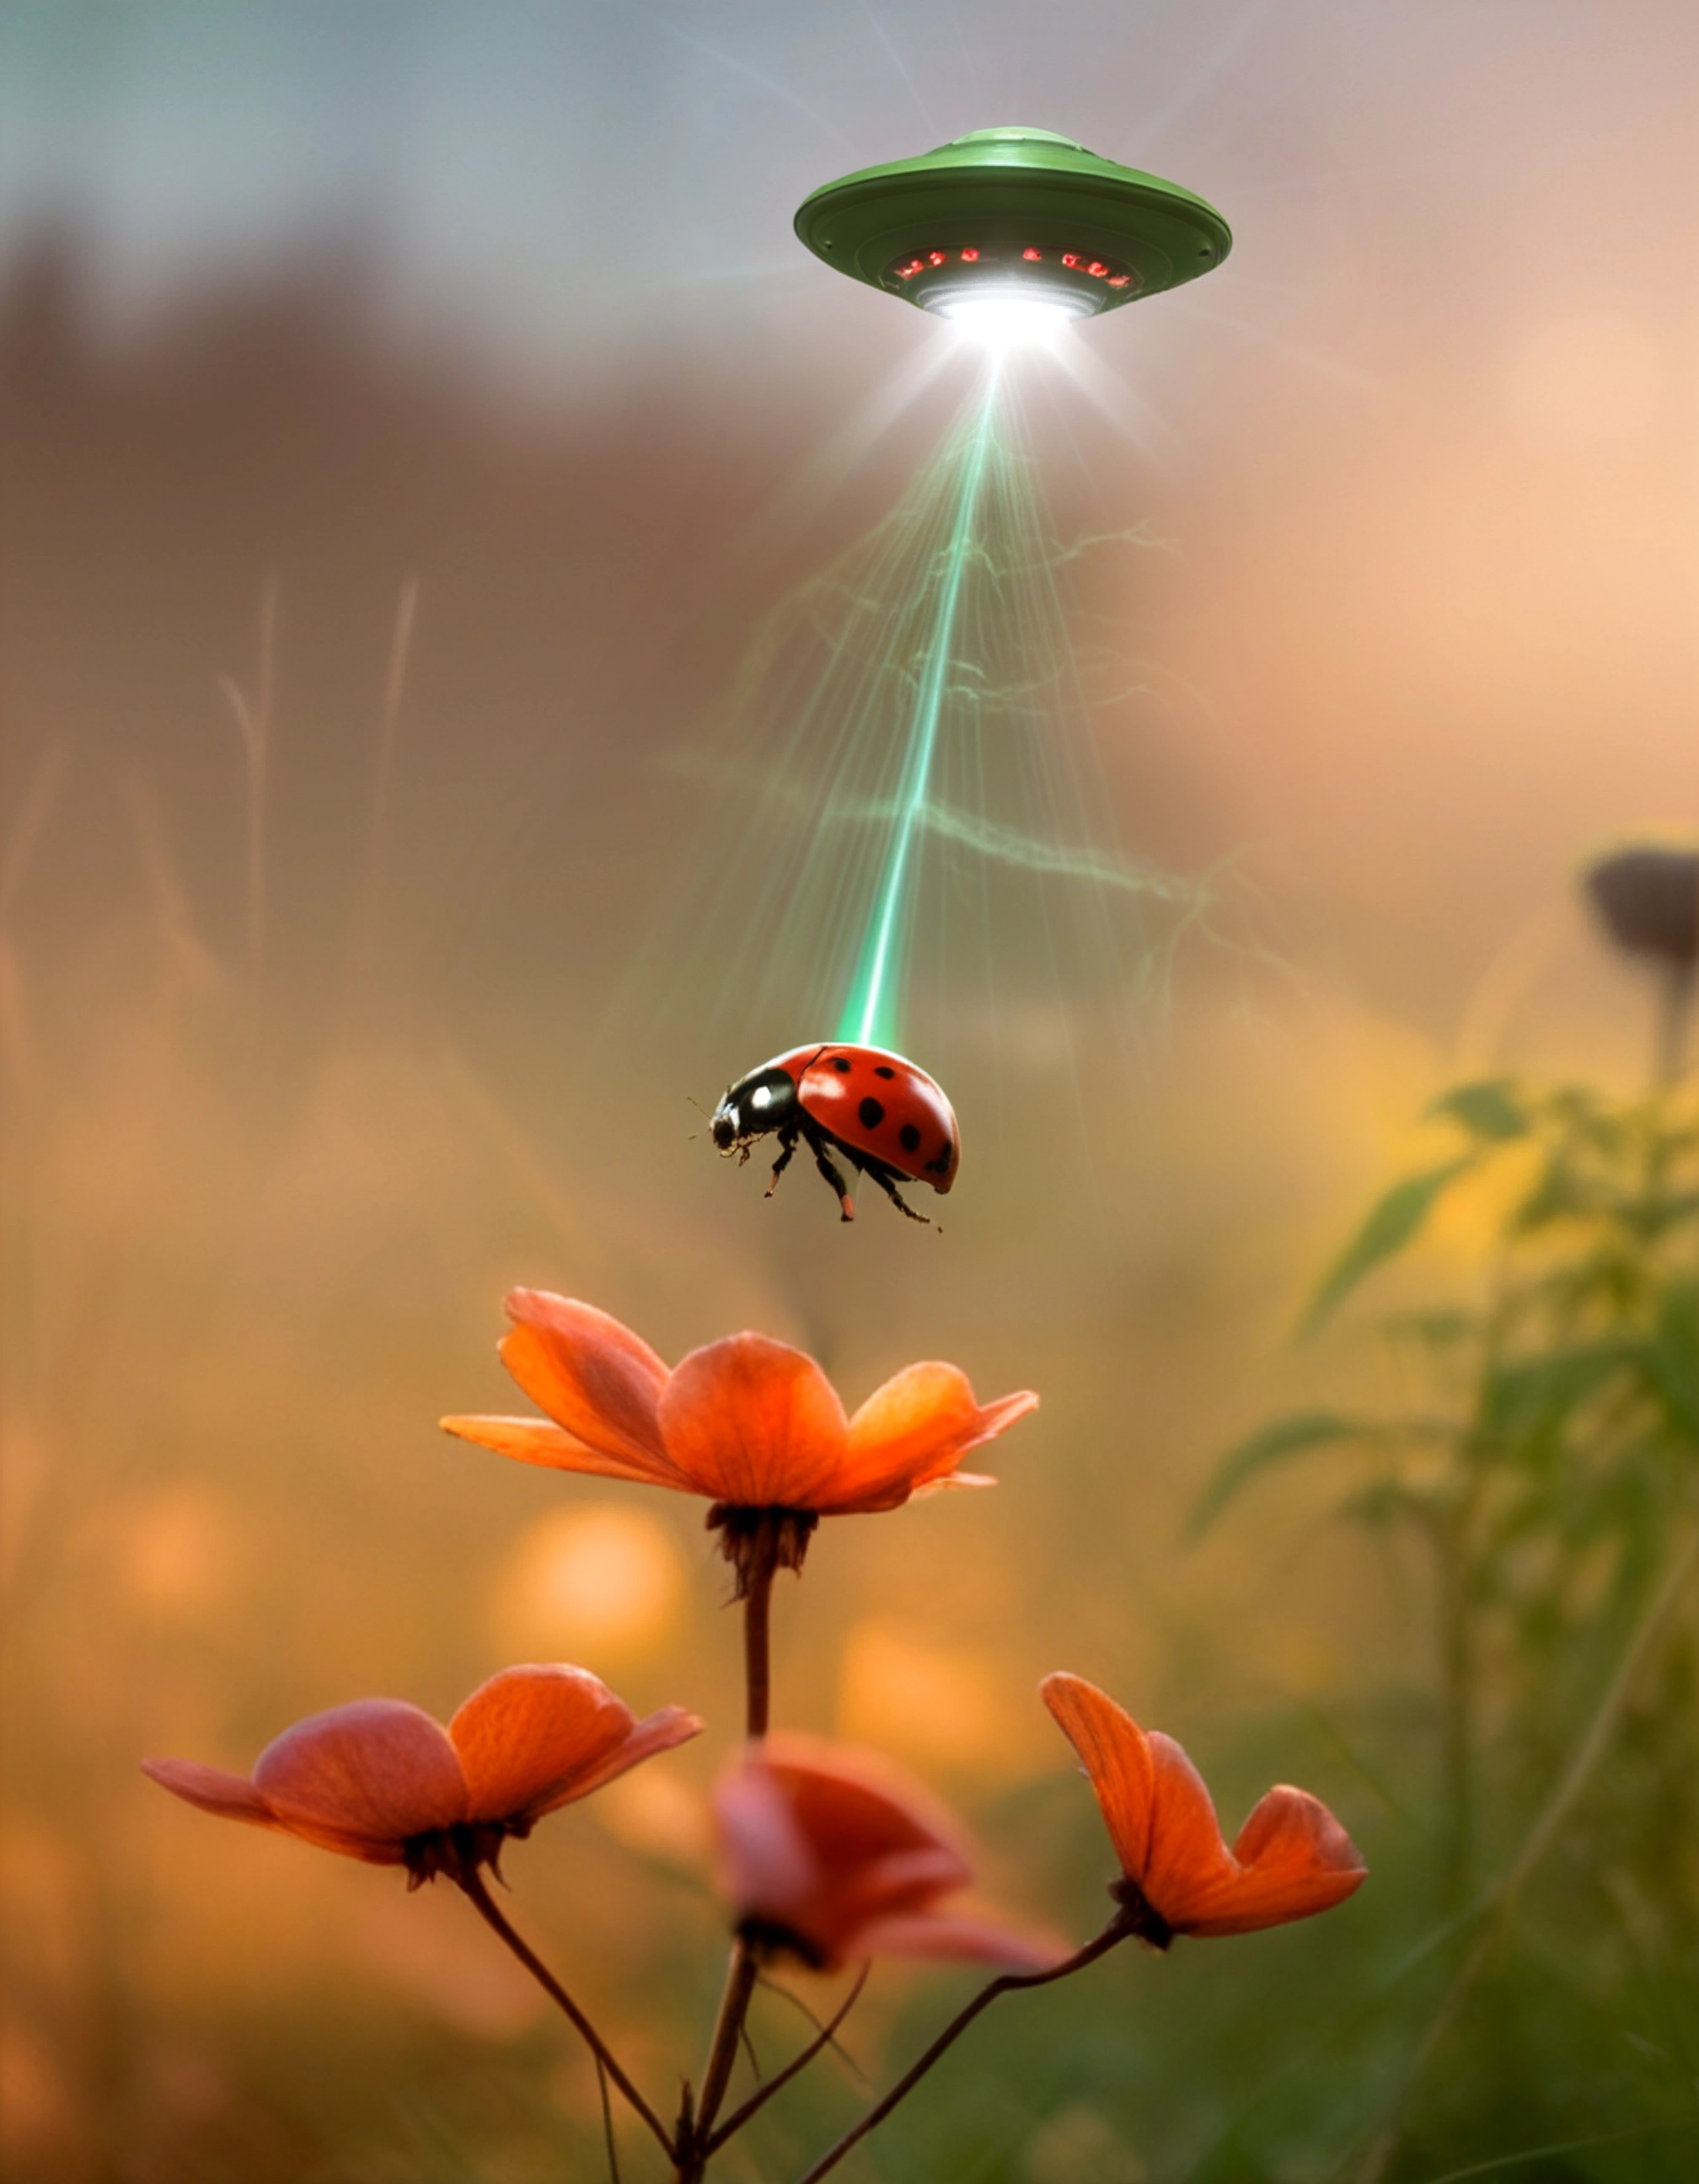
This workflow provides a simple, solid and reliable way to efficiently inpaint images to perfection!
I hope this proves to be a useful tool to you!
—Features—
LoRA support
Batch Processing
Flexible Before/After Preview for any batch size and mask amount
Image Filter to cherry pick
Tutorial guide for nodes and settings in dedicated ►INFO boxes
—Common Issues—
ValueError: Width and height must be >= 0
→ Make sure you masked an area on the node named "Mask"
—Custom Nodes—
All of which can be installed through the ComfyUI-Manager
—Troubleshooting—
If nodes show up red (failing to load), check the 'Install Missing Custom Nodes' tab of the ComfyUI Manager for the missing node packs and install them.
Please check if all custom node packs load properly after installing, i.e. no
(IMPORT FAILED)messages next to any of them in the console upon ComfyUI startup.Always reload/drag'n'drop the original, downloaded workflow file into ComfyUI to reload an intact version of the workflow.
→ The last opened workflow that appears on startup shows a cached version of the workflow, "remembering" group nodes that failed due to missing nodes as failed, keeping them broken even after having everything installed correctly.
—Thanks—
The workflow would not be possible as is without these custom node packs. If you want to support the custom node creators, give them a ⭐ on their github repos! Thank you!
Feel free to ask any questions, share improvements or suggestions in the comment section!
Also let me know if you encounter any confusing points I can elaborate on and focus on improving for the next update!
Description
v4
— full rework of the inpainting process to make batch input possible.
— custom node packs changes :
• additional : ComfyUI-Easy-Use, ComfyUI_essentials, ComfyUI-mxToolkit, ComfyUI-Inpaint-CropAndStitch, comfyui-inpaint-nodes
• no longer included : ComfyUI-Impact-Pack
FAQ
Comments (8)
Hopefully it can incorporate the new ControlNet Union model support which allows inpainting for pony from the description.
I've tried getting exactly that to work but didn't get clean results. There was always some level of fried pixelization and artifacting no matter what I tried.
Did you find any documentation on that? So far I was just try-harding without any pointers on how it's supposed to be set up.
The example images on the union model looked like 100% denoise setups by the way it was displayed with just a black box turning into imagery. I've tried that as well, to no avail, but wouldn't find it all that useful to begin with as 100% denoise is mostly useful for outpainting scenarios.
@redpinkretro Yeah i've been watching issues and the a111 controlnet extension dev's comment today, seems like currently everyone's waiting for the union dev to fix it. Guess we should wait a day or two.
@Pupper Well, as soon as it does I'll gladly incorporate it. At the moment multiple things with the union model behave a little weird. It's like all controlnets are bleeding into one another, even if you go for something without any color information like openpose, the colors of the reference will be considered, same with canny, same with depth etc. It's really powerful and great at replicating stuff, but just a little uncontrolled for a controlnet.
Not working at all.
All i am getting in output is oversaturated pixelated mess in place of mask and blured mess outside masked area.
Tried with few different inpaint SDXL models, always same result.
Thank you for pointing that out! Just reproduced it with RealVis inpaint. The issue is the 'Easy Apply Fooocus Inpaint' node, which is meant to be used only with non-inpaint models, going to be pointed out explicitly next update.
All you need to do is use a non-inpaint model or bypass the 'Easy Apply Fooocus Inpaint' node, and everything should work as intended.
A quick walkthrough with an example image, SDXL models, prompts, and settings would be VERY useful. I've run into a handful of issues that would probably be avoided if there was a simple set of example steps. I'm still stuck on things that likely are simple: I get an error if I don't provide a "Context Mask", I get an error if I don't supply a "Temporary Clipspace Storage" file, stuck at 82% Easy Image Chooser, my generated images are exactly the same as my original even though I've supplied a clip mask...
WAY too many assumptions about how to get things working for a relative noob.
Hey there, I am sorry for only answering now (months later), but I was never notified of this comment. I did just update the model yesterday and it should be far easier to use while more powerful than previous versions at the same time.
If you give it a try and still find it confusing I will incorporate more tutorial steps. Thank you! 🙏