Welcome to epiCPhotoGasm
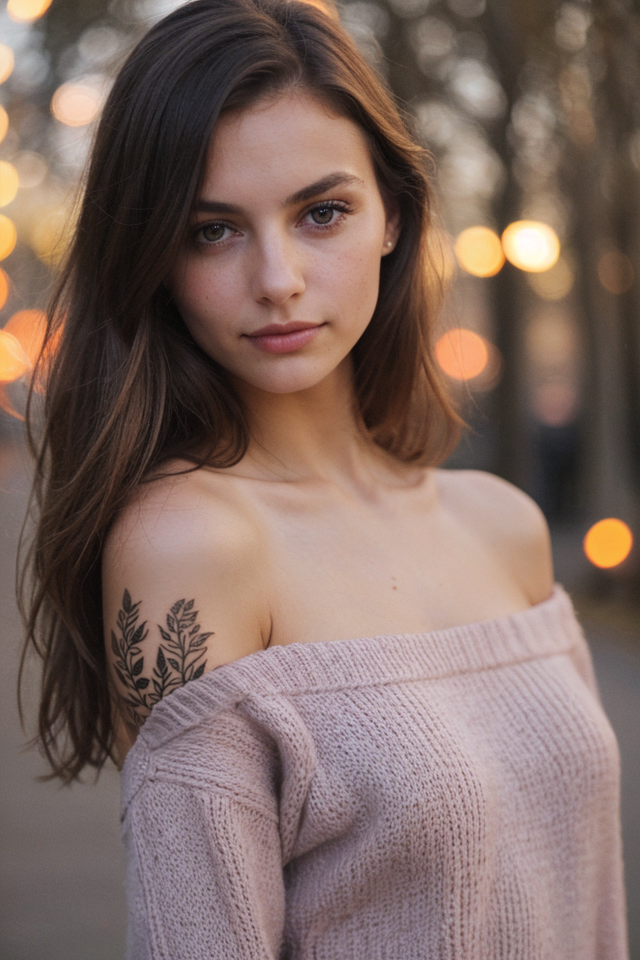
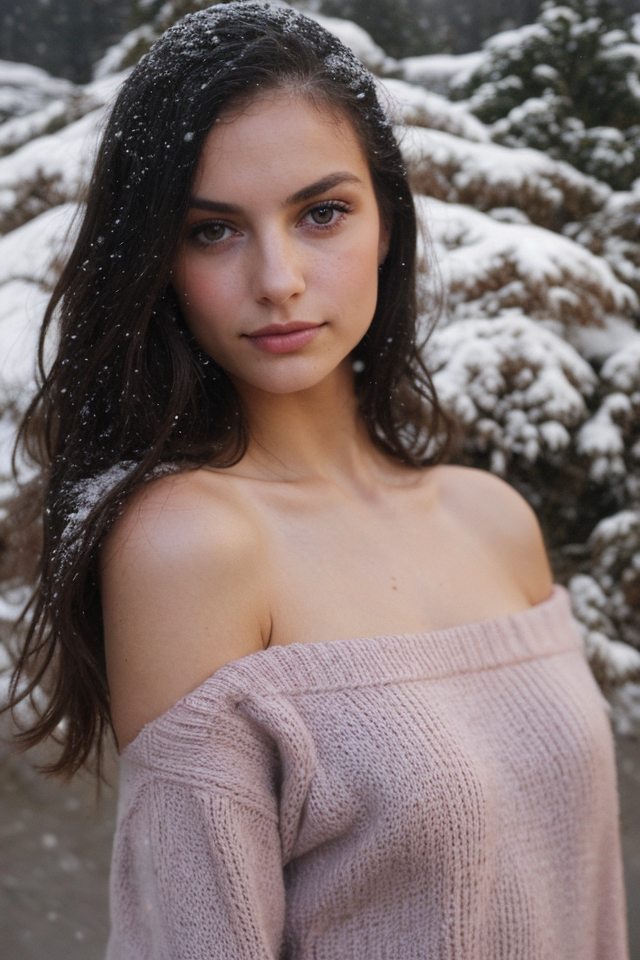
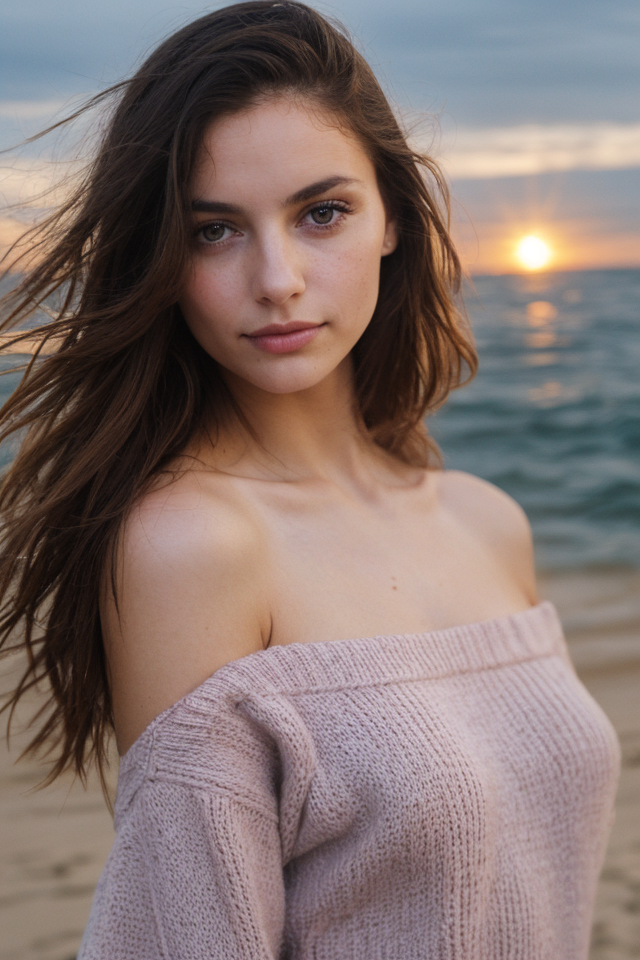
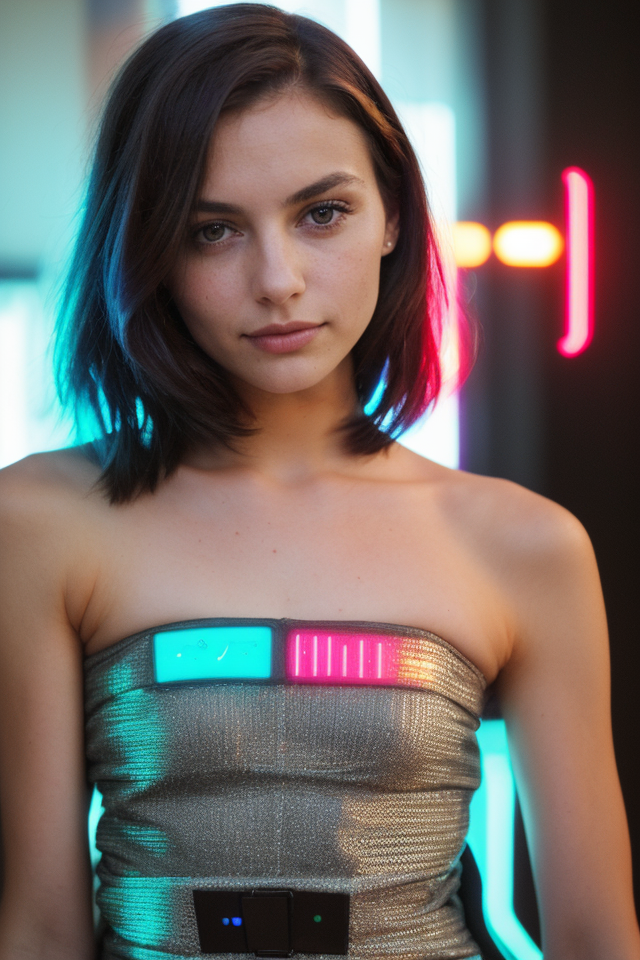
This Model is highly tuned for Photorealism with the tiniest amount of exessive prompting needed to shine.
All Showcase images are generated without Negatives (V1) to show what is possible on the bare prompt.
Whats special?
The model has highly knowledge of what a photo is, so if u promt u can avoid using photo. If the prompt tends to be fantasy like the model will turn away from photo and u have to tweak by prompting and/or negatives.
The model can do various ethnicities well, so try them out.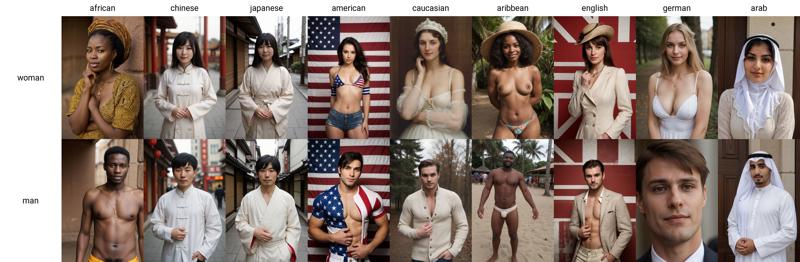
Age is also well trained and known by the model, so try them out too.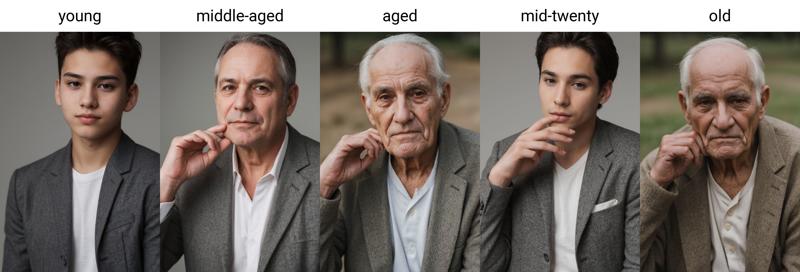

How to use
use simple prompts without "fake" enhancers like "masterpiece, photorealistic, 4k, 8k, super realistic, realism" etc.
don't use a ton of negative embeddings, focus on few tokens or single embeddings
you can still use atmospheric enhances like "cinematic, dark, moody light" etc.
start sampling at 20 Steps
no extra noise-offset needed
Additional Ressources
Style Negatives: colorful Photo | soft Photo
Useful Extensions
!After Detailer | ControlNet | Agent Scheduler | Ultimate SD Upscale
⭐ Feel free to leave Reviews and Samples - and always have fun creating ❤
Description
FAQ
Comments (20)
Does "V4 - One 4 all" contains inpainting model? Please help
I‘ve uploaded one now 😉
If you use the negative starting after the 1st or second step, you get the slight boost in quality without affecting the composition as much.
In Auto1111 the square bracket notation is [firstconcept:secondconcept:steptochangeat] so I suggest this as a negative:
[:epiCPhotoGasm-colorfulPhoto-neg:1]
doesn't it use percent if the value is 0-1? so this would mean that you don't use the embedding at all? maybe it's 0-0.99..
@okhello You're right... the wiki has both examples, both using e.g. 0.2 and step 16. I didn't realise it did both. Features · AUTOMATIC1111/stable-diffusion-webui Wiki
This is such an underrated trick IMO. Works decently for things like clothes, colors, etc., too.
@lnjwzqhi Indeed! You can do it with loras too, but you need the lora step extension, I forget its name!
@AndromedaPerson i'm curious, did you notice a difference if you changed it? because your original comment should mean that it stays off the entire time and only activates at 100%, was that the case?
@okhello It is confusing... but no. Numbers greater or equal to 1 seem to be interpreted as step number. Less than one seems to be step percentage. If you put [:epiCPhotoGasm-colorfulPhoto-neg:0] as the only negative and the only prompt or negative prompt with a number, then do a xyz plot with prompt SR search replace on "0" by paste in: 0,0.2,0.4,0.6,0.8,1,2,4,8,12,16 and do a 20 step generation you'll see what works for you. It seemed to me like just 1 or 2 steps was enough to get a huge difference.
@AndromedaPerson thanks for sharing. I had thought about it before but never tested it, I don't use the technique because I never found it to work particularly well for me - i might try it out a bit again. thanks. :)
@okhello Playing around some more, a better test is put sks in the negative, then put this in the prompt SR box: sks,epiCPhotoGasm-colorfulPhoto-neg,[:epiCPhotoGasm-colorfulPhoto-neg:0],[:epiCPhotoGasm-colorfulPhoto-neg:1],[:epiCPhotoGasm-colorfulPhoto-neg:2],[:epiCPhotoGasm-colorfulPhoto-neg:3],[:epiCPhotoGasm-colorfulPhoto-neg:4],[:epiCPhotoGasm-colorfulPhoto-neg:5],[:epiCPhotoGasm-colorfulPhoto-neg:6]
Awesome! Is possible to get the full model for dreambooth?
Yea would be great
There's no way to see the masks, is there?
hi! thanks for the amazing models but im just telling you that your outputs could be more efficient, you can actually pack more resolution in that much pixels, this really shows up when you use codeformer, it edits the face then the face is way higher quality than the rest of the image, (the rest of the image looks like its lower resolution than the codeformer edited area) this means that your image resizing technique is not very efficient at what its doing
btw to test this out too i tried it with and without codeformer , your model's results are the same but with codeformer the face area has way more resolution, so this only means that your training images could (pack more resolution for whatever resolution you're using)
codeformer relation doesn't make any sense. Base card with pruned version you shouldn't be able to tell that checkpoint can hold better resolution. There is simply no way. All weights have been distributed. There is simply no efficient way to make resize technique. One must go through the all dataset and resize them by script but resize it on fixed size. In that case, if someone using this basecard want to have different size of output, that would be problematic because of it trained on fixed size with dataset. I'm pretty sure you have been confused by something else.
Are you making gens at 512? Newer models can usually handle up to 1024 before they get wonky, and that helps with sharpness. Also, make sure you're running enough steps, but HiResFix can also remedy this. Personally if I need face fix, I run it before HiResFix, so the model can add some of its noise to blend the look.
This only really happens to me with ADetailer where the face will come out much sharper/clearer than the body, especially if I've packed too many LoRAs into main prompt and image gets a little grainy or "cooked".
A quick run through img2img a couple times usually fixes it up.
Details
Files
Available On (1 platform)
Same model published on other platforms. May have additional downloads or version variants.